
Window Odor Removal: Mould & Damp Guide Part 1
Introduction
Mould and dampness around windows can lead to unpleasant odors and create an unhealthy living environment. Not only does it look unsightly, but it can also contribute to various issues in your home, including structural damage. This guide will help you understand the causes of mould and damp, how to effectively remove it, and prevent it from returning.
What Causes Mould & Damp?
Mould thrives in damp environments. The primary causes of mould and dampness around windows include:
1. High Humidity: Excess moisture in the air can settle on surfaces, especially in poorly ventilated areas.
2. Condensation: When warm air inside your home meets the cold surface of a window, moisture forms.
3. Leaking Windows: Damaged seals or poorly installed windows can allow rainwater to seep in.
4. Poor Insulation: Insufficient insulation can lead to temperature differences that cause condensation.
Understanding these causes is crucial for effective mould and damp removal.
Why This Problem Happens
The combination of humidity and inadequate ventilation creates a perfect breeding ground for mould. When warm air inside your home cools against a cold window, it condenses into water droplets. This moisture can accumulate, leading to dampness. Over time, mould spores settle and thrive in these damp conditions, resulting in foul odors and potential health risks.
How to Fix Mould & Damp (Step-by-Step)
Step 1: Gather Your Supplies
Before you start, gather the following cleaning supplies:
- Rubber gloves
- Mask (to avoid inhaling spores)
- Bucket
- Sponge or cloth
- Scrub brush
- Vinegar or a commercial mould remover
- Baking soda
- Water
- Spray bottle
- Vinegar: An effective natural remedy, vinegar can kill around 82% of mould species.
- Baking Soda: Great for scrubbing, baking soda can also help absorb odors.
- Commercial Mould Removers: These can be effective but always follow the instructions and safety precautions.
Step 2: Assess the Damage
Examine the affected areas around your windows. Look for visible mould, damp spots, or water staining. If the area is extensive, you may need to consider professional help.
Step 3: Prepare Your Cleaning Solution
For a natural solution, mix equal parts of water and vinegar in a spray bottle. Alternatively, use a commercial mould remover according to the manufacturer’s instructions.
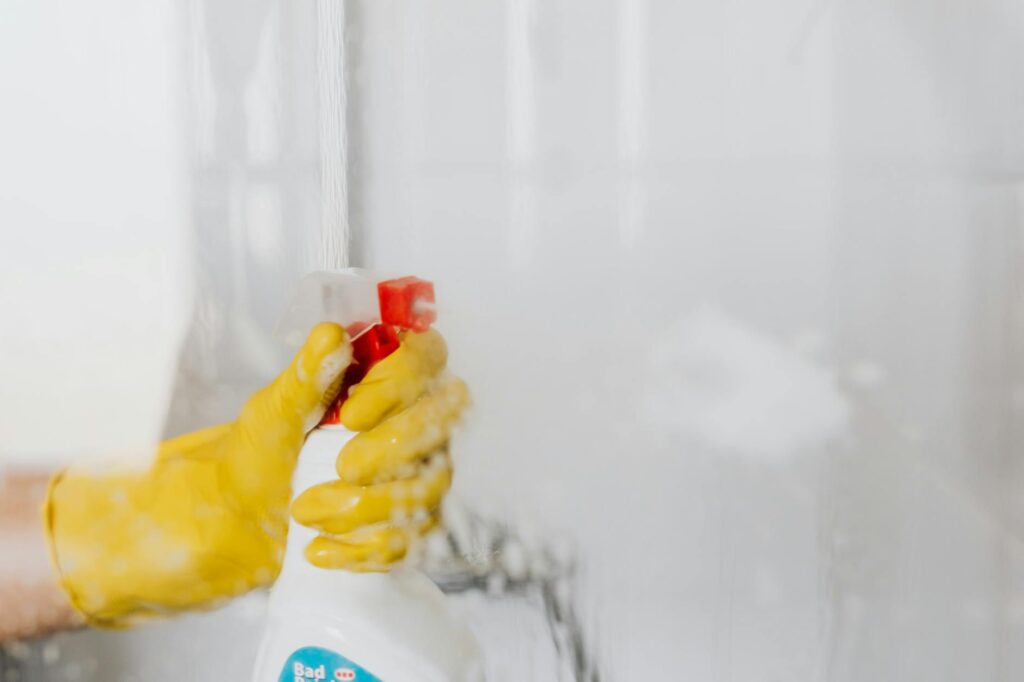
Step 4: Apply the Cleaning Solution
Spray the affected areas generously with your cleaning solution. Let it sit for 10-15 minutes to penetrate the mould.
Step 5: Scrub the Area
Using a scrub brush or sponge, scrub the mouldy area firmly. This will help lift the mould from the surface. For persistent stains, sprinkle baking soda on the sponge for added scrubbing power.
Step 6: Rinse and Dry
After scrubbing, rinse the area with clean water and wipe it dry with a cloth. Ensure the area is well-ventilated to aid drying.
Step 7: Remove the Source of Moisture
Identify and address the source of moisture. Check for leaks, improve insulation, or use a dehumidifier if necessary.
Best Cleaning Methods
Common Mistakes to Avoid
1. Ignoring the Source: Cleaning without addressing the source of dampness will only lead to recurring problems.
2. Using the Wrong Cleaner: Some cleaners can exacerbate mould growth. Always choose appropriate products.
3. Neglecting Safety: Always wear gloves and a mask to avoid inhaling mould spores.
4. Not Allowing Enough Drying Time: Rushing the drying process can lead to further mould growth.
5. Overlooking Ventilation: Ensure proper airflow to prevent future dampness.
Prevention Tips
1. Improve Ventilation: Open windows regularly to allow fresh air in, especially in high-humidity areas.
2. Use Dehumidifiers: These help to maintain optimal humidity levels in your home.
3. Seal Windows Properly: Regularly check and repair seals around windows to prevent leaks.
4. Insulate Your Home: Proper insulation can reduce condensation on windows.
5. Keep Indoor Plants in Check: Excessive watering can increase humidity, so monitor your plants’ needs.
Frequently Asked Questions
1. How can I tell if I have mould?
Look for black, green, or white patches on surfaces, especially in damp areas. A musty odor is also a strong indicator.
2. Is mould removal safe for children and pets?
While cleaning, ensure children and pets are in a different room. Use non-toxic cleaning solutions whenever possible.
3. Can I prevent mould from returning?
Yes, maintaining low humidity, improving ventilation, and regularly cleaning can help prevent mould from returning.
4. How often should I check my windows for mould?
It’s best to inspect them every few months, especially after heavy rain or periods of high humidity.
5. What should I do if my mould problem is extensive?
If mould covers a large area (greater than 10 square feet), consider hiring a professional mould remediation service.
6. Can I paint over mould?
No, painting over mould will not solve the problem. You must remove the mould first to prevent it from bleeding through the paint.
By following these steps and guidelines, you can effectively tackle mould and dampness around your windows, ensuring a healthier and more pleasant living space. In Part 2 of this guide, we will explore advanced techniques and solutions for persistent mould issues.