
Window Cleaning Tips: Kitchen Guide Part 1
Introduction
Keeping your kitchen windows clean is essential for both functionality and aesthetics. Grease, grime, and moisture can accumulate quickly in this high-traffic area, making it challenging to maintain a clear view and a pleasant environment. This guide will provide you with practical tips and techniques to tackle window cleaning in your kitchen effectively.
What Causes Kitchen Window Grime?
Kitchen windows often suffer from a buildup of:
- Grease: Cooking splatters can leave a sticky film.
- Moisture: Steam from cooking can create condensation, leading to dirt accumulation.
- Dust and Debris: Regular kitchen activities stir up particles that settle on window surfaces.
- Squeegee: For streak-free results.
- Microfiber Cloth: Effective for wiping and polishing.
- Bucket: For mixing your cleaning solution.
- Cleaning Solution: You can use a store-bought window cleaner or make one using vinegar and water in a 1:1 ratio.
- Scrub Brush or Sponge: For tough spots.
- Ladder or Step Stool: If needed to reach high windows.
- Regular Maintenance: Clean your kitchen windows every month to prevent buildup.
- Ventilation: Use exhaust fans while cooking to reduce moisture and grease accumulation.
- Cover Windows: Consider using window treatments that can easily be cleaned or washed to protect glass surfaces.
- Wipe Down After Cooking: Quickly wipe down windows after cooking to prevent grease from drying and sticking.
Understanding these causes is the first step to achieving a spotless finish.
Why This Problem Happens
The kitchen is one of the busiest areas in the home. Cooking, baking, and food prep generate splashes and spills that can quickly coat windows in grime. Additionally, many kitchens lack proper ventilation, leading to higher humidity levels that contribute to dirt and mold growth. This combination of factors makes kitchen window cleaning a necessary but often overlooked task.
How to Fix Kitchen Windows (Step-by-Step)
Step 1: Gather Your Supplies
Before you start, make sure you have the following tools:
Step 2: Prepare the Area
Clear the area around the windows. Remove any window treatments, like curtains or blinds, and move any furniture that might block your access. Lay down a drop cloth or towels to catch any drips.
Step 3: Dust and Wipe
Before applying any cleaning solution, dust the window frame and sill to remove loose dirt and debris. Use a dry microfiber cloth or a soft brush. This step prevents scratching the glass later on.
Step 4: Apply Cleaning Solution
Spray your cleaning solution generously onto the window. If you’re using a sponge, dip it into the solution and apply it directly to the glass.
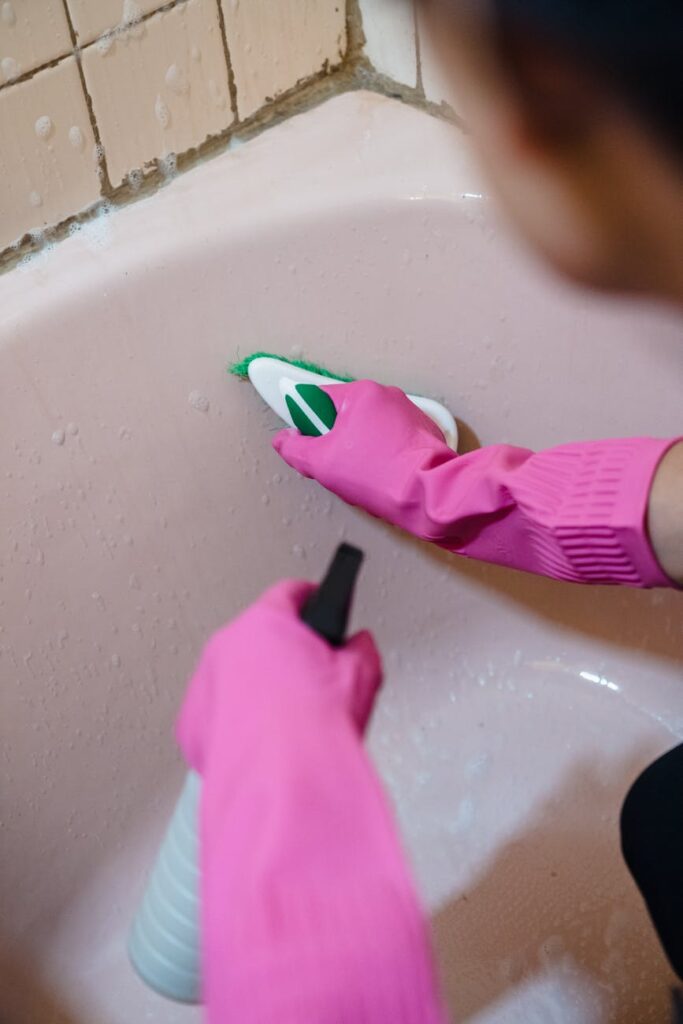
Step 5: Scrub Away Grime
For stubborn spots, use the scrub brush or sponge to gently scrub the area. Pay attention to corners and edges where grime tends to accumulate.
Step 6: Squeegee the Glass
Starting at the top corner, pull the squeegee down in a straight line. Wipe the blade with a clean cloth after each pass to prevent spreading dirt. Repeat this process until the entire window is clean.
Step 7: Final Wipe
Using a dry microfiber cloth, wipe the window frame and sill to remove any remaining moisture. This step helps prevent mold and mildew from forming.
Best Cleaning Methods
Vinegar and Water
A mixture of equal parts vinegar and water is an effective and eco-friendly cleaning solution. It cuts through grease without leaving harmful residues.
Commercial Cleaners
If you prefer a store-bought option, look for a cleaner specifically designed for glass. Ensure that it is safe for your window material (e.g., vinyl or wood frames).
Newspaper Method
For an old-school approach, crumpled newspaper can be used to polish glass. The ink helps to remove streaks and leaves a shine.
Common Mistakes to Avoid
1. Cleaning on a Sunny Day: Direct sunlight can dry your cleaning solution too quickly, causing streaks. Choose a cloudy day or clean when the sun is not shining directly on the windows.
2. Using the Wrong Cloth: Avoid paper towels that can leave lint. Instead, stick to microfiber cloths for optimal results.
3. Neglecting Window Frames: Many focus solely on the glass. Don’t forget to clean the frames and sills, as dirt can accumulate there as well.
4. Skipping the Scrub: Don’t assume that spraying the cleaner alone will do the trick. Always scrub away grime for a thorough clean.
Prevention Tips
Frequently Asked Questions
1. How often should I clean my kitchen windows?
Aim to clean your kitchen windows at least once a month, or more frequently if you cook often.
2. Can I use vinegar on tinted windows?
Yes, vinegar is generally safe for tinted windows, but always check the manufacturer’s recommendations to be sure.
3. What can I do about hard water stains?
For hard water stains, create a paste using baking soda and water. Apply it to the stains, let it sit for a few minutes, then scrub and rinse.
4. Is it safe to clean windows with a ladder?
Yes, but ensure your ladder is stable and on a flat surface. It’s best to have someone hold the base for added safety.
5. What’s the best way to clean window screens?
Remove the screens and rinse them with a hose. If they are particularly dirty, scrub with a mild soap solution and rinse thoroughly.
6. Can I use bleach to clean kitchen windows?
Avoid using bleach, as it can damage window frames and is not necessary for glass cleaning. Stick to vinegar or commercial cleaners.
With these practical tips and methods, you’ll be well on your way to maintaining sparkling clean kitchen windows that enhance your cooking space. Stay tuned for Part 2, where we’ll dive deeper into advanced techniques and tools for even better results.