
Tile Grout Stains Stains Guide Part 1
Introduction
Tile grout stains can be a frustrating issue for homeowners. Over time, dirt, mold, and mildew can build up, making your once-pristine grout look dirty and unkempt. This guide aims to equip you with practical solutions to tackle grout stains, helping you restore the beauty of your tiled surfaces.
What Causes Stains?
Understanding what causes grout stains is crucial in addressing the problem effectively. Common culprits include:
1. Dirt and Dust: Everyday foot traffic can lead to the accumulation of dirt and dust, which can seep into the porous grout.
2. Mold and Mildew: Damp environments, particularly in bathrooms and kitchens, create a breeding ground for mold and mildew, which can cause dark stains.
3. Food and Beverage Spills: Spills from coffee, tea, wine, or food can leave behind unsightly stains if not cleaned promptly.
4. Hard Water: Minerals in hard water can leave behind a residue that discolors grout over time.
5. Improper Cleaning Products: Some cleaning products can stain grout instead of cleaning it, especially those that are too harsh or contain dyes.
Why This Problem Happens
Grout is porous, meaning it can absorb liquids and stains easily. Over time, this absorption leads to a buildup of dirt and contaminants. The porous nature also allows for mold and mildew to flourish, especially in damp areas. If the grout is not sealed properly, it becomes more susceptible to staining, making regular maintenance even more critical.
How to Fix Stains (Step-by-Step)
Fixing stained grout can be a straightforward process if you follow these steps:
Step 1: Gather Your Supplies
You will need:
- Baking soda
- White vinegar
- A small brush (like an old toothbrush)
- A spray bottle
- Protective gloves
- A microfiber cloth
- Water
Step 2: Create a Cleaning Paste
1. In a bowl, mix equal parts of baking soda and water to form a thick paste.
2. Apply the paste directly to the stained areas of the grout.
Step 3: Spray with Vinegar
1. Fill a spray bottle with white vinegar.
2. Spray the vinegar over the baking soda paste. The mixture will fizz, which helps lift stains.
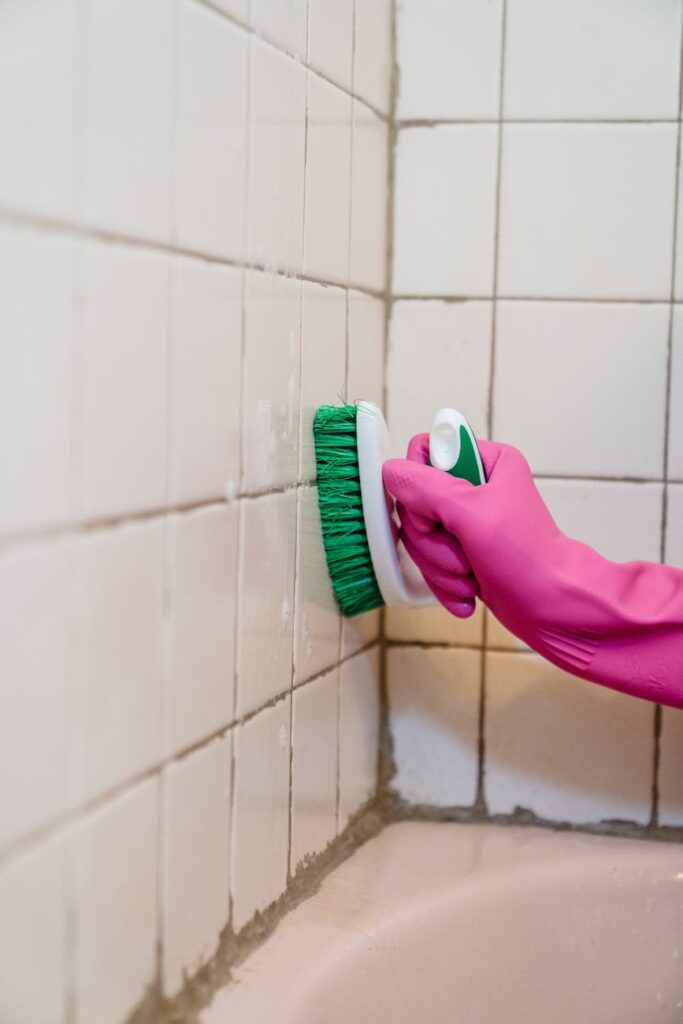
Step 4: Scrub the Grout
Using the small brush, scrub the grout in circular motions. Focus on heavily stained areas, applying more paste if necessary.
Step 5: Rinse
1. After scrubbing, wipe the area with a damp microfiber cloth to remove the paste and loosened stains.
2. Rinse thoroughly with clean water.
Step 6: Dry the Area
Use a clean, dry cloth to wipe the grout and remove excess moisture.
Best Cleaning Methods
While the baking soda and vinegar method is effective, other cleaning solutions can also be beneficial:
Oxygen Bleach
Oxygen bleach is a safe and effective option for tough stains. Mix according to package instructions and apply it to the grout. Let it sit for 10-15 minutes before scrubbing and rinsing.
Hydrogen Peroxide
For persistent stains, hydrogen peroxide can be useful. Apply it directly to the stained area, let it sit for about 10 minutes, then scrub and rinse.
Steam Cleaning
A steam cleaner can be very effective for cleaning grout without the use of chemicals. The heat and pressure can lift stains and kill mold and mildew effectively.
Common Mistakes to Avoid
When dealing with tile grout stains, avoid these common pitfalls:
1. Using Abrasive Cleaners: These can scratch and damage grout, making stains worse over time.
2. Ignoring Sealant: Grout should be sealed regularly to prevent stains. Neglecting this can lead to more significant problems.
3. Not Testing Products: Always test cleaning solutions on a small, inconspicuous area before applying them widely to avoid unexpected discoloration.
4. Skipping Regular Maintenance: Regular cleaning can prevent stains from becoming ingrained in the grout.
Prevention Tips
Preventing tile grout stains is easier than dealing with them after they occur. Here are some tips to keep your grout looking fresh:
1. Seal Your Grout: Apply a grout sealer every 6-12 months to protect against stains and moisture.
2. Regular Cleaning: Incorporate grout cleaning into your regular cleaning routine. A quick scrub weekly can prevent buildup.
3. Use Doormats: Place doormats at entrances to minimize dirt and debris being tracked onto tiled areas.
4. Wipe Up Spills Promptly: Address spills immediately to prevent staining.
5. Ventilate: Ensure your bathrooms and kitchens are well-ventilated to reduce moisture buildup, which encourages mold growth.
Frequently Asked Questions
1. How often should I clean my grout?
Aim to clean your grout at least once a month, or more frequently in high-traffic areas.
2. Can I use bleach on my grout?
While bleach can be effective for some stains, it may discolor your grout. Test it on a small area first.
3. Does sealing grout prevent stains?
Yes, sealing grout creates a barrier that helps prevent stains from penetrating the porous surface.
4. What is the best homemade grout cleaner?
A mixture of baking soda and white vinegar is one of the most effective homemade grout cleaners.
5. Can I use a magic eraser on grout?
Yes, magic erasers can be effective on grout stains, but be cautious as they may also wear down the grout over time.
6. What should I do if stains persist after cleaning?
If stains remain, consider using a commercial grout cleaner or consulting a professional cleaning service for more stubborn stains.
By following this guide, you can effectively tackle tile grout stains and maintain the beauty of your tiled surfaces. Stay proactive about cleaning and maintenance to make your home shine!