
Sink Drain Mildew Mould & Damp Guide Part 1
Introduction
Mould and dampness in your sink drain can be a frustrating problem. Not only is it unsightly, but it can also lead to unpleasant odors and potential plumbing issues. This guide aims to provide you with practical solutions to tackle mildew and mould in your sink drains effectively.
What Causes Mould & Damp?
Mould thrives in moist environments, making your sink drain a perfect breeding ground. The primary contributors to mould growth include:
- Excess Moisture: Water accumulation from leaks or slow drainage.
- Food Particles: Leftover debris can become a food source for mould.
- Poor Ventilation: Lack of airflow increases humidity levels.
- Organic Material: Hair, soap scum, and grease can build up and promote mould growth.
- High Humidity: Areas with high humidity levels can lead to increased moisture in your sink drain.
- Infrequent Cleaning: Neglecting regular cleaning allows mould spores to settle and grow.
- Clogs: Blocked pipes can trap water and organic material, creating a perfect environment for mould.
- Temperature Changes: Warm, damp conditions are ideal for mould, especially in kitchens and bathrooms.
- Rubber gloves
- Scrub brush or old toothbrush
- Baking soda
- White vinegar
- Spray bottle
- Boiling water
- Dish soap
- Microfiber cloth
Why This Problem Happens
Understanding why mould and dampness occur in sink drains can help you address the root causes. Factors include:
How to Fix Mould & Damp (Step-by-Step)
Step 1: Gather Supplies
Before you start cleaning, gather the following supplies:
Step 2: Remove Visible Mould
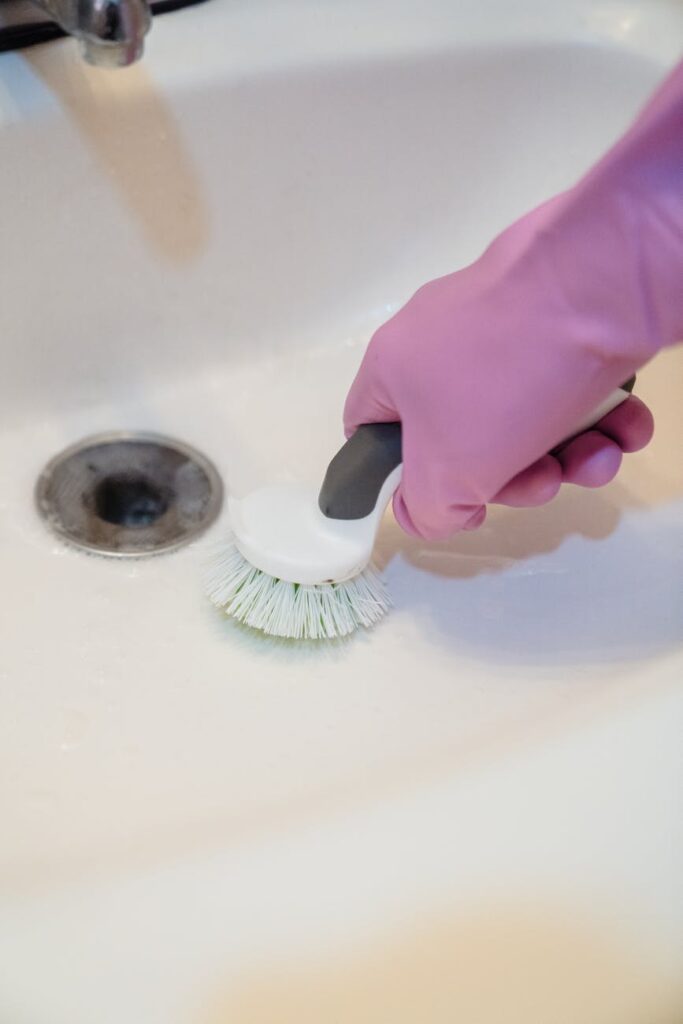
1. Put on Rubber Gloves: Protect your hands from mould spores.
2. Scrub the Area: Use a scrub brush or toothbrush to remove visible mould from the sink drain and surrounding areas.
Step 3: Clean the Drain
1. Pour Baking Soda: Add about half a cup of baking soda into the drain.
2. Add Vinegar: Follow with half a cup of white vinegar. This will create a fizzing reaction that helps lift grime.
3. Let it Sit: Allow the mixture to sit for 15-20 minutes.
4. Flush with Boiling Water: Carefully pour boiling water down the drain to rinse away the mixture and any remaining debris.
Step 4: Clean the Surrounding Area
1. Use Dish Soap: Mix a few drops of dish soap with warm water.
2. Wipe Down: Use a microfiber cloth to wipe the sink and surrounding areas, ensuring you remove any remaining mould.
Step 5: Dry Thoroughly
After cleaning, ensure the sink and drain area are completely dry to discourage future mould growth.
Best Cleaning Methods
1. Baking Soda and Vinegar: A natural and effective combination for breaking down grime and killing mould.
2. Bleach Solution: For severe mould infestations, a diluted bleach solution (1 part bleach to 10 parts water) can be used. However, ensure proper ventilation and avoid mixing with other cleaners.
3. Commercial Cleaners: Use mould-specific cleaning products that contain antifungal agents, but always follow the manufacturer’s instructions.
Common Mistakes to Avoid
1. Ignoring Regular Cleaning: Regular maintenance is key to preventing mould from forming.
2. Using Hot Water Alone: While hot water can help, it may not eliminate mould effectively without a cleaning agent.
3. Not Addressing Clogs: Always address any clogs in your sink drain promptly to avoid moisture buildup.
4. Overlooking Surrounding Areas: Mould can spread quickly; ensure you clean not just the drain but also the sink and countertop.
Prevention Tips
1. Regular Cleaning Schedule: Clean your sink and drain at least once a week to prevent buildup.
2. Use Drain Covers: Install mesh drain covers to catch food particles and hair, reducing organic material in the drain.
3. Improve Ventilation: Ensure good airflow in your kitchen and bathroom to reduce humidity.
4. Fix Leaks Promptly: Repair any leaks to prevent moisture from accumulating.
5. Dry the Sink: After use, wipe down the sink and drain to eliminate excess moisture.
Frequently Asked Questions
1. How often should I clean my sink drain?
Aim to clean your sink drain at least once a week to prevent mould and mildew buildup.
2. Can I use vinegar and baking soda together for cleaning?
Yes, combining vinegar and baking soda is an effective natural cleaning method for breaking down grime and killing mould.
3. What should I do if the mould keeps coming back?
If mould continues to return, check for hidden leaks or clogs and improve ventilation in the area.
4. Is bleach the best solution for mould?
Bleach can be effective for severe mould issues, but it should be used with caution and proper ventilation.
5. Can I prevent mould without chemicals?
Yes, regular cleaning with natural methods like vinegar and baking soda can effectively prevent mould growth.
6. What signs indicate a more serious mould problem?
If you notice persistent mould, a musty odor, or water damage on surrounding surfaces, it may indicate a more serious issue requiring professional help.
By following this guide, you can effectively tackle mould and damp issues in your sink drain, ensuring a clean and healthy environment in your home. Stay tuned for Part 2, where we will delve deeper into specific cleaning techniques and products.