
Shower Tile Cleaning Kitchen Guide Part 1
Introduction
Keeping your kitchen shower tiles clean can seem like a daunting task, but it doesn’t have to be. Over time, grime, soap scum, and hard water stains can build up and turn your once-sparkling tiles into a dull and grimy sight. This guide will help you understand the causes of these problems, how to effectively clean your shower tiles, and ways to prevent future buildup. Let’s dive right in!
What Causes Kitchen Shower Tile Grime?
Understanding what leads to dirty shower tiles is crucial for effective cleaning. The primary culprits include:
1. Soap Scum: This is a combination of soap, body oils, and minerals from hard water. It leaves a sticky, filmy residue on tiles.
2. Hard Water Stains: If you live in an area with hard water, mineral deposits can accumulate on the surface of your tiles, leaving unsightly spots.
3. Mold and Mildew: The damp environment of a kitchen shower can lead to mold and mildew growth, which can be both unsightly and unhealthy.
4. Food Particles: In a kitchen setting, food splatters and particles can collect on tiles, contributing to grime.
Why This Problem Happens
The kitchen is often a high-traffic area where cooking and food preparation take place. The combination of moisture from the shower and the residue from cooking can create an ideal environment for grime buildup. Additionally, poor ventilation can exacerbate this issue, trapping humidity and preventing tiles from drying properly.
How to Fix Kitchen Shower Tile Grime (Step-by-Step)
Cleaning your kitchen shower tiles can be straightforward if you follow these steps:
Step 1: Gather Your Supplies
Before you start, gather the following cleaning supplies:
- Broom or vacuum
- Microfiber cloths or sponges
- Bucket
- Spray bottle
- Scrub brush (with soft bristles)
- White vinegar
- Baking soda
- Dish soap
- Hydrogen peroxide (optional for tough stains)
Step 2: Clear the Area
Remove any items from the shower area, including toiletries and mats. This will give you a clear workspace to work in.
Step 3: Dry Dusting
Start by sweeping or vacuuming the floor and tiles to remove any loose debris. This will make scrubbing more effective.
Step 4: Prepare Your Cleaning Solution
For light cleaning, mix equal parts of white vinegar and water in a spray bottle. For tougher spots, create a paste with baking soda and a little water.
Step 5: Apply the Solution
Spray the vinegar solution onto the tiles, focusing on areas with soap scum and hard water stains. Let it sit for about 10-15 minutes to break down the grime.
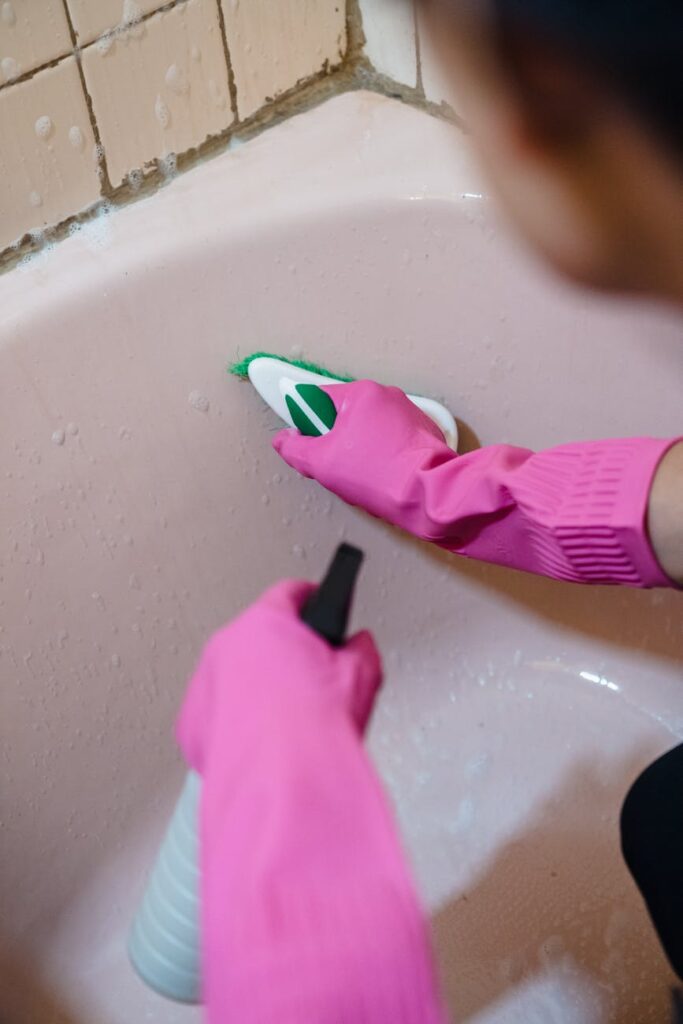
Step 6: Scrub the Tiles
Using a scrub brush, gently scrub the tiles in circular motions. Be sure to pay extra attention to grout lines where dirt often accumulates.
Step 7: Rinse Thoroughly
Rinse the tiles with warm water to remove any cleaning solution and loosened grime. Use a microfiber cloth or sponge to wipe down surfaces.
Step 8: Dry the Tiles
Wipe down the tiles with a clean, dry cloth to prevent water spots and further grime buildup.
Best Cleaning Methods
Vinegar and Baking Soda
This combination is effective for removing soap scum and hard water stains. The acidity of vinegar cuts through buildup, while baking soda acts as a gentle abrasive.
Dish Soap Solution
A mixture of dish soap and warm water can be effective for day-to-day cleaning. Use this to wipe down tiles and prevent grime buildup.
Hydrogen Peroxide for Mold
For mold and mildew, apply hydrogen peroxide directly to the affected areas. Let it sit for 10-15 minutes before scrubbing and rinsing off.
Common Mistakes to Avoid
1. Using Abrasive Cleaners: Avoid harsh chemicals or scouring pads that can scratch your tiles and grout.
2. Skipping Rinsing: Not rinsing thoroughly can lead to residue buildup, making the tiles look dirtier over time.
3. Neglecting Grout: Grout is often overlooked but can accumulate dirt quickly. Make sure to clean it regularly.
4. Cleaning When Tiles Are Dry: Always clean tiles when they are damp or wet, as this will help to lift grime more effectively.
Prevention Tips
1. Ventilation: Ensure proper ventilation in your kitchen shower area. Use an exhaust fan or open a window to reduce humidity.
2. Regular Cleaning: Implement a regular cleaning schedule. Light cleaning weekly can prevent heavy buildup.
3. Squeegee After Use: Keep a squeegee in your shower area and use it to wipe down tiles after each use.
4. Use Water-Repellent Products: Consider applying a water-repellent sealant to your tiles to help prevent stains and buildup.
Frequently Asked Questions
1. How often should I clean my kitchen shower tiles?
Aim to clean your tiles at least once a week. This prevents buildup and makes deep cleaning easier.
2. Can I use bleach to clean shower tiles?
While bleach can be effective for certain stains, it can also damage grout and tiles. Use it sparingly and in diluted form.
3. What’s the best way to clean grout?
For grout, a paste of baking soda and water works well. Apply it, let it sit, then scrub with a brush, and rinse.
4. Are there any natural cleaning solutions?
Yes! Vinegar, baking soda, and lemon juice are all natural alternatives that can effectively clean tiles without harsh chemicals.
5. How do I remove stubborn hard water stains?
For tough hard water stains, try soaking the affected area with vinegar or using a baking soda paste for a few hours before scrubbing.
6. What if my tiles still look dirty after cleaning?
If your tiles remain dirty, you may need to try a specialized tile cleaner or consider resealing your grout to improve cleanliness.
By following these steps and tips, you can keep your kitchen shower tiles looking fresh and clean. Stay tuned for Part 2, where we will delve into advanced cleaning techniques and product recommendations!