
Shower Soap Scum Bathroom Guide Part 1
Introduction
Soap scum is one of the most persistent nuisances in bathrooms, especially in the shower. This unsightly residue can make your bathroom look dirty and unkempt, and it can be challenging to remove. In this guide, we will explore the causes of soap scum, how to effectively clean it, and tips for preventing it from returning.
What Causes Bathroom Soap Scum?
Soap scum forms when soap interacts with minerals in hard water, such as calcium and magnesium. This reaction creates a filmy layer that attaches to surfaces like tiles, glass doors, and shower fixtures. The more soap and hard water you use, the more soap scum you’ll likely encounter.
Common Contributors:
- Soap: Traditional bar soaps are the biggest culprits.
- Hard Water: Areas with high mineral content in water accelerate soap scum buildup.
- Humidity: Bathrooms are naturally humid, providing the ideal environment for soap scum to thrive.
- Poor Ventilation: A lack of airflow allows moisture to linger, promoting scum buildup.
- Neglect: Regular cleaning can prevent soap scum from becoming a significant issue.
- Scrub brush or sponge
- Microfiber cloths
- Bucket
- Cleaning solution (homemade or commercial)
- Gloves (optional for sensitive skin)
- Vinegar or baking soda (optional)
- Ingredients: Equal parts of vinegar and water.
- Method: Spray on the affected area, let it sit, scrub, and rinse.
- Ingredients: Baking soda and water.
- Method: Mix into a paste, apply to stubborn scum, let it sit for 15 minutes, scrub, and rinse.
- Recommended Brands: Look for products specifically labeled for soap scum removal.
- Method: Follow the instructions on the label for application and rinsing.
- Method: A steam cleaner can help loosen soap scum without harsh chemicals. Move the nozzle across the affected areas for effective results.
Why This Problem Happens
Understanding why soap scum develops is crucial in tackling the problem effectively. When soap combines with hard water, it creates a film that clings to surfaces. Over time, this film hardens and becomes more difficult to clean.
Additional Factors:
How to Fix Bathroom Soap Scum (Step-by-Step)
Cleaning soap scum may seem daunting, but with the right approach, you can restore your shower to its former glory. Follow these steps for effective cleaning:
Step 1: Gather Your Supplies
Before you begin, gather the following items:
Step 2: Prepare the Area
Clear the shower area of personal items, towels, and bath mats. This will give you ample space to work and ensure that no items get damaged during the cleaning process.
Step 3: Apply Cleaning Solution
Choose a cleaning solution based on your preference. Spray it generously on the affected areas, focusing on tiles, glass, and fixtures. Allow it to sit for at least 10-15 minutes to break down the soap scum.
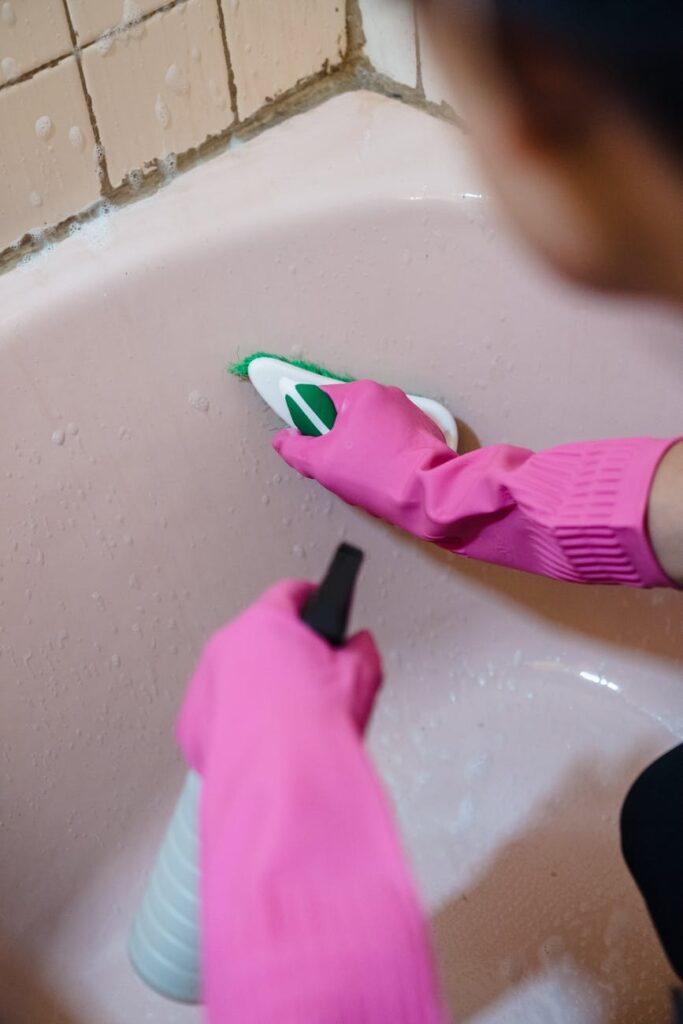
Step 4: Scrub the Surfaces
Using a scrub brush or sponge, scrub the surfaces in a circular motion. For tough spots, you may need to apply extra pressure.
Step 5: Rinse Thoroughly
After scrubbing, rinse the surfaces with warm water. Make sure to remove all cleaning solution residues.
Step 6: Dry the Area
Use a microfiber cloth to dry the surfaces. This step helps prevent new soap scum from forming.
Step 7: Regular Maintenance
To keep soap scum at bay, consider a quick wipe-down of the shower after each use.
Best Cleaning Methods
Different methods can be effective for tackling soap scum. Here are the best options:
1. Vinegar Solution
2. Baking Soda Paste
3. Commercial Cleaners
4. Steam Cleaning
Common Mistakes to Avoid
To maximize your cleaning efforts, avoid these common pitfalls:
1. Using Abrasive Tools
Avoid steel wool or rough scrubbing pads, as they can scratch surfaces, especially glass.
2. Not Rinsing Thoroughly
Failing to rinse off cleaning products can lead to residue buildup, which may attract more dirt.
3. Ignoring Hard-to-Reach Areas
Neglecting corners and edges allows soap scum to build up unnoticed. Make sure to clean these areas.
4. Overusing Cleaning Products
Using too much cleaner doesn’t make it more effective. Stick to the recommended amounts for best results.
Prevention Tips
Preventing soap scum from returning is just as important as cleaning it. Here are some practical tips:
1. Use Liquid Soap
Opt for liquid soap or body wash, as these products often contain fewer ingredients that contribute to soap scum.
2. Soft Water Solutions
If possible, consider installing a water softener. This can significantly reduce mineral content in your water.
3. Ventilation
Ensure your bathroom is well-ventilated. Use exhaust fans or open windows to reduce humidity after showers.
4. Quick Wipe-Downs
After each shower, take a minute to wipe down surfaces with a squeegee or microfiber cloth to prevent soap scum buildup.
Frequently Asked Questions
1. How often should I clean soap scum?
Aim for weekly cleanings to keep soap scum at bay. For busy households, bi-weekly may also work, but regular maintenance is key.
2. Can I use bleach to clean soap scum?
Bleach can clean soap scum but may not be the best option as it can damage surfaces and create harmful fumes. Always follow the manufacturer’s recommendations.
3. What’s the best way to clean glass shower doors?
A vinegar solution works well for glass doors. Spray, let it sit, scrub with a non-abrasive sponge, and rinse thoroughly.
4. Is it safe to mix vinegar and baking soda?
While mixing vinegar and baking soda creates a fizzy reaction that can help with cleaning, it’s best to use them separately for optimal effectiveness.
5. Does soap scum affect the lifespan of my shower?
Yes, soap scum can lead to corrosion and damage over time, potentially shortening the lifespan of fixtures and tiles.
6. Can I prevent soap scum with homemade solutions?
Yes, vinegar and baking soda are excellent, natural options for preventing and cleaning soap scum effectively.
By following this guide, you can effectively tackle soap scum in your bathroom, keeping it clean and inviting. Regular maintenance and preventive measures will go a long way in making your cleaning routine more manageable.