
Shower Mold Removal Cleaning Guide Part 1
Introduction
Shower mold is more than just an unsightly nuisance; it can lead to unpleasant odors and potential health risks. Understanding how to effectively remove and prevent shower mold is essential for maintaining a clean and healthy home. In this guide, we will walk you through the causes of shower mold, practical steps for removal, and best practices for prevention.
What Causes Mold in the Shower?
Mold thrives in damp, warm environments, making your shower a prime breeding ground. Here are some common causes:
1. High Humidity: Bathrooms often have high humidity levels due to hot showers and baths.
2. Poor Ventilation: Inadequate airflow allows moisture to linger, creating an ideal environment for mold growth.
3. Dirty Surfaces: Soap scum, shampoo residue, and body oils can provide a food source for mold.
4. Leaky Fixtures: Dripping faucets or showerheads can contribute to excess moisture.
Understanding these factors is the first step in tackling the problem effectively.
Why This Problem Happens
Shower mold develops from a combination of moisture, warmth, and organic material. When your bathroom lacks proper ventilation, humidity levels can soar, allowing mold spores to settle on surfaces. Over time, these spores multiply, leading to visible mold patches. Additionally, neglecting routine cleaning can exacerbate the problem, making it easier for mold to establish itself.
How to Fix Shower Mold (Step-by-Step)
Removing shower mold requires a systematic approach. Follow these steps for effective cleaning:
Step 1: Gather Your Supplies
Before you start, gather the following items:
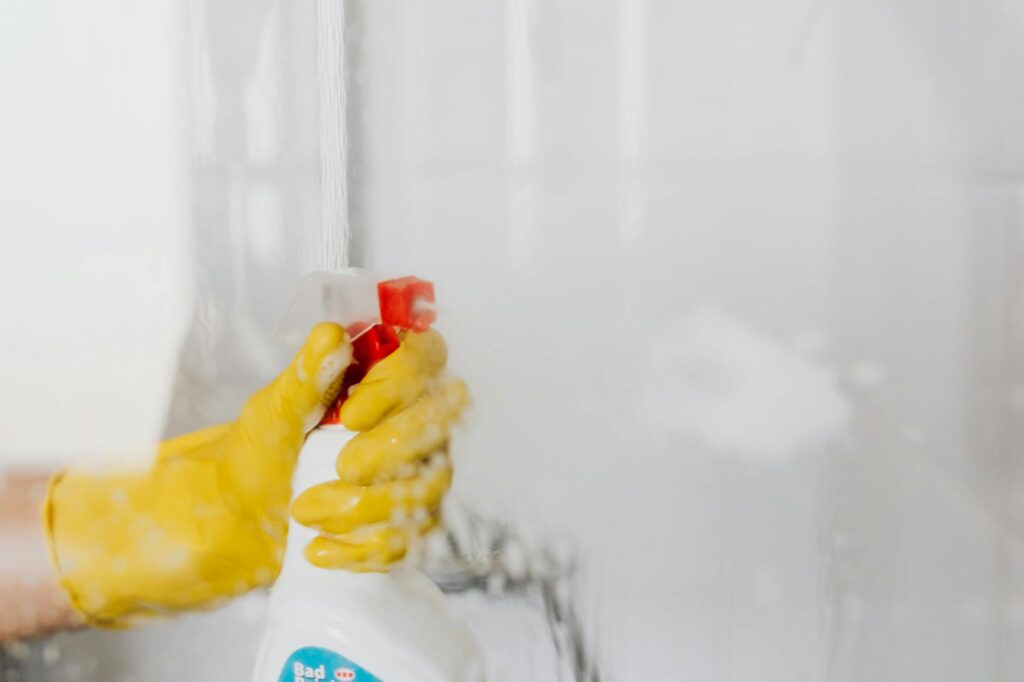
- Protective gloves
- Mask or respirator
- Scrub brush or sponge
- Spray bottle
- Cleaning solution (vinegar, bleach, or commercial mold remover)
- Microfiber cloths
- Bucket
Step 2: Ventilate the Area
Open windows and doors to ensure proper airflow. Turn on the bathroom fan (if available) to help reduce humidity and disperse any mold spores during cleaning.
Step 3: Apply the Cleaning Solution
1. Vinegar: Fill a spray bottle with white vinegar and spray directly onto the moldy areas. Let it sit for at least 30 minutes.
2. Bleach: If using bleach, mix one cup of bleach with one gallon of water. Apply it to the moldy areas using a sponge or scrub brush. Let it sit for 10-15 minutes.
Step 4: Scrub the Affected Areas
Using a scrub brush or sponge, scrub the moldy surfaces thoroughly. For tough spots, you may need to apply more cleaning solution and let it sit for a bit longer.
Step 5: Rinse and Dry
Rinse the surfaces with warm water to remove any cleaning solution and loosened mold. Use a microfiber cloth to dry the area completely, as lingering moisture can lead to mold returning.
Step 6: Dispose of Waste
Dispose of any contaminated materials, such as sponges or cleaning cloths, to prevent spreading mold spores elsewhere.
Best Cleaning Methods
The effectiveness of mold removal depends on the cleaning method used. Here are some of the most effective options:
1. Vinegar: A natural disinfectant that kills many types of mold. It’s safe and effective for most surfaces.
2. Bleach: Kills mold spores effectively but should be used with caution. Always dilute and never mix with ammonia.
3. Hydrogen Peroxide: A less harsh alternative that can kill mold without harsh chemicals. Use a 3% solution for best results.
4. Commercial Mold Removers: These products are specifically designed to tackle mold and often contain powerful ingredients. Always follow the manufacturer’s instructions.
Common Mistakes to Avoid
When dealing with shower mold, avoid these common pitfalls:
1. Using the Wrong Cleaner: Avoid mixing cleaning agents, especially bleach and ammonia, as it can create toxic fumes.
2. Neglecting Regular Maintenance: Failing to clean your shower regularly makes mold removal much harder.
3. Not Drying Completely: Leaving wet surfaces after cleaning can encourage mold to return.
4. Ignoring Hidden Areas: Mold can thrive in grout lines and behind fixtures. Be sure to clean these areas thoroughly.
Prevention Tips
Preventing mold is easier than removing it. Implement these strategies:
1. Improve Ventilation: Use exhaust fans and open windows to reduce humidity levels after showers.
2. Wipe Down Surfaces: After each shower, use a squeegee or towel to wipe down walls and doors.
3. Regular Cleaning: Clean your shower at least once a week to remove soap scum and mold spores before they can grow.
4. Use Mold-Resistant Products: Consider mold-resistant paint or grout to minimize the chances of mold growth.
Frequently Asked Questions
1. How often should I clean my shower to prevent mold?
Aim for at least once a week to keep mold at bay. If your bathroom is particularly humid, you may want to clean it more frequently.
2. Can I remove mold from grout?
Yes, grout can be cleaned effectively with a mixture of baking soda and vinegar or a commercial mold remover. Scrub the grout lines thoroughly.
3. Is it safe to use bleach for mold removal?
Bleach is effective for killing mold but should be used with caution. Always dilute it and ensure proper ventilation while using it.
4. What if the mold keeps coming back?
If mold keeps returning, it may indicate a larger issue, such as plumbing leaks or inadequate ventilation. Address these underlying problems for a lasting solution.
5. Can I use essential oils to prevent mold?
Some essential oils, like tea tree oil, have antibacterial properties and can help prevent mold. Mix a few drops with water and spray in the shower.
6. Will vinegar stain my shower?
Vinegar is generally safe for most surfaces, but always test it on a small area first, especially if your shower has natural stone.
By following this guide, you can effectively tackle shower mold and keep your bathroom clean and fresh. Remember, prevention is key, so make these practices part of your regular cleaning routine.