
Shower Head Mold Kitchen Guide Part 1
Introduction
Mold in your shower head can be an unsightly problem that affects the cleanliness and functionality of your kitchen. It not only looks unpleasant but can also lead to clogged nozzles and reduced water pressure. In this guide, we will explore the causes of shower head mold, effective cleaning methods, and tips to prevent it from returning.
What Causes Kitchen Shower Head Mold?
Shower head mold primarily forms in damp environments. The kitchen, often filled with steam and moisture from cooking, can create a perfect breeding ground for mold. Here are some specific factors that contribute to this issue:
1. High Humidity: Cooking generates steam, which increases humidity levels.
2. Water Residue: Leftover water droplets provide moisture for mold growth.
3. Poor Ventilation: Insufficient airflow allows moisture to linger.
4. Hard Water: Minerals in hard water can leave deposits that attract mold.
Why This Problem Happens
Understanding why mold forms is crucial for effective cleaning and prevention. Mold thrives in warm, damp conditions, which are abundant in kitchens. When water droplets remain on the shower head after use, they create an ideal environment for mold spores to settle and grow. In addition, if your kitchen lacks proper ventilation, the humidity levels can soar, leading to persistent mold issues.
How to Fix Kitchen Shower Head Mold (Step-by-Step)
Cleaning mold from your shower head may seem daunting, but it can be easily tackled with the right approach. Here’s a step-by-step guide:
Step 1: Gather Your Supplies
You will need:
- White vinegar or a commercial mold remover
- A plastic bag
- Rubber bands or string
- An old toothbrush or scrub brush
- A bucket or bowl
- Water
Step 2: Prepare the Vinegar Solution
If using vinegar, mix equal parts of white vinegar and water in a bucket or bowl.
Step 3: Soak the Shower Head
1. Plastic Bag Method: Fill a plastic bag with the vinegar solution.
2. Attach the Bag: Place the bag over the shower head, making sure it’s fully submerged in the solution. Secure it with rubber bands or string.
3. Let it Soak: Allow the shower head to soak for at least 30 minutes. For severe mold, leave it for a few hours or overnight.
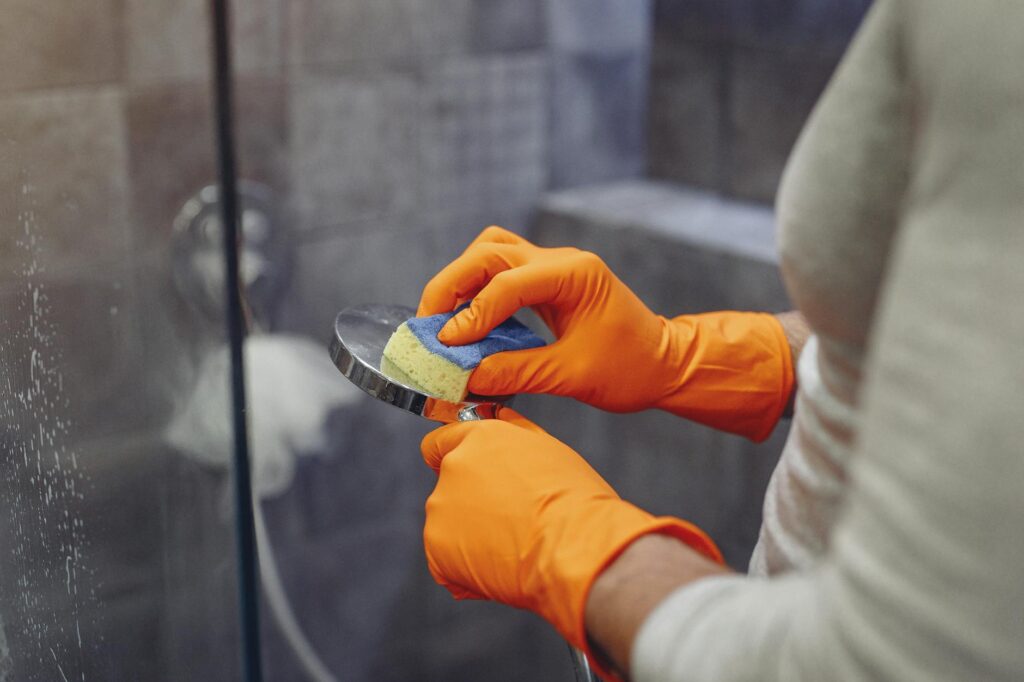
Step 4: Scrub the Shower Head
After soaking, remove the bag and discard the solution. Use an old toothbrush or scrub brush to gently scrub the shower head, focusing on any visible mold or mineral deposits.
Step 5: Rinse Thoroughly
Turn on the water to rinse the shower head thoroughly. Ensure all cleaning solution and loosened mold are washed away.
Step 6: Dry the Shower Head
Wipe the shower head with a clean cloth to remove any remaining moisture.
Best Cleaning Methods
While vinegar is an effective and natural cleaning solution, there are other methods you can consider:
1. Baking Soda Paste: Mix baking soda with water to form a paste. Apply it to the moldy areas, let it sit for 15-20 minutes, and scrub with a brush.
2. Commercial Mold Removers: If mold persists, consider using a commercial mold remover. Follow the manufacturer’s instructions for safe usage.
3. Hydrogen Peroxide: This can be an alternative for stubborn mold. Spray it on, let it sit for 10 minutes, then rinse.
Common Mistakes to Avoid
When tackling mold in your shower head, avoid these common pitfalls:
1. Forgetting to Dry: Not drying the shower head after cleaning can lead to immediate regrowth.
2. Using Too Much Water: Excessive water can cause more mold to form if it doesn’t dry properly.
3. Ignoring Regular Maintenance: A one-time clean will not suffice; regular checks and cleaning are necessary.
4. Using Abrasive Cleaners: Avoid harsh chemicals that can damage the finish of your shower head.
Prevention Tips
Preventing mold from returning is essential for long-term cleanliness. Here are some effective strategies:
1. Improve Ventilation: Use exhaust fans when cooking and open windows to reduce humidity.
2. Wipe Down After Use: After each shower, quickly wipe down the shower head to remove residual moisture.
3. Install a Water Softener: If hard water is an issue, consider installing a water softener to reduce mineral deposits.
4. Regular Cleaning: Schedule regular cleanings every few weeks to keep mold at bay.
5. Check for Leaks: Regularly inspect for leaks that could contribute to moisture buildup.
Frequently Asked Questions
1. How often should I clean my shower head?
Aim to clean your shower head every month to prevent mold buildup.
2. Can I use bleach to clean mold?
While bleach can kill mold, it may not be the best option for shower heads as it can damage finishes. Stick to vinegar or specialized cleaners instead.
3. What if the mold keeps coming back?
If mold reappears frequently, consider improving ventilation and adjusting your cleaning routine.
4. Is it safe to use vinegar on all types of shower heads?
Vinegar is generally safe for most shower heads, but check the manufacturer’s guidelines to avoid any damage.
5. Can I remove the shower head to clean it better?
Yes, removing the shower head can allow for more thorough cleaning, but make sure to follow proper procedures to avoid damaging plumbing.
6. How can I tell if my shower head is clogged?
If water pressure decreases or sprays unevenly, it may be clogged with mold or mineral deposits.
By following these guidelines, you can effectively tackle mold in your kitchen shower head, ensuring a clean and functional space. Stay vigilant, and your kitchen will remain a mold-free zone!