
Shower Grime Removal Bathroom Guide Part 1
Introduction
Keeping your shower clean can feel like an uphill battle. Soap scum, hard water stains, and mildew can accumulate quickly, turning your once-pristine oasis into a grimy space. This guide offers practical solutions to help you tackle shower grime effectively. Let’s get started.
What Causes Bathroom Grime?
Bathroom grime primarily consists of soap scum, hard water deposits, and mold or mildew. Understanding these components can help you choose the right cleaning approach.
1. Soap Scum: This is a residue left behind by soap and body oils. It appears as a sticky film on surfaces like tiles, glass doors, and fixtures.
2. Hard Water Deposits: Minerals like calcium and magnesium in hard water can create stubborn stains. These deposits often appear as white or cloudy patches on surfaces.
3. Mold and Mildew: High humidity levels in the bathroom make it a breeding ground for mold and mildew, particularly in corners and on grout lines.
Why This Problem Happens
Several factors contribute to the buildup of grime in your shower:
1. Infrequent Cleaning: Regular maintenance is key. Skipping cleanings allows grime to accumulate, making it harder to remove.
2. Poor Ventilation: Lack of airflow can lead to increased moisture, promoting mold growth and persistent dampness.
3. Water Quality: If your home has hard water, expect more mineral buildup. This can lead to hard-to-remove stains if not addressed promptly.
How to Fix Bathroom Grime (Step-by-Step)
Step 1: Gather Your Supplies
Before you start, gather the following supplies:
- Non-abrasive sponge or cloth
- Scrub brush (with soft bristles)
- Spray bottles
- White vinegar
- Baking soda
- Dish soap
- Hydrogen peroxide
- Essential oils (optional for scent)
- Vinegar and Baking Soda: A powerful combination that tackles soap scum and hard water stains effectively.
- Dish Soap and Vinegar Mix: A simple solution for regular maintenance; mix equal parts in a spray bottle.
- Commercial Cleaners: If natural methods fail, consider using a commercial cleaner specifically designed for bathroom grime. Always follow the manufacturer’s instructions.
Step 2: Prepare the Area
1. Remove Items: Take out all shampoo bottles, soap dishes, and other items from the shower.
2. Wet the Surfaces: Spray the walls and fixtures with warm water to loosen dirt.
Step 3: Use Vinegar for Soap Scum
1. Vinegar Spray: Fill a spray bottle with equal parts white vinegar and water. Spray generously on soap-scummed areas.
2. Let it Sit: Allow the solution to sit for 10-15 minutes to break down the grime.
Step 4: Scrub Away Grime
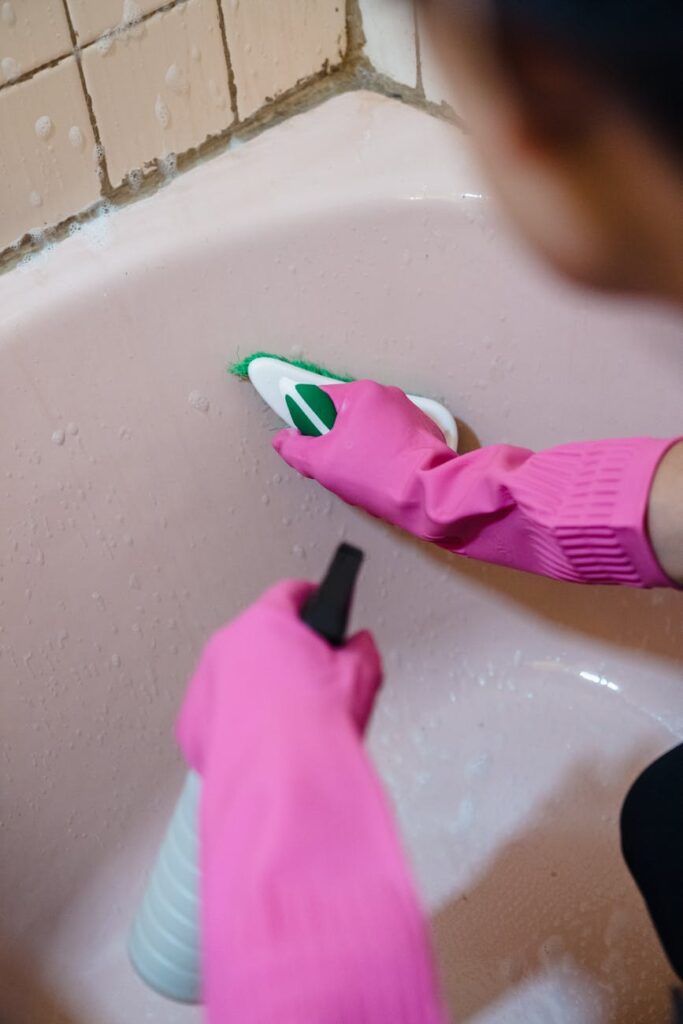
1. Scrubbing: Use a non-abrasive sponge or scrub brush to scrub the surfaces. Pay special attention to corners and grout lines.
2. Rinse Thoroughly: Rinse the area with warm water to remove loosened grime.
Step 5: Tackle Hard Water Stains
1. Baking Soda Paste: For hard water stains, create a paste using baking soda and a small amount of water.
2. Apply and Scrub: Apply the paste to affected areas and scrub gently with a soft brush. Rinse thoroughly.
Step 6: Mold and Mildew Removal
1. Hydrogen Peroxide: Use a spray bottle filled with hydrogen peroxide to target moldy areas. Spray directly and let it sit for 10-15 minutes.
2. Scrub and Rinse: Scrub the area and rinse well.
Step 7: Dry the Shower
After cleaning, dry the surfaces with a microfiber cloth. This helps prevent new grime from forming.
Best Cleaning Methods
Common Mistakes to Avoid
1. Using Abrasive Tools: Avoid steel wool or harsh scrubbing pads, as they can scratch surfaces.
2. Not Following Directions: When using commercial cleaners, always follow directions for best results.
3. Ignoring Grout: Grout can harbor mold. Don’t neglect it during your cleaning routine.
Prevention Tips
1. Squeegee After Each Use: Using a squeegee on glass doors and tiles can significantly reduce water spots and soap scum.
2. Improve Ventilation: Open windows or use a fan while showering to reduce humidity.
3. Regular Cleaning Schedule: Set a cleaning schedule, aiming for a thorough clean once a week, with quick wipe-downs in between.
Frequently Asked Questions
1. How often should I clean my shower?
Aim for a deep clean once a week, with light maintenance every few days.
2. Can I use bleach to clean my shower?
Bleach can be effective but may not be necessary. It can also damage certain surfaces, so use it with caution.
3. What is the best way to remove mildew?
Hydrogen peroxide is a safe and effective mildew remover. Apply it directly to affected areas.
4. How can I prevent hard water stains?
Consider using a water softener or regularly applying vinegar to surfaces to dissolve mineral buildup.
5. Is vinegar safe for all shower surfaces?
Vinegar is safe for most surfaces, but avoid it on natural stone like marble or granite.
6. What should I do if the stains won’t come off?
If stains persist, consider using a commercial cleaner specifically designed for tough stains or consult a professional cleaner.
By following these practical steps, you can effectively remove shower grime and maintain a clean, inviting bathroom space. Stay tuned for Part 2 of our bathroom cleaning series for more tips!