
Oven Smoke Odor Mould & Damp Guide Part 1
Introduction
Oven smoke odor can leave your kitchen smelling unpleasant, but when combined with mould and dampness, it becomes a serious issue. This guide provides practical solutions to tackle mould and damp caused by cooking, especially when it involves smoke. Understanding the causes, fixes, and prevention tips will help you maintain a clean and healthy kitchen environment.
What Causes Mould & Damp?
Mould and dampness in the kitchen can arise from various sources:
1. High Humidity: Cooking releases steam and moisture, especially when using the oven. If not properly ventilated, this moisture can accumulate.
2. Smoke Residue: Cooking at high temperatures, especially with fatty foods, can lead to smoke. This smoke can leave a residue that attracts moisture.
3. Poor Ventilation: Lack of proper airflow allows humidity to linger, creating an ideal environment for mould growth.
4. Leaky Pipes: Sometimes, the source of dampness is not from cooking but from plumbing issues that can lead to water accumulation.
5. Condensation: Cold surfaces can cause moisture in the air to condense, leading to damp spots, especially around windows and walls.
Why This Problem Happens
The kitchen is often the most humid room in the house. When you cook, especially using the oven, steam is produced. If your kitchen lacks proper ventilation, this steam can settle on surfaces, encouraging mould growth. Additionally, any smoke or grease particles left behind can attract moisture, making the situation worse.
Without prompt action, mould thrives in damp environments, leading to unpleasant odors and potential health risks.
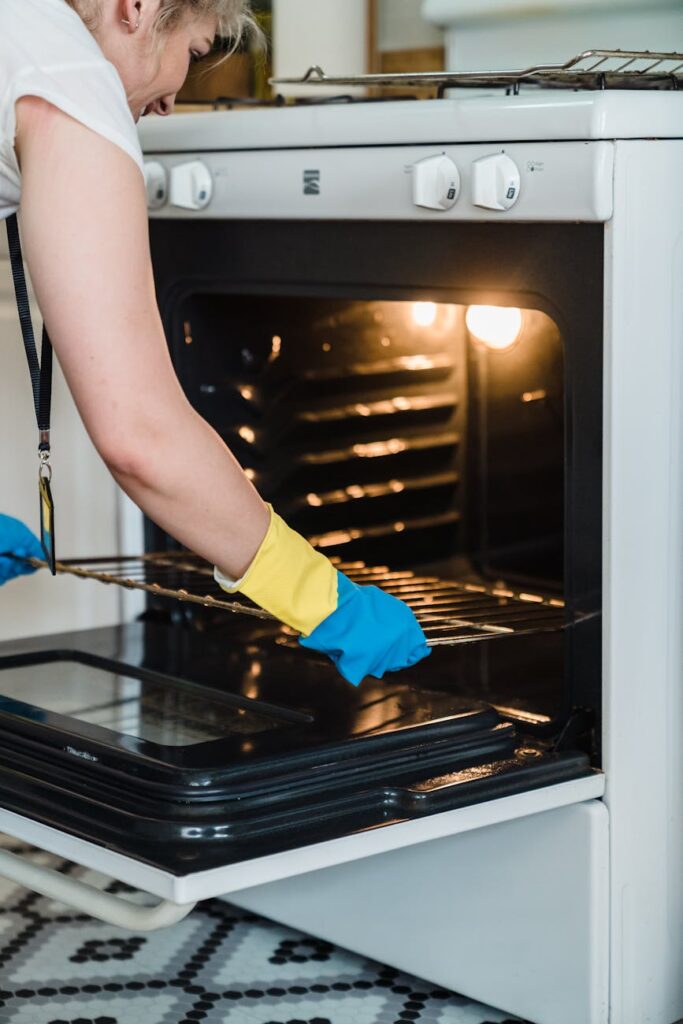
How to Fix Mould & Damp (Step-by-Step)
Step 1: Identify the Affected Areas
Check for any visible signs of mould or dampness. Look around your oven, on walls, and under countertops. Pay special attention to corners and areas near windows.
Step 2: Gather Cleaning Supplies
You will need:
- White vinegar
- Baking soda
- Spray bottle
- Soft cloths
- Scrubbing brush
- Gloves
- Bucket
- Sponge
Step 3: Prepare the Cleaning Solution
Mix equal parts white vinegar and water in a spray bottle. For tougher mould stains, you can create a paste with baking soda and water.
Step 4: Apply the Solution
Spray the affected areas generously with the vinegar solution. Let it sit for 10-15 minutes to penetrate the mould.
Step 5: Scrub the Area
Using a scrubbing brush or a soft cloth, scrub the mould away. For stubborn spots, apply the baking soda paste directly and scrub again.
Step 6: Rinse and Dry
Wipe the area with a damp sponge and then dry thoroughly with a clean cloth. Ensure no moisture is left behind, as this can lead to mould returning.
Step 7: Address Underlying Issues
If dampness persists, check for leaks. If necessary, consult a plumber to fix any plumbing issues.
Best Cleaning Methods
1. Vinegar and Water: A natural solution that effectively kills mould spores and neutralizes odors.
2. Baking Soda: Works as a gentle abrasive and deodorizer, ideal for scrubbing away stubborn mould.
3. Commercial Mould Cleaners: If natural solutions don’t work, consider using a commercial cleaner designed for mould removal. Always follow the manufacturer’s instructions.
4. Steam Cleaning: A steam cleaner can help eliminate mould and odours without chemicals, especially in hard-to-reach areas.
Common Mistakes to Avoid
1. Ignoring Ventilation: Always ensure your kitchen is well-ventilated while cooking. Running the exhaust fan can significantly reduce humidity levels.
2. Using Too Much Water: When cleaning mould, avoid soaking the area. Excess water can worsen dampness.
3. Neglecting Regular Maintenance: Regularly wipe down surfaces and check for mould growth to prevent larger issues.
4. Not Addressing the Source: If mould keeps returning, look for leaks or areas with poor ventilation that need fixing.
Prevention Tips
1. Ventilate While Cooking: Open windows and use exhaust fans to reduce humidity during and after cooking.
2. Use a Dehumidifier: This can help control moisture levels, particularly in humid climates.
3. Regular Cleaning: Frequently clean your oven and kitchen surfaces to remove smoke residue and moisture.
4. Seal Any Cracks: Ensure that windows and doors are properly sealed to prevent humidity from entering the kitchen.
5. Monitor Humidity Levels: Use a hygrometer to keep humidity levels in check; ideally, they should be below 60%.
6. Dry Wet Items Immediately: Don’t leave damp dishcloths or sponges lying around. Dry them immediately to reduce moisture levels.
Frequently Asked Questions
1. How can I tell if my mould is dangerous?
While some moulds are harmless, others can cause health issues. If you notice significant growth or persistent musty odors, it’s best to consult a professional.
2. Can I use bleach to clean mould?
Bleach can kill mould on non-porous surfaces but may not be effective on porous materials. It can also produce harmful fumes, so use it with caution.
3. How often should I clean to prevent mould?
Regular cleaning every few weeks, combined with immediate attention to spills and moisture, can help prevent mould growth.
4. Is it safe to eat food cooked in a mouldy oven?
If your oven has visible mould, it’s best to clean it thoroughly before cooking to avoid contamination.
5. What should I do if mould keeps returning?
Identify and address the underlying moisture problem. This may include fixing leaks or improving ventilation.
6. Can mould be completely eliminated?
While you can significantly reduce mould growth with proper cleaning and prevention, maintaining a dry environment is crucial for long-term control.
By understanding the causes and solutions for mould and damp related to oven smoke odor, you can keep your kitchen clean and pleasant. Stay proactive and implement these tips to ensure a healthy cooking environment.