
Oven Grease Stains Kitchen Guide Part 1
Introduction
Oven grease stains can be a homeowner’s worst nightmare. They build up over time, becoming stubborn reminders of cooking adventures. Whether it’s splatters from a roast or spills from baked goods, these stains can make your kitchen look unkempt. However, with the right tools and techniques, you can tackle these stains effectively. This guide will equip you with actionable steps to restore your oven to its sparkling condition.
What Causes Kitchen Grease Stains?
Grease stains in the kitchen primarily originate from cooking oils, fats, and food residues. When you cook, tiny droplets of oil can become airborne, settling on surfaces such as the oven, stovetop, and surrounding walls. Over time, these droplets accumulate, creating a sticky layer that attracts dust and dirt, making the stains even more difficult to clean.
Why This Problem Happens
Several factors contribute to the formation of grease stains:
1. High Temperatures: Cooking at high temperatures can cause oils to vaporize, leading to deposits on nearby surfaces.
2. Food Preparation: Frying or grilling foods tends to generate more grease than baking or steaming, increasing the likelihood of stains.
3. Lack of Regular Cleaning: If surfaces are not cleaned regularly, grease can harden, making it more difficult to remove.
4. Poor Ventilation: Insufficient airflow in the kitchen can cause grease to settle on surfaces instead of being dissipated.
Understanding these causes can help you mitigate the problem and maintain a cleaner kitchen.
How to Fix Kitchen Grease Stains (Step-by-Step)
Cleaning grease stains effectively requires a systematic approach. Follow these steps for the best results:
Step 1: Gather Your Supplies
You’ll need:
- Dish soap
- Baking soda
- White vinegar
- Spray bottle
- Non-abrasive sponge or cloth
- Scraper or plastic spatula (for tough stains)
- Microfiber cloth
- Warm water
Step 2: Create a Cleaning Solution
1. Dish Soap and Water: Mix a few drops of dish soap with warm water in a bowl. This will be your first cleaning solution.
2. Baking Soda Paste: For tougher stains, mix baking soda with a small amount of water to create a thick paste.
Step 3: Apply the Cleaning Solution
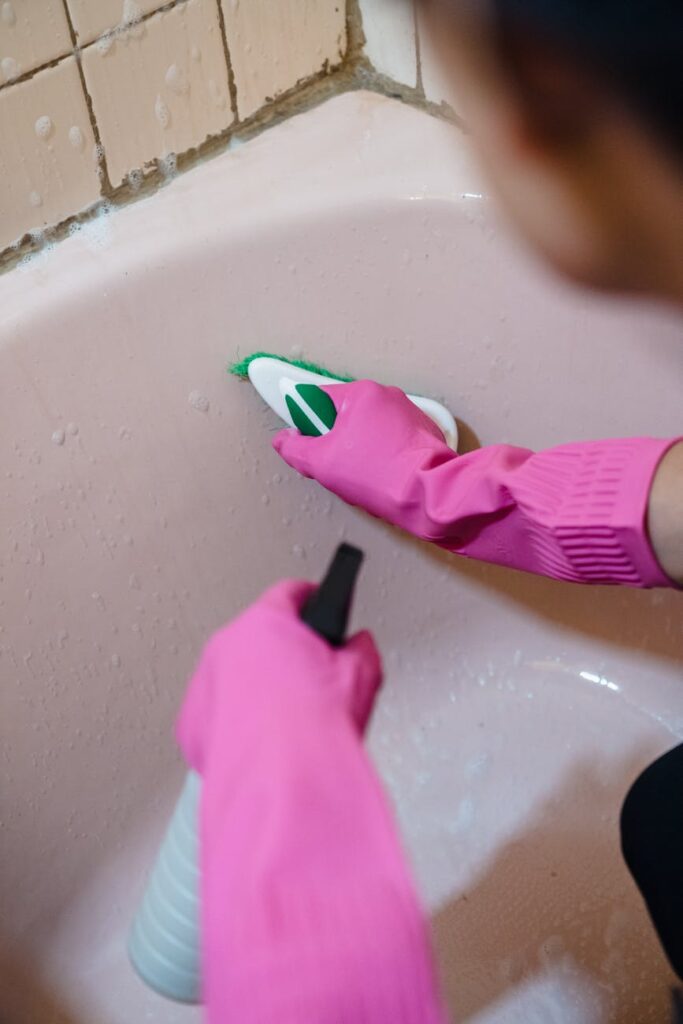
1. Initial Wipe: Use the dish soap solution to wipe down the stained areas with a non-abrasive sponge. Focus on one area at a time.
2. Baking Soda Paste: For particularly stubborn stains, apply the baking soda paste to the affected area and let it sit for 10-15 minutes.
Step 4: Scrub and Rinse
1. Scrub: Gently scrub the area using the sponge or cloth. For tough stains, use the scraper to lift off grease without scratching the surface.
2. Rinse: Wipe the area with a clean, damp cloth to remove all cleaning agents.
Step 5: Final Touch
1. White Vinegar Spray: If any residue remains, fill a spray bottle with equal parts white vinegar and water. Spray the area and wipe it down again for a streak-free finish.
2. Dry: Use a microfiber cloth to dry the surface completely.
Best Cleaning Methods
Different cleaning methods can be effective depending on the severity of the grease stains. Here are some of the best options:
1. Dish Soap: Ideal for everyday grease and grime.
2. Baking Soda: Excellent for tough stains due to its mild abrasive nature.
3. White Vinegar: A natural degreaser that can help dissolve grease and neutralize odors.
4. Commercial Degreasers: For serious buildup, consider using a commercial product specifically designed for grease removal. Always follow the manufacturer’s instructions.
Common Mistakes to Avoid
Cleaning grease stains can be frustrating, but avoiding these common pitfalls will improve your results:
1. Using Abrasive Cleaners: Avoid steel wool or harsh chemicals that can damage the surface of your oven.
2. Not Letting Solutions Sit: Allowing cleaning solutions to sit for a while can enhance their effectiveness. Don’t rush the process.
3. Neglecting Regular Maintenance: Regular cleaning prevents buildup. Set a schedule to wipe down your oven after each use.
4. Forgetting to Rinse: Residues from cleaning products can attract more dirt. Make sure to rinse thoroughly.
Prevention Tips
Preventing grease stains is easier than removing them. Here are some effective strategies:
1. Use a Splatter Guard: When frying, a splatter guard can help contain grease.
2. Regular Cleaning: Wipe down surfaces after cooking to prevent buildup.
3. Ventilation: Use your kitchen exhaust fan while cooking to minimize airborne grease.
4. Cover Foods: When baking or roasting, cover dishes with foil to reduce splatters.
5. Choose Cooking Methods Wisely: Baking or steaming typically produces less grease than frying or sautéing.
Frequently Asked Questions
1. How often should I clean my oven to prevent grease stains?
It’s best to wipe down your oven after each use and perform a deep clean every month.
2. Can I use vinegar on all types of ovens?
Yes, vinegar is generally safe for most surfaces, but avoid using it on natural stone or unsealed surfaces.
3. What should I do if the grease stains are still visible after cleaning?
Try repeating the cleaning process, allowing your cleaning solution to sit longer, or consider using a commercial degreaser.
4. Is it safe to use bleach on grease stains?
No, bleach is not recommended for grease stains as it can create hazardous fumes and may damage the oven surface.
5. Can I prevent grease stains from forming?
Yes, by regularly cleaning, using splatter guards, and improving kitchen ventilation, you can significantly reduce grease buildup.
6. What are some natural alternatives to commercial cleaners?
Baking soda, vinegar, and lemon juice are effective natural alternatives for cleaning grease stains.
By following the steps and tips outlined in this guide, you’ll be well on your way to maintaining a clean and grease-free kitchen. Stay tuned for Part 2, where we will delve deeper into specialized cleaning techniques and products!