
Mouldy Shower Tiles Kitchen Guide Part 1
Introduction
If you’ve noticed unsightly mould on your shower tiles, you’re not alone. This common issue can be both frustrating and unsightly, especially in a kitchen where cleanliness is paramount. Mould thrives in damp conditions, and kitchens often provide the perfect environment for it to flourish. This guide will walk you through the causes of mouldy shower tiles, effective cleaning methods, and tips for prevention. Let’s tackle this problem head-on.
What Causes Mould in the Kitchen?
Mould growth in the kitchen, particularly on shower tiles, is often due to excess moisture and inadequate ventilation. Here are the primary culprits:
1. High Humidity: Cooking, boiling, and washing dishes can increase humidity levels, making it easier for mould to develop.
2. Poor Ventilation: Kitchens without proper airflow can trap moisture, creating a perfect breeding ground for mould.
3. Leaky Fixtures: Any leaks from taps or pipes can contribute to dampness, allowing mould to establish itself.
4. Food Residue: Organic materials left on tiles can provide nutrients for mould growth.
5. Temperature Fluctuations: Changes in temperature can lead to condensation, which can also contribute to mould issues.
Why This Problem Happens
Understanding why mould develops on your shower tiles is crucial for effective cleaning. Here’s a deeper look:
- Moisture Retention: Shower tiles are often damp, especially if they are not dried after use. This moisture can linger, attracting mould spores.
- Dark Areas: Mould thrives in dark conditions. If your kitchen has poorly lit areas, this can encourage mould growth.
- Neglected Maintenance: Tiles that aren’t regularly cleaned or sealed can accumulate grime and moisture, making them more susceptible to mould.
- Rubber gloves
- A scrub brush or sponge
- A spray bottle
- White vinegar or a commercial mould remover
- Baking soda (optional)
- Old toothbrush (for grout)
- Microfiber cloth
- Remove any items or toiletries from the shower area.
- Ensure the space is well-ventilated to prevent inhaling cleaning products.
- Vinegar Method: Fill a spray bottle with equal parts white vinegar and water. Spray generously on the affected tiles and let it sit for at least 10-15 minutes.
- Commercial Cleaner: If using a commercial mould remover, follow the instructions on the label for application.
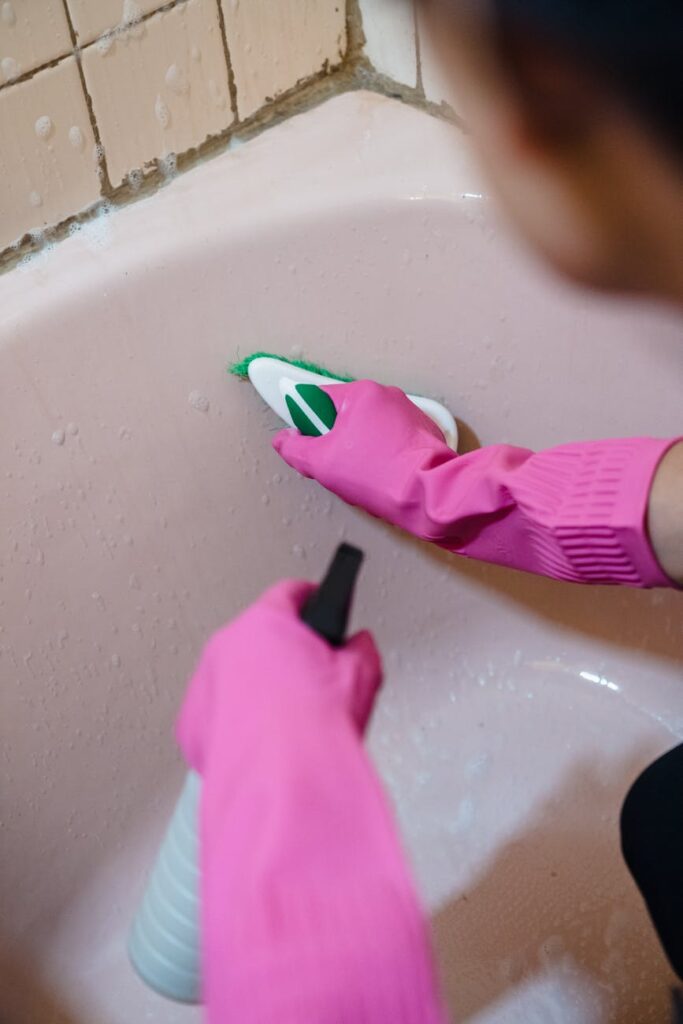
- Use a scrub brush or sponge to scrub the tiles, focusing on areas with visible mould.
- For grout lines, use an old toothbrush to get into the crevices.
- Rinse the tiles with warm water to remove any cleaning solution and loosened mould.
- Wipe down with a microfiber cloth to ensure no residue remains.
- Use a dry towel or cloth to dry the tiles. This step is crucial to prevent mould from returning.
How to Fix Mouldy Shower Tiles (Step-by-Step)
Cleaning mouldy shower tiles doesn’t have to be a daunting task. Follow these simple steps:
Step 1: Gather Your Supplies
You’ll need:
Step 2: Prepare the Area
Step 3: Apply Cleaning Solution
Step 4: Scrub the Tiles
Step 5: Rinse Thoroughly
Step 6: Dry the Area
Best Cleaning Methods
Different methods can be effective against mould, depending on the severity of the issue:
1. Vinegar: A natural, effective solution that kills most mould types. It’s also safe for most surfaces.
2. Baking Soda: An excellent choice for scrubbing away mould. Mix it with water to form a paste, apply it to the mouldy areas, and scrub.
3. Hydrogen Peroxide: This can be used for tougher mould stains. Spray it on, let it sit for 10 minutes, and scrub.
4. Bleach: While it can be effective, bleach should be used cautiously as it can damage grout and tiles. It’s best reserved for severe mould infestations.
Common Mistakes to Avoid
To ensure effective cleaning and prevent future mould growth, avoid these common pitfalls:
1. Skipping Ventilation: Always ensure the area is well-ventilated during and after cleaning.
2. Ignoring Grout: Mould can easily hide in grout lines. Make sure to clean them thoroughly.
3. Using the Wrong Products: Avoid abrasive cleaners that can scratch tiles or weaken grout.
4. Not Drying the Area: Leaving tiles damp after cleaning can lead to quick regrowth of mould.
5. Neglecting Regular Cleaning: Consistency is key. Regularly clean your tiles to prevent mould buildup.
Prevention Tips
Once you’ve tackled the mould problem, take these steps to prevent it from returning:
1. Improve Ventilation: Install a fan or open windows while cooking or showering to reduce humidity.
2. Use a Squeegee: After using the shower, use a squeegee to remove excess water from the tiles.
3. Seal Grout Lines: Apply a grout sealer every few months to protect against moisture penetration.
4. Regular Cleaning: Aim for weekly cleanings to keep mould at bay. Use vinegar or baking soda as part of your routine.
5. Monitor Humidity Levels: Consider a dehumidifier if your kitchen often feels damp.
Frequently Asked Questions
1. How often should I clean my shower tiles to prevent mould?
Aim to clean your shower tiles at least once a week to prevent mould buildup.
2. Can I use bleach to clean mould from shower tiles?
Yes, but use it sparingly as it can damage grout and tiles. Always follow up with thorough rinsing.
3. Are there any natural mould cleaners?
Yes, white vinegar and baking soda are effective natural mould cleaners.
4. What if the mould keeps coming back?
If mould continues to recur, inspect for leaks or inadequate ventilation. You may need to address underlying issues.
5. Can I prevent mould with essential oils?
Some essential oils, like tea tree oil, have antifungal properties. Add a few drops to your cleaning solution for added protection.
6. How do I know if the mould is gone?
After cleaning, the tiles should look clean and free of discolouration. If you notice a musty smell or see spots reappearing, further cleaning may be necessary.
By following this guide, you can effectively tackle mouldy shower tiles in your kitchen and take proactive steps to keep them clean. Remember, consistent maintenance is key to a mould-free environment.