
Moldy Shower Tiles Mould & Damp Guide Part 2
Introduction
Mould and damp in shower tiles can be a frustrating problem for homeowners. Not only does it affect the appearance of your bathroom, but it can also lead to more significant structural issues if left untreated. This guide aims to provide you with practical solutions to tackle this issue effectively.
What Causes Mould & Damp?
Mould thrives in wet and humid environments. In bathrooms, especially on shower tiles, several factors contribute to its development:
1. Excess Moisture: Showers create steam and excess water, which can seep into tile grout or caulking.
2. Poor Ventilation: Bathrooms that lack proper airflow trap humidity, providing an ideal breeding ground for mould.
3. Temperature Fluctuations: Warm surfaces can attract moisture from cooler air, leading to condensation.
4. Dirty Surfaces: Soap scum and grime can facilitate mould growth when not cleaned regularly.
Why This Problem Happens
Understanding why mould and damp occur in your shower tiles can help you prevent it in the future.
- Inadequate Cleaning: Regular cleaning is essential. Neglecting this task allows dirt and moisture to build up.
- Faulty Grout: Worn-out or damaged grout can allow water to penetrate beneath the tiles, creating a damp environment.
- Water Leaks: Plumbing issues can lead to leaks that contribute to dampness.
- Clutter: Shower items left on tiles can prevent water from drying completely, promoting mould growth.
- Rubber gloves
- Mask
- Bucket
- Scrub brush or sponge
- Spray bottle
- Cleaning solution (vinegar, baking soda, or commercial mould cleaner)
- Grout sealer (for after cleaning)
- Remove any items from the shower, such as toiletries and bath mats.
- Ensure the bathroom is well-ventilated. Open windows or turn on an exhaust fan.
- Vinegar Solution: Mix equal parts of water and white vinegar in a spray bottle. Spray generously on the affected areas.
- Baking Soda Paste: For tougher stains, create a paste with baking soda and water. Apply it to the mouldy areas and let it sit for about 15 minutes.
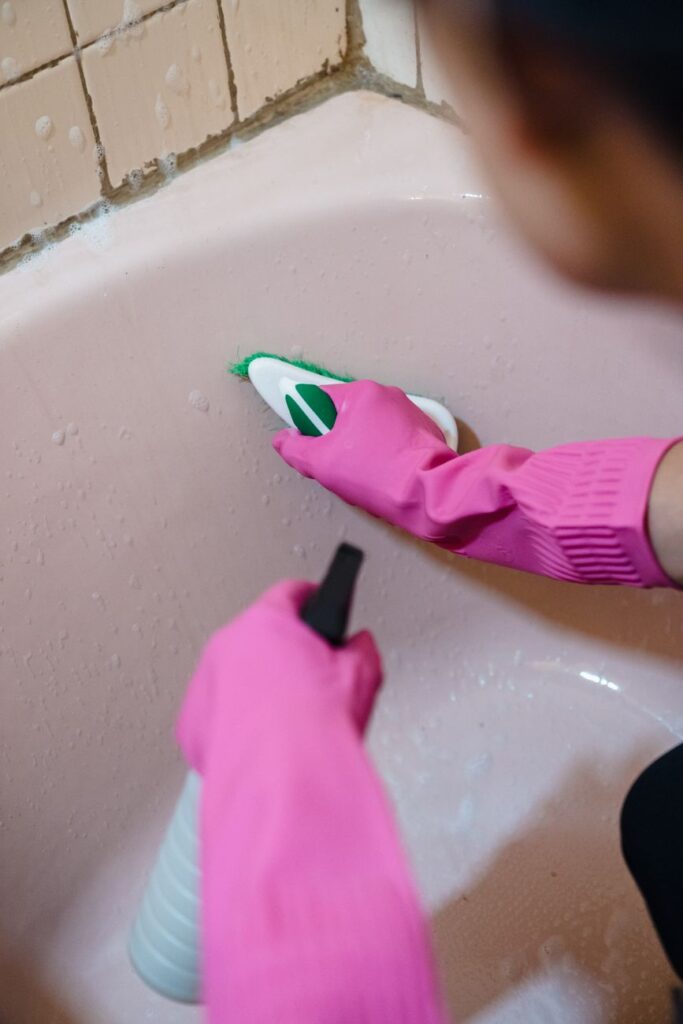
- Use a scrub brush or sponge to scrub the tiles and grout lines. Focus on areas where mould is visible.
- Rinse the tiles thoroughly with warm water to remove the cleaning solution.
- Wipe down the tiles with a dry cloth or towel to remove any remaining moisture.
- Ensure that the area is well-ventilated to help the tiles dry completely.
- Once the tiles are dry, apply a grout sealer to protect against future mould growth. Follow the manufacturer’s instructions for application.
How to Fix Mould & Damp (Step-by-Step)
Step 1: Gather Your Supplies
Before you start cleaning, gather the following supplies:
Step 2: Prepare the Area
Step 3: Apply Cleaning Solution
Step 4: Scrub the Tiles and Grout
Step 5: Dry the Area
Step 6: Seal the Grout
Best Cleaning Methods
1. Vinegar and Baking Soda: A natural and effective method. Vinegar kills mould spores, while baking soda scrubs away stains.
2. Hydrogen Peroxide: This is a powerful disinfectant. Spray 3% hydrogen peroxide on the mouldy areas, let it sit for 10 minutes, and scrub.
3. Commercial Cleaners: Use mould-specific cleaners available in stores. Always follow the instructions and safety precautions.
4. Steam Cleaning: A steam cleaner can effectively kill mould without chemicals, reaching into grout lines.
Common Mistakes to Avoid
1. Not Wearing Protection: Always wear gloves and a mask to protect yourself from mould spores and harsh chemicals.
2. Skipping the Ventilation: Good airflow is crucial while cleaning to avoid inhaling mould spores.
3. Using the Wrong Cleaners: Avoid bleach as it may not kill all mould types and can damage grout over time.
4. Neglecting Regular Maintenance: Cleaning your shower regularly can prevent mould from returning.
Prevention Tips
1. Improve Ventilation: Install an exhaust fan or open windows during and after showers to reduce humidity.
2. Use a Squeegee: After each shower, use a squeegee to remove excess water from tiles and glass.
3. Regular Cleaning: Clean your shower at least once a week using vinegar or a mild cleaner.
4. Check for Leaks: Regularly inspect plumbing for leaks that can contribute to dampness.
5. Avoid Clutter: Keep surfaces clear to allow for better airflow and drying.
Frequently Asked Questions
1. How often should I clean my shower tiles?
Aim to clean your shower tiles at least once a week to prevent mould buildup.
2. Can I use bleach to clean mould?
While bleach can remove surface mould, it doesn’t kill mould spores effectively and can damage grout. Use vinegar or hydrogen peroxide instead.
3. What if the mould keeps coming back?
If mould keeps returning, it may indicate a deeper issue, such as plumbing leaks or inadequate ventilation. Consider consulting a professional.
4. Is it safe to use commercial mould cleaners?
Yes, as long as you follow the manufacturer’s instructions and use protective gear. Always ensure proper ventilation.
5. How can I tell if my grout is damaged?
If your grout is discolored, crumbling, or missing in sections, it may be time to repair or replace it to prevent water intrusion.
6. What materials should I avoid for cleaning?
Avoid abrasive cleaners that can scratch tiles and harsh chemicals that can damage grout or tile finishes.
By following this guide, you can effectively tackle mouldy shower tiles and prevent dampness from becoming a recurring issue in your bathroom. Regular maintenance and prompt action are your best allies in keeping your shower clean and mould-free.