
Moldy Shower Head Stains Guide Part 1
Introduction
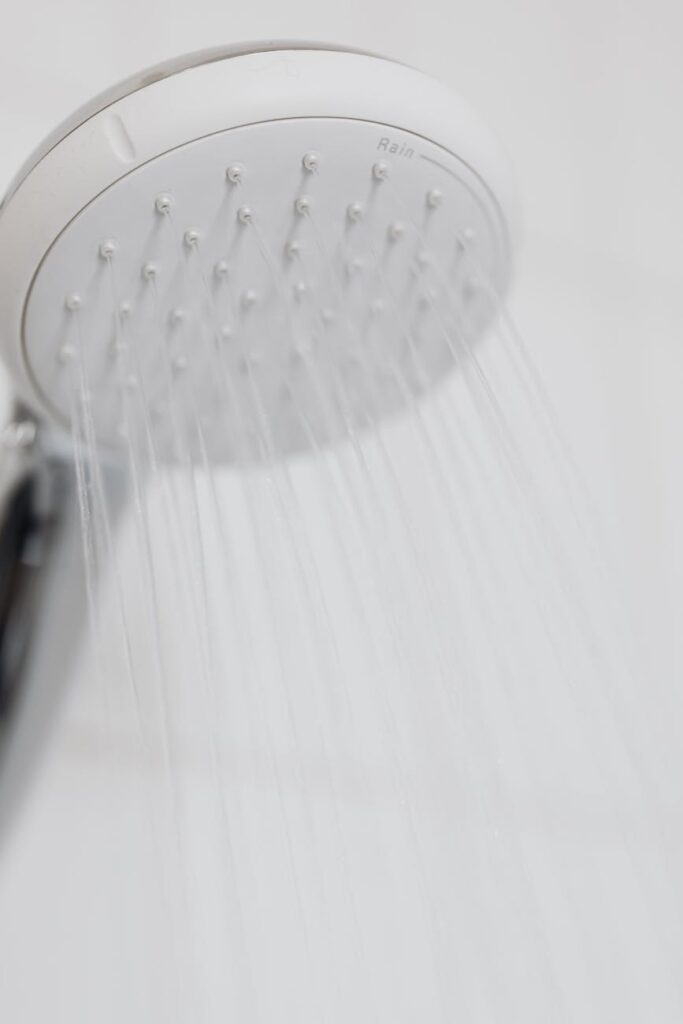
A moldy shower head can turn your relaxing shower into an unpleasant experience. Not only do these stains look unsightly, but they can also affect water flow and lead to further plumbing issues. In this guide, we’ll explore the causes of moldy stains, explain why they occur, and provide you with practical solutions for cleaning and preventing them.
What Causes Stains?
Moldy stains on shower heads are primarily caused by:
1. Moisture: Shower heads are constantly exposed to water, creating an ideal environment for mold and mildew to thrive.
2. Mineral Deposits: Hard water can leave mineral buildups that attract mold.
3. Lack of Airflow: Poor ventilation in the bathroom can exacerbate moisture problems.
4. Soap Residue: Soap scum can create a sticky surface that encourages mold growth.
Understanding these causes can help you address the problem effectively.
Why This Problem Happens
Moldy stains often develop in damp environments where moisture is prevalent. Bathrooms, particularly shower areas, are notorious for high humidity levels. When water evaporates, it can leave behind mineral deposits that provide a food source for mold. Additionally, if your bathroom lacks proper ventilation, the moisture can linger, leading to mold growth on various surfaces, including your shower head.
How to Fix Stains (Step-by-Step)
Cleaning your moldy shower head is straightforward. Follow these steps for effective results:
Step 1: Gather Your Supplies
You will need:
- White vinegar or lemon juice
- Baking soda
- A spray bottle
- A soft cloth or sponge
- An old toothbrush
- A plastic bag (optional)
- Rubber gloves (optional)
Step 2: Remove the Shower Head (If Possible)
If your shower head is removable, take it off to clean it thoroughly. This allows you to reach all areas effectively. If it’s fixed, proceed with the next steps carefully.
Step 3: Create a Cleaning Solution
For a natural cleaning solution, mix equal parts of white vinegar and water in a spray bottle. Alternatively, you can use lemon juice for a fresher scent.
Step 4: Soak the Shower Head
If removable, place the shower head in a bowl or a plastic bag filled with the vinegar solution. Let it soak for at least 30 minutes. If it’s fixed, spray the solution directly onto the affected areas.
Step 5: Scrub Away Stains
After soaking, use an old toothbrush or a soft cloth to scrub away the moldy stains. Focus on the nozzles and any crevices where mold may be hiding.
Step 6: Rinse Thoroughly
Rinse the shower head under warm water to remove any remaining vinegar and debris. Ensure all stains are gone.
Step 7: Reattach and Test
If you removed the shower head, reattach it and turn on the water to check for any remaining blockages or stains.
Best Cleaning Methods
Here are some of the most effective cleaning methods for tackling moldy shower head stains:
1. Vinegar Soak
Vinegar is a powerful natural cleaner that dissolves mineral deposits and kills mold. Soaking is essential for tough stains.
2. Baking Soda Paste
For stubborn stains, mix baking soda with a small amount of water to create a paste. Apply the paste to the stained areas, let it sit for 15-20 minutes, then scrub.
3. Hydrogen Peroxide
This solution can be effective against mold. Use a 3% concentration, apply it to the moldy areas, let it sit for 10 minutes, and then rinse.
4. Commercial Cleaners
If natural methods don’t work, consider using a commercial mold and mildew remover. Follow the manufacturer’s instructions carefully.
Common Mistakes to Avoid
When cleaning your shower head, be sure to avoid these common pitfalls:
1. Using Abrasive Cleaners: Harsh chemicals or scrubbing pads can scratch the surface, leading to further issues.
2. Not Soaking Long Enough: Insufficient soaking time can result in ineffective cleaning, leaving stains behind.
3. Neglecting Regular Maintenance: Waiting too long between cleanings can cause buildup that is harder to remove.
4. Ignoring Ventilation: Failing to improve bathroom airflow can lead to a recurrence of mold.
Prevention Tips
Prevention is key to avoiding moldy shower head stains. Here are some effective tips:
1. Regular Cleaning: Clean your shower head at least once a month to prevent buildup.
2. Improve Ventilation: Use exhaust fans or open windows to reduce humidity.
3. Wipe Down After Use: After each shower, use a squeegee or cloth to wipe down the shower head and walls.
4. Install a Water Softener: If you have hard water, consider installing a water softener to reduce mineral deposits.
Frequently Asked Questions
1. How often should I clean my shower head?
Aim to clean your shower head at least once a month to prevent mold and mineral deposits.
2. Can I use bleach to clean my shower head?
While bleach can kill mold, it may not effectively remove mineral deposits. It can also damage the finish of the shower head. Opt for vinegar or baking soda instead.
3. Is it safe to leave vinegar on the shower head overnight?
Yes, vinegar is safe for most shower heads, but avoid leaving it on too long if your shower head has a delicate finish.
4. What if my shower head is still clogged after cleaning?
If your shower head is still clogged, it may need disassembly for deeper cleaning, or you might need to replace it.
5. Can I prevent mold from growing on my shower head?
Yes, regular cleaning, proper ventilation, and keeping the shower area dry can significantly reduce the chances of mold growth.
6. What should I do if my shower head gets stained again?
If stains reappear, revisit your cleaning routine and ensure you’re following the prevention tips to keep mold at bay.
By following this guide, you can effectively tackle moldy shower head stains and keep your bathroom looking fresh and clean. Stay tuned for Part 2, where we’ll delve deeper into advanced cleaning techniques and maintenance tips.