
Moldy Shower Grout Stains Guide Part 2
Introduction
Shower grout is often the unsung hero of our bathrooms, holding tiles in place while battling moisture daily. However, its porous nature makes it a prime target for mold growth and stubborn stains. In this guide, we’ll delve into what causes these stains, why they persist, and most importantly, how to effectively clean and prevent them.
What Causes Stains?
Moldy stains in shower grout typically arise from a combination of moisture, soap scum, and body oils. Here’s a breakdown:
1. Moisture: Showers are consistently wet environments, allowing mold spores to thrive.
2. Soap Scum: Residual soap and personal care products can build up, creating a perfect breeding ground for mold.
3. Body Oils: Natural oils from skin and hair can mix with soap residue, leading to grime accumulation.
Understanding these causes helps in addressing the problem effectively.
Why This Problem Happens
Moldy shower grout stains occur due to a lack of proper cleaning and maintenance. When moisture lingers, and cleaning routines are infrequent, mold can take hold. Additionally, using wrong cleaning products can sometimes worsen the situation, making stains more difficult to remove.
Inadequate ventilation is also a significant factor. Poor air circulation can prevent moisture from evaporating, leading to mold growth.
How to Fix Stains (Step-by-Step)
Cleaning moldy shower grout requires a systematic approach. Follow these steps for effective results:
Step 1: Gather Your Supplies
- Cleaning Solution: Choose between a commercial mold remover or a homemade solution (like vinegar or baking soda).
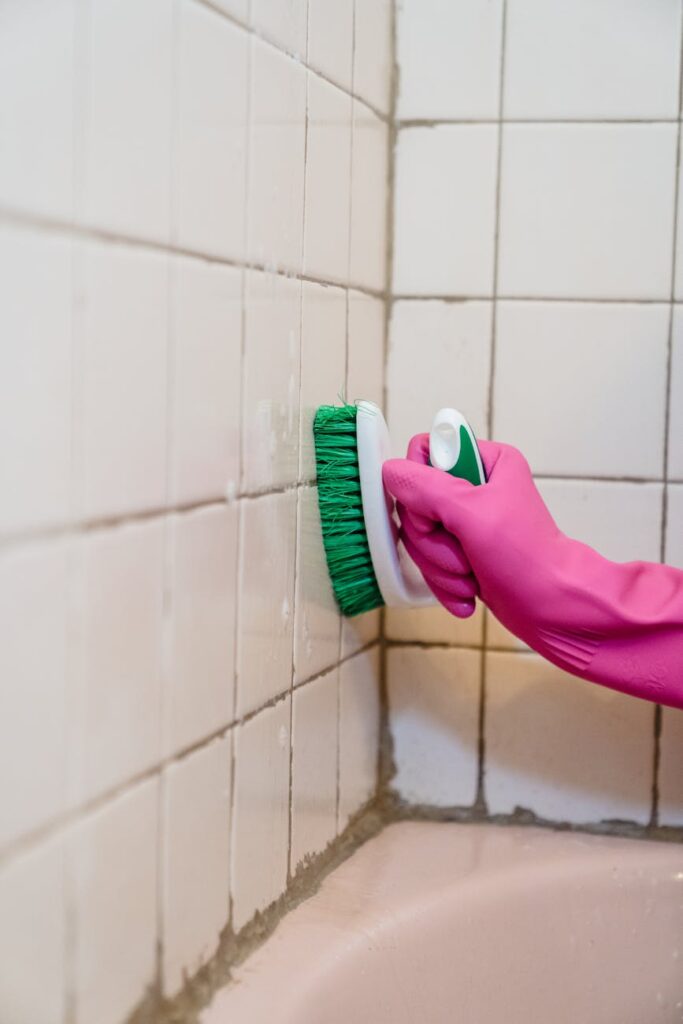
- Scrubbing Brush: A stiff-bristled brush works best for grout.
- Spray Bottle: For easy application of your cleaning solution.
- Protective Gear: Gloves and a mask to protect against fumes and mold spores.
- Microfiber Cloths: For wiping and drying.
- Ventilate: Open windows or turn on the bathroom fan to improve air circulation.
- Clear the Shower: Remove all toiletries and accessories from the shower area.
- Spray the Grout: Generously apply your chosen cleaning solution to the stained grout lines.
- Let it Sit: Allow the solution to penetrate for at least 10-15 minutes.
- Use the Brush: With firm pressure, scrub the grout lines in a circular motion. Focus on heavily stained areas.
- Rinse: After scrubbing, rinse with warm water to remove debris and cleaning solution.
- Wipe Down: Use a microfiber cloth to wipe the tiles and grout dry, minimizing moisture.
- If stains persist, repeat the process or consider a stronger cleaning solution.
- Why: The acidity in vinegar and the abrasiveness of baking soda work together to lift stains.
- How: Sprinkle baking soda on the grout, then spray with vinegar. Let it fizz, scrub, and rinse.
- Why: A strong disinfectant that effectively tackles mold.
- How: Apply hydrogen peroxide directly to the grout, let it sit for 10 minutes, scrub, and rinse.
- Why: Designed specifically for tough stains, these can be very effective.
- How: Follow the manufacturer’s instructions for application and safety.
Step 2: Prepare the Area
Step 3: Apply the Cleaning Solution
Step 4: Scrub the Grout
Step 5: Dry the Area
Step 6: Repeat if Necessary
Best Cleaning Methods
1. Vinegar and Baking Soda
2. Hydrogen Peroxide
3. Commercial Cleaners
Common Mistakes to Avoid
1. Using Abrasive Tools: Steel wool or harsh scrubbing pads can damage grout. Stick to stiff-bristled brushes.
2. Ignoring Ventilation: Always ventilate the area during cleaning to prevent mold spores from spreading.
3. Not Allowing Solutions to Sit: Skipping the soaking step can lead to ineffective cleaning.
4. Failure to Rinse: Leaving cleaning products on the surface can lead to residue buildup.
5. Too Much Cleaning Solution: More isn’t always better. Excess solution can lead to streaking and residue.
Prevention Tips
1. Regular Cleaning: Clean the grout weekly to prevent mold buildup. A simple vinegar spray can help.
2. Improve Ventilation: Use an exhaust fan during and after showers to reduce moisture.
3. Seal the Grout: Consider applying a grout sealer every six months to protect against stains and mold.
4. Squeegee After Use: Wiping down tiles and grout after showers can significantly reduce moisture.
5. Use Mold-Resistant Products: Look for shower curtains, tile cleaners, and soaps designed to inhibit mold growth.
Frequently Asked Questions
1. How often should I clean my shower grout?
Aim for weekly cleanings to prevent mold buildup.
2. Can I use bleach to clean moldy grout?
While bleach can be effective, it may damage grout over time. Opt for vinegar or hydrogen peroxide for a safer alternative.
3. What’s the best way to apply cleaning solutions?
Using a spray bottle allows for even coverage on grout lines, ensuring better penetration of the cleaning solution.
4. Can I prevent mold from coming back?
Yes! Regular cleaning, sealing the grout, and improving ventilation can significantly reduce mold recurrence.
5. Are there natural alternatives to commercial cleaners?
Yes, vinegar, baking soda, and hydrogen peroxide are effective natural alternatives.
6. What should I do if the stains persist after cleaning?
If stains remain, consider contacting a professional cleaner or re-grouting the affected areas for a more permanent solution.
By following this guide, homeowners can tackle moldy shower grout stains effectively and prevent future issues, ensuring a clean and healthy bathroom environment.