
Moldy Shower Grout Bathroom Guide Part 2
Introduction
Moldy shower grout is a common issue many homeowners face. Not only is it unsightly, but it can also lead to health concerns if left unchecked. In this guide, we will explore the causes of moldy grout, provide step-by-step instructions on how to clean it effectively, and offer tips on prevention. Whether you’re dealing with a new problem or trying to maintain your bathroom, this guide is your go-to resource for tackling moldy shower grout.
What Causes Bathroom Grout to Mold?
Mold thrives in damp, warm environments, making your bathroom an ideal breeding ground. The grout between your shower tiles is particularly susceptible to mold due to several factors:
1. Humidity: Bathrooms often have high humidity levels, especially after showers.
2. Poor Ventilation: Lack of airflow keeps moisture trapped.
3. Water Leaks: Hidden leaks can saturate grout, leading to mold growth.
4. Soap Scum: Soap residue can provide nutrients for mold.
Understanding these causes is the first step in keeping your shower grout clean and mold-free.
Why This Problem Happens
Mold growth in shower grout occurs when moisture accumulates and remains. If your shower isn’t properly ventilated or cleaned regularly, you create an environment where mold can thrive. Here are some contributing factors:
- Infrequent Cleaning: Allowing soap scum and grime to build up makes it easier for mold to take hold.
- Old Grout: Aging grout can crack and become porous, which allows moisture to penetrate.
- Temperature Changes: Fluctuating temperatures can lead to condensation, increasing moisture levels.
- Baking soda
- White vinegar
- A small bowl
- A toothbrush or grout brush
- Spray bottle
- Scrubbing sponge
- Rubber gloves (optional)
- A fan or dehumidifier
Recognizing these factors can help you address the issue before it escalates.
How to Fix Moldy Shower Grout (Step-by-Step)
Cleaning moldy shower grout requires a systematic approach. Follow these steps for effective results:
Step 1: Gather Your Supplies
You will need:
Step 2: Prepare the Area
1. Ventilate the Space: Open windows or use a fan to improve airflow.
2. Remove Items: Take away any toiletries from the shower area.
3. Dry the Area: Wipe down surfaces to remove excess moisture.
Step 3: Create a Cleaning Solution
1. Baking Soda Paste: Mix 1/2 cup of baking soda with enough water to form a thick paste.
2. Vinegar Spray: Fill a spray bottle with white vinegar.
Step 4: Apply the Cleaning Solution
1. Apply Baking Soda: Spread the paste onto moldy grout lines using your toothbrush or grout brush.
2. Spray with Vinegar: Lightly spray the areas coated with baking soda. You will notice a fizzing reaction.
Step 5: Let it Sit
Allow the mixture to sit for 10-15 minutes. This will help break down the mold and grime.
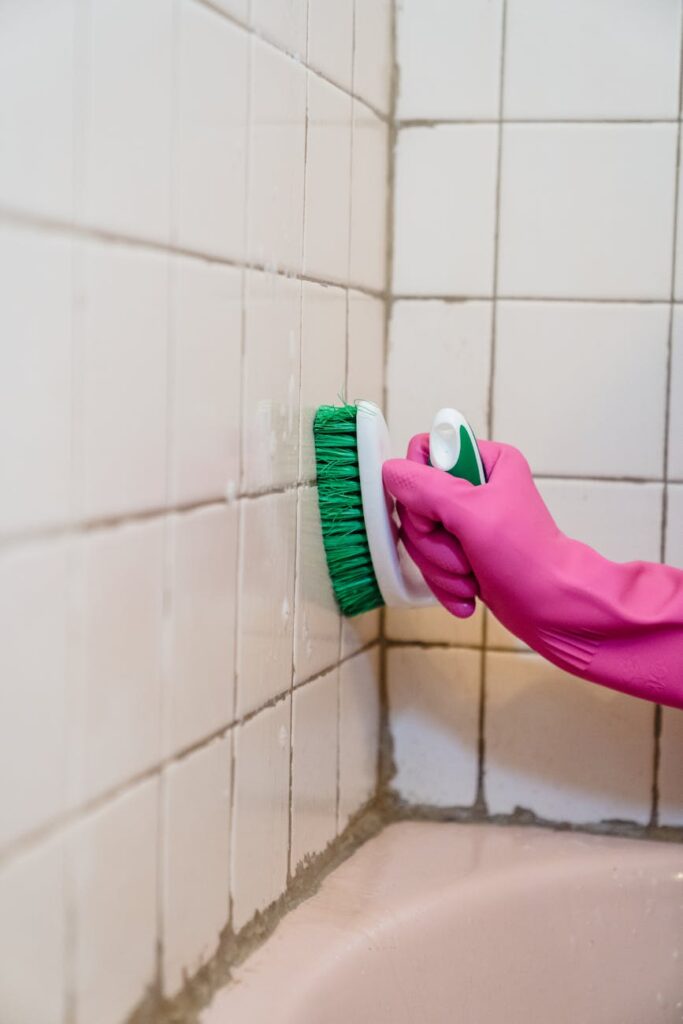
Step 6: Scrub the Grout
Use your toothbrush or grout brush to scrub the grout lines. Focus on areas with visible mold.
Step 7: Rinse Thoroughly
Rinse the area with warm water to remove all residue. Check for remaining mold and repeat if necessary.
Step 8: Dry the Area
Use a towel to dry the grout lines. Consider using a fan or dehumidifier to ensure the space is completely dry.
Best Cleaning Methods
While the baking soda and vinegar method is effective, there are other cleaning methods you can consider:
1. Bleach Solution: Mix one part bleach with three parts water. Apply carefully with a brush, but ensure good ventilation and avoid mixing with other cleaners.
2. Hydrogen Peroxide: This can be applied directly to grout, left for 10 minutes, and then scrubbed off.
3. Commercial Grout Cleaners: Many products are available that target mold and mildew. Always follow the manufacturer’s instructions.
Common Mistakes to Avoid
1. Using Abrasive Tools: Steel wool can scratch tile surfaces. Stick to soft brushes.
2. Ignoring Ventilation: Failing to ventilate while cleaning can lead to further mold growth.
3. Overlooking Sealing: Not sealing grout after cleaning can allow moisture to penetrate.
4. Using Too Much Water: Excess water can seep into grout and worsen the problem.
5. Ignoring Regular Maintenance: Neglecting to clean regularly can lead to recurring mold issues.
Prevention Tips
Preventing moldy grout involves consistent maintenance. Here are some effective tips:
1. Ventilation: Always use an exhaust fan during and after showers.
2. Regular Cleaning: Clean your shower at least once a week to prevent buildup.
3. Seal Grout: Apply a grout sealer every 6-12 months to create a barrier against moisture.
4. Wipe Down Surfaces: After each shower, use a squeegee or towel to remove excess water.
5. Control Humidity: Use a dehumidifier if your bathroom tends to be excessively humid.
Frequently Asked Questions
1. How often should I clean my shower grout?
Aim to clean it at least once a week to prevent mold from building up.
2. Can I use regular household cleaners on moldy grout?
While some household cleaners are effective, they may not specifically target mold. Opt for vinegar, baking soda, or commercial mold cleaners for the best results.
3. Is it safe to use bleach on grout?
Yes, but use it sparingly and ensure proper ventilation. Never mix bleach with other cleaners, especially ammonia.
4. How can I tell if my grout is damaged?
Look for cracks, discoloration, or if it feels crumbly. Damaged grout may need to be replaced.
5. Will sealing grout prevent mold?
Sealing grout can help prevent moisture penetration and thus reduce the likelihood of mold growth.
6. What should I do if the mold keeps coming back?
If mold continues to return, check for hidden leaks, improve ventilation, and consider professional cleaning or re-grouting.
By following this guide, you can effectively tackle moldy shower grout and maintain a clean, healthy bathroom environment. Consistent cleaning and preventive measures will keep mold at bay, ensuring your shower remains a welcoming space.