
Moldy Dish Sponge Mould & Damp Guide Part 2
Introduction
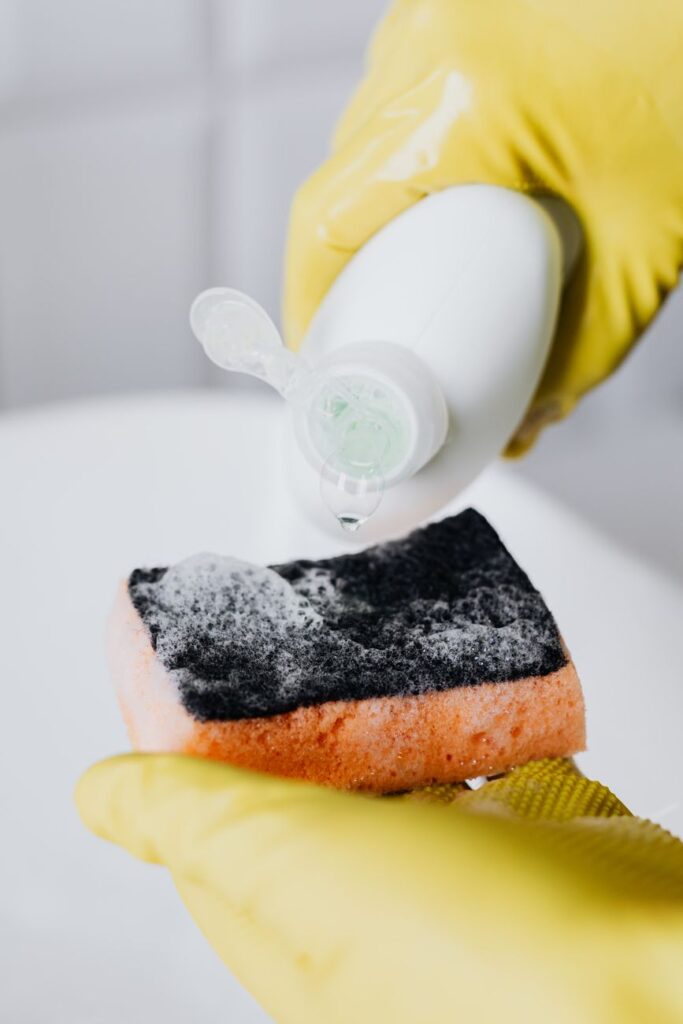
If you’ve ever opened your kitchen drawer to find a sponge that has turned black or smells musty, you’re not alone. Moldy dish sponges are a common household problem that can lead to more significant issues like dampness and unpleasant odors in your kitchen. In this guide, we will explore the causes of mold and dampness, provide actionable steps for cleaning, and offer tips for prevention.
What Causes Mould & Damp?
Mold thrives in environments that are warm, moist, and dark. Dish sponges are often perfect breeding grounds due to their consistent exposure to water and food particles. Here are the primary culprits:
1. Moisture: Sponges remain wet for long periods, creating an ideal environment for mold growth.
2. Food Residue: Leftover food particles trapped in the sponge provide nutrition for mold.
3. Poor Air Circulation: Storing sponges in closed spaces without airflow can exacerbate dampness.
4. Warm Temperatures: Kitchens can get warm, especially when cooking, which contributes to moisture retention.
Why This Problem Happens
Understanding why mold and dampness occur can help in addressing the root causes:
- Usage Patterns: Frequent use of sponges without proper drying allows moisture to accumulate.
- Storage Practices: Storing sponges in a closed container or drawer traps moisture.
- Neglect: Many homeowners overlook routine cleaning of dish sponges, allowing mold to develop unchecked.
- Take the sponge out of the kitchen.
- Inspect it for visible mold and odor.
- Option 1: Vinegar and Water
- Mix equal parts of white vinegar and water in a bowl.
- Option 2: Bleach Solution
- Mix 1 tablespoon of bleach with 1 cup of water (use caution).
- Submerge the sponge in your chosen solution for at least 5 minutes.
- Ensure the sponge is fully saturated.
- After soaking, scrub the sponge gently with a brush or your hands to remove any remaining mold.
- Rinse the sponge under hot water to remove any cleaning solution and mold residue.
- Squeeze out excess water and place the sponge in a well-ventilated area to dry completely.
- Avoid placing it back in a closed container.
- Wet the sponge and place it in the microwave for 1-2 minutes. This kills most bacteria and mold.
- Place the sponge on the top rack of your dishwasher during a hot wash cycle.
- Boil a pot of water and submerge the sponge for a few minutes. Allow it to cool before handling.
- Soak the sponge in a 3% hydrogen peroxide solution for about 10 minutes, then rinse and dry.
How to Fix Mould & Damp (Step-by-Step)
If you find a moldy sponge, act quickly to clean it and prevent further issues. Follow these steps:
Step 1: Remove and Inspect
Step 2: Cleaning Solution
Step 3: Soak the Sponge
Step 4: Scrub
Step 5: Rinse Thoroughly
Step 6: Dry Completely
Best Cleaning Methods
To effectively combat mold and dampness in kitchen sponges, consider these methods:
1. Microwave Method:
2. Dishwasher Method:
3. Boiling Water:
4. Hydrogen Peroxide:
Common Mistakes to Avoid
To effectively manage mold and dampness, avoid these common pitfalls:
1. Ignoring Sponges: Failing to clean sponges regularly can lead to severe mold growth.
2. Using Old Sponges: Replace sponges every 2-4 weeks to minimize mold risk.
3. Storing Wet Sponges: Don’t store sponges in closed containers; opt for open storage.
4. Neglecting Other Tools: Remember to clean dishcloths and scrubbers, as they can also harbor mold.
Prevention Tips
Preventing mold and dampness in your kitchen sponges requires a proactive approach:
1. Dry Thoroughly: After each use, rinse and squeeze out excess water. Place the sponge in an open area to air dry.
2. Use Multiple Sponges: Rotate between a few sponges to ensure they have time to dry properly.
3. Regular Cleaning: Clean sponges weekly using one of the cleaning methods outlined above.
4. Consider Alternatives: Use silicone or cellulose sponges, which are less prone to mold growth.
5. Keep Your Kitchen Dry: Wipe down surfaces and ensure good ventilation to reduce humidity levels.
Frequently Asked Questions
1. How often should I replace my dish sponge?
It’s recommended to replace your dish sponge every 2-4 weeks. If it has a persistent odor or visible mold, replace it immediately.
2. Can I use a moldy sponge after cleaning?
While cleaning can reduce mold, it’s safer to replace any sponge that shows signs of extensive mold growth.
3. Is bleach the best solution for cleaning sponges?
Bleach is effective, but vinegar or hydrogen peroxide are safer alternatives. Choose based on your preference and what you have on hand.
4. How can I tell if my sponge is clean?
After cleaning, the sponge should smell fresh and not have visible mold or discoloration.
5. What should I do if my kitchen smells musty?
Check for moldy sponges, dishcloths, or any damp areas in the kitchen. Clean or replace items as necessary, and ensure good ventilation.
6. Can I use the microwave method on all sponges?
While most synthetic sponges can be microwaved, avoid using this method on sponges with metal parts or those that are heavily soiled with grease.
By following these guidelines, you can effectively manage and prevent mold and dampness in your kitchen sponges, ensuring a cleaner and healthier cooking environment.