
Moldy Dish Sponge Bathroom Guide Part 1
Introduction
A clean bathroom is essential for maintaining a healthy home, but one common issue many homeowners face is the presence of moldy dish sponges. While sponges are typically used in the kitchen, they often migrate to the bathroom for various cleaning tasks. This article will address the causes of mold growth, how to fix the problem, and provide tips for prevention, ensuring your bathroom remains a safe and sanitary space.
What Causes Bathroom Mold?
Mold thrives in warm, damp environments, making bathrooms a prime location for growth. Several factors contribute to moldy dish sponges in this area:
1. Humidity: Bathrooms are often humid due to showers and baths, providing the perfect environment for mold.
2. Stagnant Water: Sponges left in wet areas, such as sinks or countertops, can easily accumulate moisture.
3. Organic Material: Food residues and dead skin cells cling to sponges, providing nutrients for mold spores.
4. Poor Air Circulation: Bathrooms with inadequate ventilation can trap moisture, creating a breeding ground for mold.
Why This Problem Happens
Understanding why mold appears on dish sponges in the bathroom is key to effectively tackling the issue:
- Infrequent Cleaning: Sponges are often overlooked in regular cleaning routines, allowing mold to grow unchecked.
- Wrong Storage: Storing sponges in damp areas without proper drying leads to mold proliferation.
- Lack of Awareness: Many homeowners do not realize how quickly mold can develop on sponges, especially in a humid environment.
How to Fix Bathroom Moldy Sponges (Step-by-Step)
If you discover a moldy sponge in your bathroom, follow these steps to resolve the issue:
Step 1: Dispose of the Sponge
If the sponge is visibly moldy, it’s best to throw it away. Mold spores can be harmful, and using a contaminated sponge can spread the problem.
Step 2: Clean the Area
1. Remove Clutter: Clear the area where the sponge was stored.
2. Wipe Down Surfaces: Use a mixture of water and vinegar or a disinfectant to clean the surface where the sponge was placed.
3. Dry Thoroughly: Ensure the area is completely dry before replacing or placing new sponges.
Step 3: Replace with a Fresh Sponge
Select a new sponge that is specifically designed for bathroom cleaning. You may also consider using alternatives like microfiber cloths, which are less prone to mold growth.
Step 4: Implement Regular Cleaning
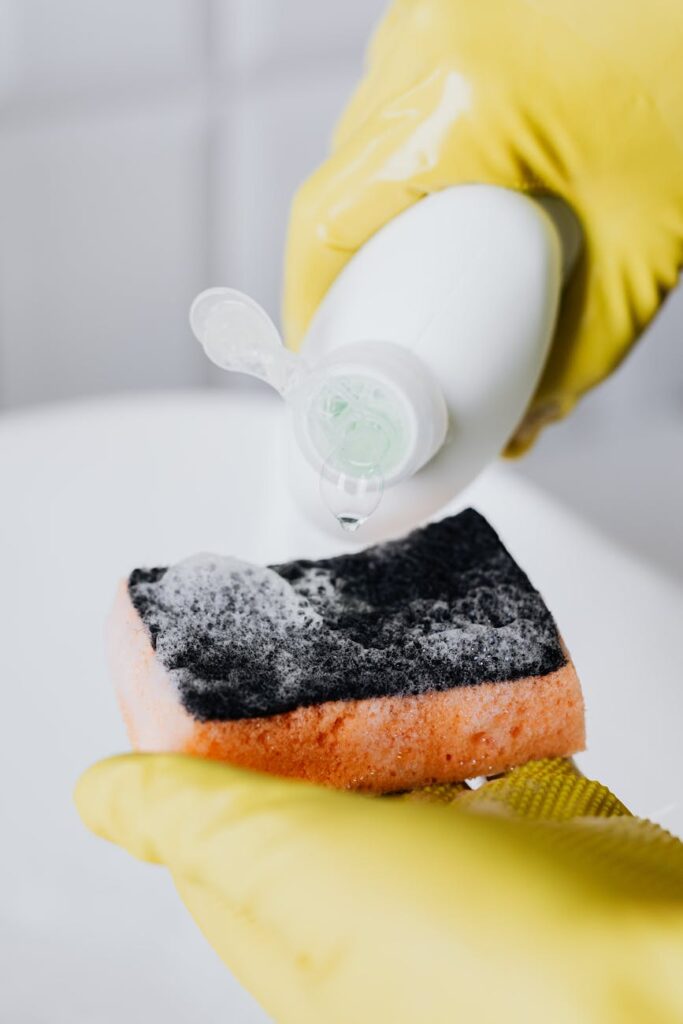
Establish a schedule for cleaning your sponges weekly. Soak them in a solution of water and vinegar or bleach for about 10 minutes to kill any lingering mold spores.
Best Cleaning Methods
Here are some effective cleaning methods for your bathroom sponges:
1. Soaking in Vinegar: Submerge the sponge in white vinegar for 10-15 minutes. Rinse thoroughly afterwards.
2. Bleach Solution: Mix one part bleach with nine parts water. Soak the sponge for 10 minutes, then rinse thoroughly. Ensure the bathroom is well-ventilated during this process.
3. Microwave Method: Wet the sponge and place it in the microwave for 1-2 minutes. Make sure it’s damp to avoid fire hazards. Allow it to cool before using it again.
4. Dishwasher Cleaning: Place the sponge on the top rack of the dishwasher during a hot cycle. This can effectively sanitize the sponge.
Common Mistakes to Avoid
To effectively manage moldy sponges in your bathroom, avoid these common mistakes:
1. Neglecting Regular Cleaning: Many homeowners forget to clean their sponges, allowing mold to develop.
2. Using Wet Sponges: Leaving sponges in wet areas without drying them promotes mold growth.
3. Not Replacing Old Sponges: Sponges should be replaced regularly, ideally every 1-2 weeks.
4. Ignoring Hidden Areas: Mold can grow on surfaces you don’t frequently clean. Regularly check and clean all surfaces in your bathroom.
Prevention Tips
Preventing mold growth on sponges is much easier than dealing with it once it appears. Here are some tips to keep your bathroom mold-free:
1. Use Microfiber Cloths: Consider using microfiber cloths instead of sponges, as they are less absorbent and easier to clean.
2. Improve Ventilation: Open windows or use exhaust fans to reduce humidity levels in the bathroom.
3. Store Sponges Properly: Hang sponges in a dry area or store them in a container with airflow to keep them dry.
4. Regularly Wash Towels: Ensure that towels and washcloths are washed frequently to reduce moisture buildup.
5. Use Anti-Mold Products: Consider using mold-resistant cleaners or sprays in your bathroom to help deter mold growth.
Frequently Asked Questions
1. How often should I replace my dish sponge?
Replace your dish sponge every 1-2 weeks, or sooner if it starts to smell or show signs of mold.
2. Can I use the same sponge for kitchen and bathroom cleaning?
It’s best to use separate sponges for the kitchen and bathroom to avoid cross-contamination.
3. What’s the best way to dry my sponge after use?
After each use, squeeze out excess water and store the sponge in a well-ventilated area to dry completely.
4. Are there any sponges that are mold-resistant?
Yes, some brands offer mold-resistant sponges that contain antimicrobial properties to deter mold growth.
5. What should I do if I have mold on other bathroom surfaces?
Use a mixture of water and vinegar or a commercial mold remover to clean affected surfaces. Make sure to dry them thoroughly afterwards.
6. Is it safe to use bleach to clean my sponge?
Yes, but use it cautiously. Dilute bleach properly and ensure your bathroom is well-ventilated during use.
By understanding the causes of moldy dish sponges in the bathroom and taking proactive steps, you can keep your bathroom clean, safe, and pleasant. Follow these practical tips to tackle this common issue effectively.