
Moldy Ceiling Corners Stains Guide Part 1
Introduction
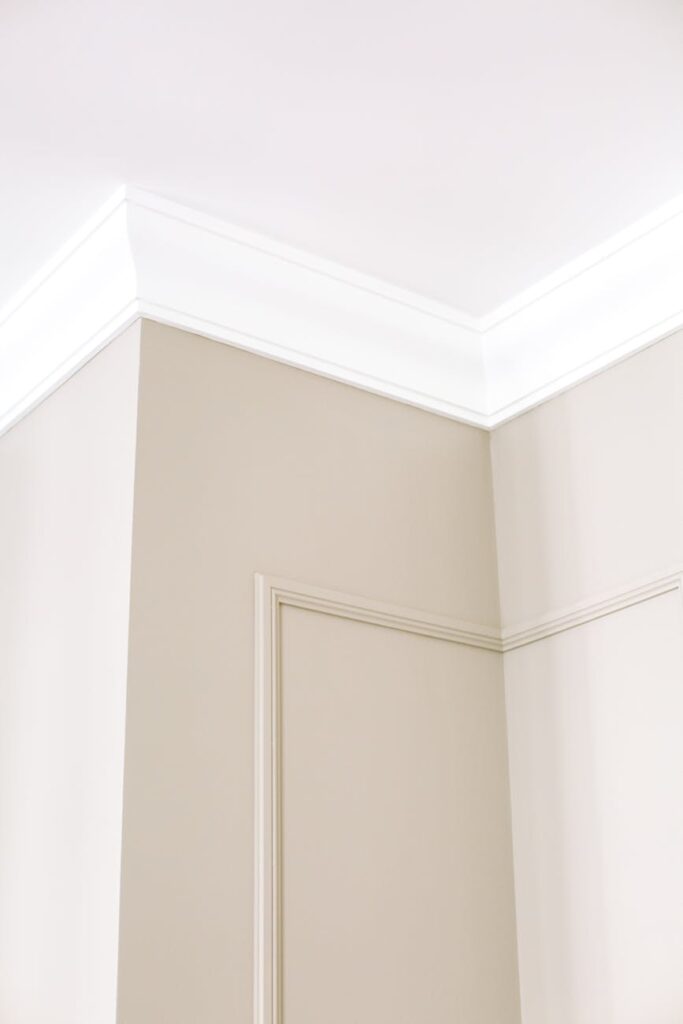
Moldy ceiling corners can be an eyesore and a source of frustration for homeowners. Not only do they affect the aesthetics of your space, but they can also indicate underlying moisture problems. This guide will help you understand what causes these stains, how to fix them, and how to prevent future occurrences.
What Causes Stains?
Moldy stains in ceiling corners often stem from excess moisture or humidity. Common causes include:
- Leaky Roofs: Roof leaks can allow water to seep into your home, creating ideal conditions for mold growth.
- Condensation: Poor ventilation in areas like bathrooms or kitchens can lead to condensation, especially in colder months.
- High Humidity: Homes with high humidity levels can foster mold growth in corners, especially in areas where airflow is limited.
- Water Damage: Previous water damage that wasn’t properly addressed can result in mold growth.
- Inadequate Ventilation: Rooms without windows or proper air circulation tend to hold moisture, which can lead to mold growth.
- Temperature Fluctuations: Changes in temperature can cause condensation to form in corners, encouraging mold development.
- Neglected Maintenance: Regular cleaning and maintenance are essential to prevent mold. If corners are overlooked, they can quickly become a breeding ground for mold spores.
- Gloves and a mask for protection
- A ladder or step stool
- A bucket
- Water
- White vinegar or bleach (for tougher stains)
- Mild detergent
- Scrub brush or sponge
- Spray bottle
- Cloths or rags
- For Light Stains: Mix one part mild detergent with three parts water in a bucket.
- For Tough Stains: Mix one cup of bleach with one gallon of water in a spray bottle or bucket. Note: Always test a small area first to ensure there’s no damage to your ceiling.
- Vinegar: An effective natural mold killer. Spray undiluted white vinegar on the stains and let it sit for an hour before wiping clean.
- Baking Soda: Mix with water to form a paste. Apply it to the stains, let it dry, then scrub and rinse.
- Hydrogen Peroxide: A powerful mold killer. Use a 3% solution, spray it on the affected areas, and let it sit for 10 minutes before wiping it off.
- Skipping Safety Gear: Always wear gloves and a mask to protect yourself from mold spores.
- Using Too Much Water: Excess moisture can worsen the problem. Use just enough to clean the area.
- Ignoring Ventilation: Allow adequate airflow while cleaning to help dry the area and reduce moisture.
- Not Addressing the Source: Failing to fix the underlying moisture problem will lead to recurring mold issues.
- Improve Ventilation: Install exhaust fans in kitchens and bathrooms to reduce humidity.
- Control Humidity: Use a dehumidifier in damp areas to keep humidity levels below 60%.
- Regular Cleaning: Clean ceiling corners regularly to prevent mold spores from settling.
- Seal Leaks: Inspect your roof and plumbing regularly to catch leaks early.
- Use Mold-Resistant Paint: Consider using mold-resistant paint in areas prone to moisture.
Understanding these causes is the first step towards effective cleaning and prevention.
Why This Problem Happens
Mold thrives in damp, dark environments. Ceiling corners often provide an ideal environment due to limited airflow and the accumulation of moisture. Here are some specific reasons why you might find moldy stains in your ceiling corners:
How to Fix Stains (Step-by-Step)
Fixing moldy stains in your ceiling corners requires a systematic approach. Follow these steps for effective cleaning:
Step 1: Gather Your Supplies
You’ll need:
Step 2: Prepare the Area
1. Clear the Area: Move furniture and remove any items from the vicinity.
2. Protect Surfaces: Lay down a tarp or old sheets to catch any drips or debris.
Step 3: Create Your Cleaning Solution
Step 4: Apply the Solution
1. Scrub the Area: Dip your scrub brush or sponge into the cleaning solution and gently scrub the stained area.
2. Let It Sit: Allow the solution to sit for about 10-15 minutes to break down the mold.
Step 5: Rinse and Dry
1. Rinse: Wipe the area with a clean damp cloth to remove any residue.
2. Dry: Use a dry cloth to ensure there’s no moisture left, as this can encourage further mold growth.
Step 6: Assess for Further Damage
Check for any signs of damage, such as peeling paint or drywall. If you notice significant damage, you may need to consult a professional.
Best Cleaning Methods
Different cleaning methods can be more effective depending on the severity of the mold. Here are some recommended approaches:
Common Mistakes to Avoid
When tackling moldy stains, avoid these common pitfalls:
Prevention Tips
Preventing moldy stains is easier than cleaning them. Here are some effective strategies:
Frequently Asked Questions
1. How can I tell if the stain is mold?
Mold typically appears as dark spots or patches and may have a fuzzy texture. If the stain smells musty, it’s likely mold.
2. Can I paint over moldy stains?
Painting over mold is not advisable without cleaning the area first. The mold will continue to grow and eventually show through the paint.
3. Is bleach the best solution for cleaning mold?
Bleach can be effective but may not penetrate porous surfaces. Consider using vinegar or hydrogen peroxide for better results on such materials.
4. How often should I check for mold in my home?
It’s a good idea to inspect for mold at least once every season, especially in high-humidity areas.
5. What should I do if the mold keeps coming back?
If mold returns after cleaning, it’s essential to address the source of moisture. You may need to consult a professional for leaks or ventilation issues.
6. Is mold dangerous?
While not all mold is harmful, some can cause health issues, especially for those with respiratory problems. It’s best to clean it up promptly and correctly.
By understanding the causes of moldy ceiling corners, following effective cleaning methods, and implementing preventive measures, you can keep your home looking fresh and mold-free. Stay tuned for Part 2, where we’ll delve deeper into advanced cleaning techniques and maintenance tips.