
Moldy Bathroom Tiles Kitchen Guide Part 2
Introduction
Moldy bathroom tiles are a common nuisance, and they can easily creep into your kitchen space if proper care isn’t taken. Mold thrives in damp environments, and kitchens can provide the perfect breeding ground if not kept clean and dry. In this guide, we will explore the causes of mold in your kitchen, how to effectively remove it, and ways to prevent it from returning.
What Causes Mold in the Kitchen?
Mold growth in the kitchen can be traced back to several factors:
1. High Humidity: Kitchens often have high humidity levels, especially after cooking or washing dishes.
2. Poor Ventilation: Insufficient airflow allows moisture to linger.
3. Leaky Pipes: Water leaks behind cabinets or under sinks create an ideal environment for mold.
4. Food Residue: Spills and crumbs can attract moisture and mold spores.
5. Condensation: Cold surfaces, like metal or tile, can collect moisture from the air.
Why This Problem Happens
Understanding why mold develops in your kitchen is key to addressing it effectively. Mold spores are present in the air and can settle on surfaces that are damp or dirty. When humidity is high, especially after cooking or cleaning, these spores can germinate and multiply quickly. Areas that are dark or poorly ventilated are especially susceptible.
Additionally, if you have leaky plumbing or appliances that generate moisture, such as dishwashers or refrigerators, you’re at an increased risk. Food residue left on countertops or in corners provides a nutrient source for mold, making cleanliness crucial in mold prevention.
How to Fix Moldy Kitchen Tiles (Step-by-Step)
Step 1: Gather Your Supplies
Before you begin, gather the following cleaning supplies:
- Rubber gloves
- A mask (to avoid inhaling spores)
- Scrub brush or sponge
- Bucket
- Warm water
- Vinegar or baking soda
- Bleach (optional, for stubborn mold)
- Spray bottle
- Vinegar Solution: Mix equal parts of white vinegar and water in a spray bottle. This solution is effective for light mold.
- Baking Soda Paste: Combine baking soda with water to form a paste for scrubbing.
- Bleach Solution (if needed): For heavy mold, mix one cup of bleach with one gallon of water. Use this sparingly as bleach can damage some surfaces.
- Vinegar and Baking Soda: These natural ingredients are effective and safe for most surfaces.
- Hydrogen Peroxide: An alternative to bleach, hydrogen peroxide can be used to eliminate mold.
- Commercial Mold Removers: There are many products on the market specifically designed for mold removal. Always follow the manufacturer’s instructions.
Step 2: Prepare the Area
1. Ensure Proper Ventilation: Open windows and turn on exhaust fans to improve airflow.
2. Remove Items: Take any items off counters and shelves that may obstruct your cleaning.
Step 3: Create a Cleaning Solution
Step 4: Apply the Solution
1. Spray or Apply: Generously apply your chosen solution to the affected tiles and grout.
2. Let It Sit: Allow the solution to sit for 10-15 minutes to penetrate and kill mold spores.
Step 5: Scrub the Area
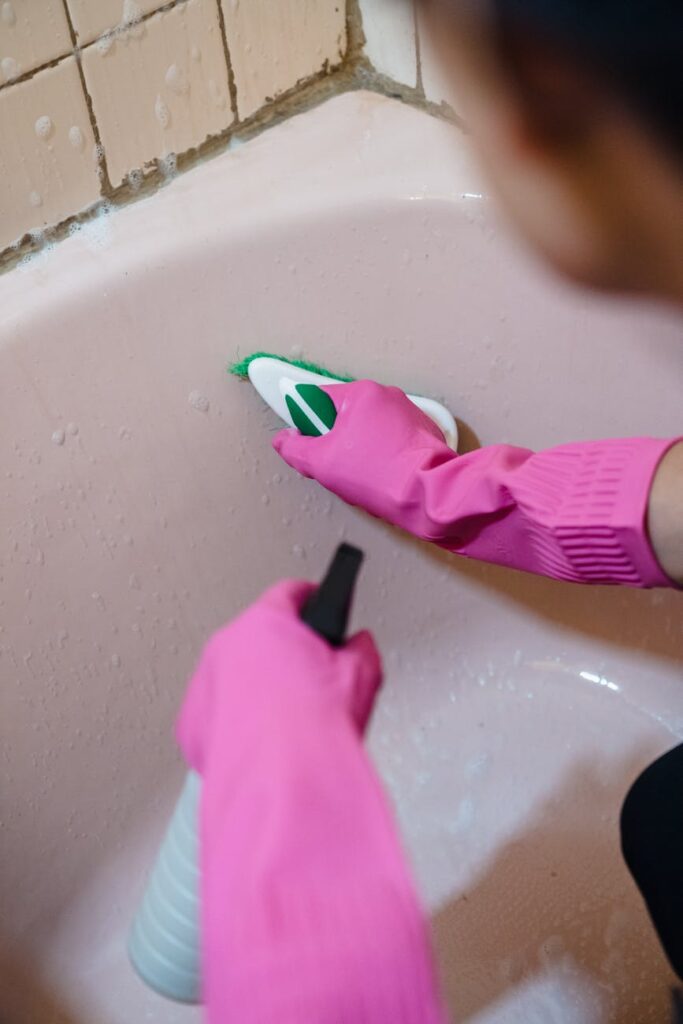
Use a scrub brush or sponge to scrub the tiles and grout. Pay extra attention to the grout lines, as mold often settles there.
Step 6: Rinse and Dry
1. Rinse: Use clean water to rinse away the cleaning solution.
2. Dry: Wipe down the tiles with a dry cloth or towel to remove any remaining moisture.
Step 7: Inspect and Repeat if Necessary
Check for any remaining mold patches. If needed, repeat the cleaning process until the tiles are mold-free.
Best Cleaning Methods
Common Mistakes to Avoid
1. Not Wearing Protective Gear: Always wear gloves and a mask to avoid direct contact with mold and spores.
2. Using the Wrong Cleaner: Avoid using abrasive cleaners on delicate tiles, as they can cause scratches and damage.
3. Ignoring Grout: Mold often hides in grout lines; be sure to thoroughly clean these areas.
4. Not Allowing Solutions to Sit: Rushing the process can lead to ineffective cleaning.
5. Failing to Dry Surfaces: Leaving surfaces damp can encourage mold to return.
Prevention Tips
1. Improve Ventilation: Use exhaust fans while cooking and open windows for airflow.
2. Wipe Down Surfaces: After cooking or cleaning, quickly wipe down surfaces to remove moisture.
3. Fix Leaks Promptly: Address any leaks or plumbing issues immediately to prevent moisture buildup.
4. Regular Cleaning: Incorporate a mold prevention routine into your cleaning schedule.
5. Use a Dehumidifier: In particularly humid climates, consider using a dehumidifier to maintain optimal humidity levels.
Frequently Asked Questions
1. How often should I clean my kitchen tiles to prevent mold?
Aim to clean your kitchen tiles at least once a week, with a more thorough cleaning every month.
2. Can I use bleach on all types of tiles?
No, bleach can damage certain tiles, especially natural stone. Always test a small area first.
3. What should I do if the mold keeps coming back?
If mold continues to return, check for hidden leaks or consider using a more potent mold remediation product.
4. Is it safe to use vinegar on grout?
Yes, vinegar is generally safe for grout, but avoid it on natural stone as it can cause etching.
5. Can I prevent mold without using chemicals?
Yes, maintaining cleanliness, improving ventilation, and using natural cleaning solutions like vinegar can help.
6. What are the signs of mold in my kitchen?
Look for black or green patches on tiles, a musty smell, and moisture in areas around sinks or dishwashers.
By following these steps and tips, you can effectively manage and prevent mold growth in your kitchen, ensuring a clean and healthy cooking environment. Regular maintenance and prompt action will keep those tiles looking fresh and mold-free.