
Moldy Bathroom Tiles Guide Part 2
Introduction
Moldy bathroom tiles are not just unsightly; they can also pose a significant cleaning challenge for homeowners. This guide will break down the causes of mold on tiles, effective cleaning methods, and how to prevent it from returning. With practical solutions and straightforward steps, you’ll be equipped to tackle this common issue confidently.
What Causes Bathroom Mold?
Mold thrives in damp, warm environments, making bathrooms a perfect breeding ground. Here are the primary culprits behind moldy bathroom tiles:
1. Humidity: High humidity levels from showers and baths create moisture that encourages mold growth.
2. Poor Ventilation: Lack of air circulation prevents moisture from evaporating, allowing mold to settle.
3. Leaky Fixtures: Dripping faucets or showerheads can create puddles that sustain mold.
4. Grout and Tile Material: Porous tiles and unsealed grout absorb moisture, providing a habitat for mold.
Why This Problem Happens
Mold on bathroom tiles typically arises when several factors combine:
- Inconsistent Cleaning: Regular cleaning helps remove soap scum and moisture, but neglect can lead to mold buildup.
- Building Materials: Materials that trap moisture or are difficult to clean can exacerbate the problem.
- Temperature Fluctuations: Rapid changes in temperature can lead to condensation, promoting mold growth.
- Rubber gloves
- Scrub brush or old toothbrush
- Bucket
- Spray bottle
- Vinegar or a commercial mold cleaner
- Baking soda
- Water
- Microfiber cloths
Understanding these factors is crucial for tackling mold effectively and preventing its return.
How to Fix Bathroom Mold (Step-by-Step)
Step 1: Gather Your Materials
Before you start cleaning, ensure you have the following supplies:
Step 2: Ventilate the Area
Open windows and doors to allow fresh air to circulate. Turn on the bathroom fan if you have one. This step is vital to reduce moisture and improve air quality while you clean.
Step 3: Prepare Your Cleaning Solution
For a natural solution, mix equal parts of water and white vinegar in a spray bottle. For tougher mold, consider adding a teaspoon of baking soda to the mixture. Alternatively, you can use a commercial mold cleaner as per the manufacturer’s instructions.
Step 4: Apply the Cleaner
Spray the affected areas generously with your cleaning solution. Pay special attention to grout lines and corners where mold tends to accumulate. Allow the solution to sit for 10-15 minutes to penetrate the mold.
Step 5: Scrub the Tiles
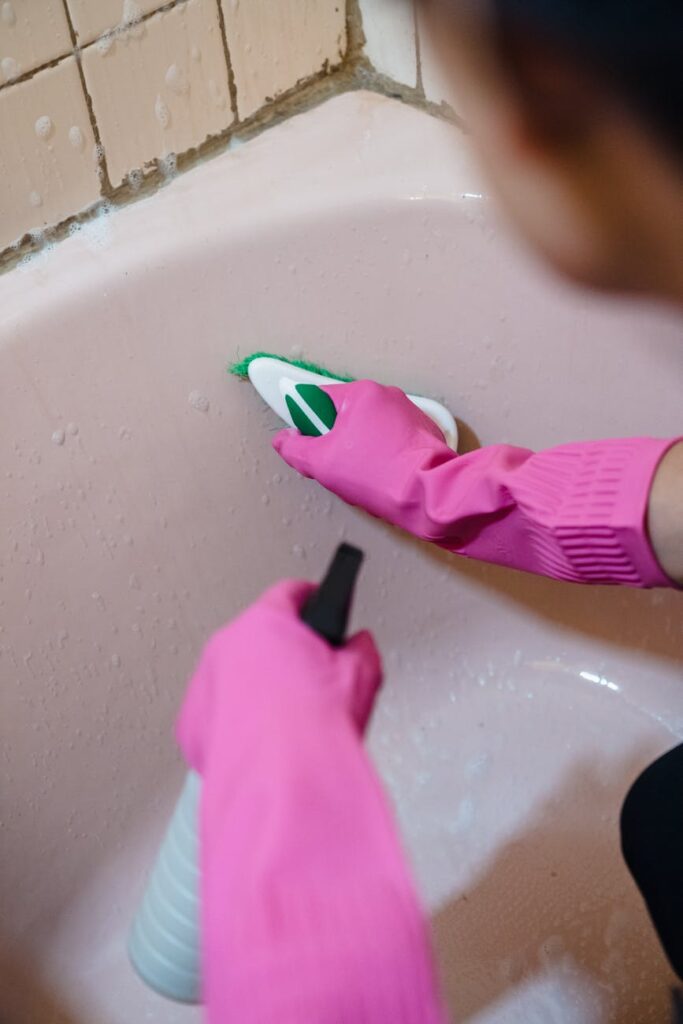
Using a scrub brush or an old toothbrush, scrub the affected tiles and grout lines. Use circular motions to lift the mold without damaging the tile surface. For stubborn spots, reapply the cleaner and let it sit for a few more minutes before scrubbing again.
Step 6: Rinse Thoroughly
After scrubbing, rinse the tiles with warm water. Use a damp microfiber cloth to wipe away any leftover cleaner. Make sure to remove all residues to prevent future mold growth.
Step 7: Dry the Area
Use a dry microfiber cloth to wipe down the tiles and grout. Ensure that the area is completely dry since moisture is a mold’s best friend.
Best Cleaning Methods
Vinegar and Baking Soda
This natural combination is effective for mild mold growth. Vinegar’s acidity kills most mold species, while baking soda acts as a gentle abrasive for scrubbing.
Hydrogen Peroxide
For tougher mold stains, 3% hydrogen peroxide can be effective. Apply it directly to the moldy area, let it sit for 10 minutes, then scrub and rinse.
Commercial Mold Cleaners
If natural methods fail, consider using commercial cleaners designed specifically for mold removal. Always follow the manufacturer’s instructions and ensure good ventilation when using these products.
Common Mistakes to Avoid
1. Skipping Ventilation: Not ventilating the area can exacerbate the problem and make cleaning less effective.
2. Using Too Much Water: Excessive water can cause more mold to form, especially if it seeps into grout lines.
3. Neglecting Grout: Focusing only on tiles and ignoring grout can lead to recurring mold issues.
4. Using Abrasive Tools: Avoid steel wool or harsh scrubbers that can scratch tile surfaces, making them more prone to mold.
Prevention Tips
1. Improve Ventilation: Install an exhaust fan to reduce humidity. Open windows during and after showers.
2. Seal Grout: Use a grout sealer to create a barrier against moisture and prevent mold growth.
3. Regular Cleaning: Clean tiles and grout weekly with a mild cleaner or vinegar solution to prevent buildup.
4. Dry After Use: Wipe down tiles after each use to remove moisture. Consider using a squeegee for glass shower doors.
5. Fix Leaks: Repair any leaking fixtures promptly to eliminate sources of excess moisture.
Frequently Asked Questions
1. How often should I clean my bathroom to prevent mold?
Aim for a weekly cleaning routine to keep mold at bay. High-humidity areas may require more frequent attention.
2. Can I use bleach to remove mold from tiles?
While bleach can remove mold, it may not penetrate porous surfaces effectively. Consider alternatives like vinegar or hydrogen peroxide for better results.
3. What is the best way to clean grout?
A mix of baking soda and vinegar works well for cleaning grout. Apply the mixture, let it sit, scrub, and rinse for best results.
4. Is it safe to use commercial mold cleaners?
Yes, provided you follow the manufacturer’s instructions and ensure proper ventilation while using them.
5. How can I tell if my mold problem is serious?
If you notice extensive mold growth, a musty odor persists, or if it recurs frequently, it may be time to consult a professional.
6. Can mold reappear after cleaning?
Yes, if moisture persists or if the area isn’t dried properly, mold can return. Follow prevention tips to minimize this risk.
By following these steps and tips, you can maintain a clean, mold-free bathroom environment. Regular maintenance and prompt action will keep your tiles looking fresh and your bathroom a welcoming space.