
Moldy Bathroom Grout Cleaning Guide Part 2
Introduction
If you’ve ever stepped into your bathroom and spotted unsightly moldy grout, you know the frustration it brings. Mold not only detracts from your bathroom’s appearance but can also indicate underlying moisture issues. This guide will equip you with practical, actionable steps to tackle moldy bathroom grout effectively.
What Causes Moldy Grout?
Mold thrives on moisture, making bathrooms a prime environment. The primary factors contributing to moldy grout include:
1. High Humidity: Bathrooms often have high humidity levels due to showers and baths.
2. Poor Ventilation: Inadequate air circulation allows moisture to linger.
3. Neglected Cleaning: Regular cleaning can prevent mold buildup. If it’s overlooked, mold settles in.
4. Old Grout: Worn or cracked grout can trap moisture, creating a perfect breeding ground for mold.
Why This Problem Happens
Understanding the root causes of moldy grout is essential for effective cleaning. Mold spores are microscopic and can easily embed themselves in porous materials like grout. When combined with moisture and warmth, they flourish. If left unchecked, mold can spread rapidly, making cleaning more challenging.
How to Fix Moldy Grout (Step-by-Step)
Follow these steps for a thorough cleaning of moldy grout:
Step 1: Gather Your Supplies
Before you start, ensure you have the following tools and products:
- Rubber gloves
- A scrubbing brush or old toothbrush
- Spray bottle
- Baking soda
- Vinegar
- Hydrogen peroxide (optional)
- Grout sealer (for after cleaning)
Step 2: Prepare the Area
Clear the bathroom of any items that may get in the way. This includes towels, toiletries, and rugs. Ensure proper ventilation by opening windows or turning on an exhaust fan.
Step 3: Apply Cleaning Solution
Baking Soda and Vinegar Method
1. Sprinkle baking soda generously over the moldy grout.
2. Spray vinegar over the baking soda. You’ll notice bubbling; this reaction helps lift the mold.
3. Let it sit for about 10-15 minutes.
Hydrogen Peroxide Method (Optional)
If the mold is particularly stubborn:
1. Spray hydrogen peroxide directly onto the grout.
2. Let it sit for at least 10-15 minutes.
Step 4: Scrub the Grout
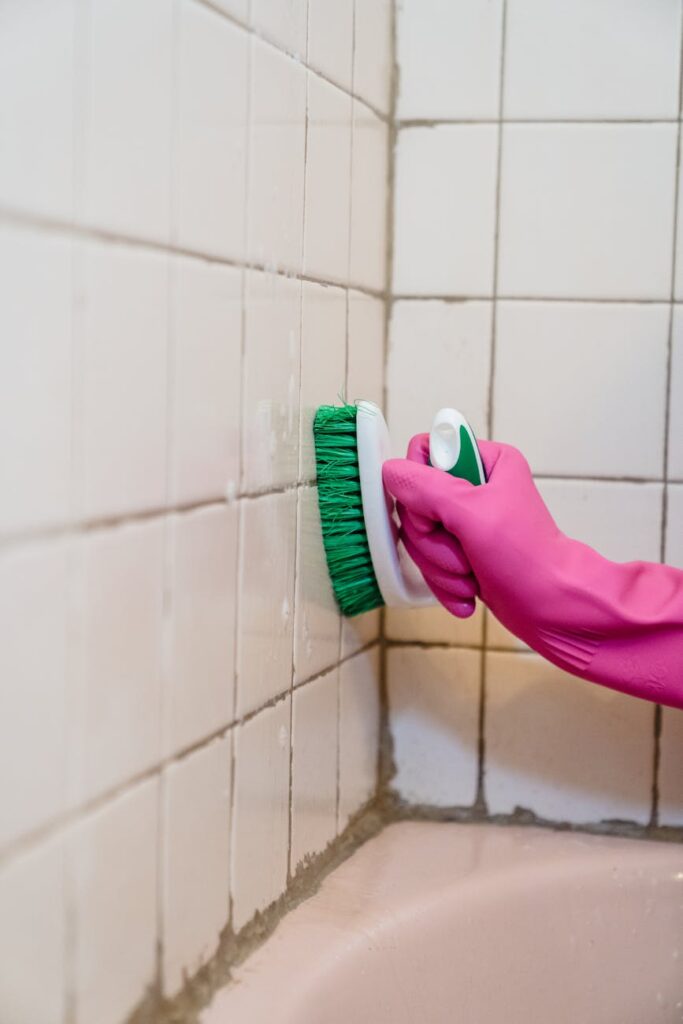
Using the scrubbing brush or toothbrush, scrub the grout lines vigorously. Focus on areas with visible mold. You may need to apply a bit more baking soda or vinegar if the mold persists.
Step 5: Rinse Thoroughly
After scrubbing, rinse the area with warm water. Ensure all cleaning agents are washed away to prevent residue build-up.
Step 6: Dry the Area
Use a clean cloth or towel to dry the grout thoroughly. This step is crucial to prevent mold from returning.
Step 7: Seal the Grout
Once the grout is completely dry, consider applying a grout sealer. This adds a protective layer, making it more resistant to moisture and mold.
Best Cleaning Methods
The following methods are effective in combating moldy grout:
1. Baking Soda and Vinegar: This natural method is safe and effective for most mold issues.
2. Hydrogen Peroxide: A powerful alternative for tougher mold stains.
3. Commercial Grout Cleaners: If natural methods fail, consider a commercial cleaner specifically designed for mold and mildew.
4. Steam Cleaning: For a deep clean, steam cleaners can effectively kill mold spores.
Common Mistakes to Avoid
1. Ignoring Ventilation: Always ventilate the area when cleaning. It helps dry out moisture that can lead to mold.
2. Using Bleach: While bleach can kill mold, it does not prevent it from returning and can damage grout over time.
3. Not Sealing Grout: Failing to apply a grout sealer after cleaning can lead to rapid mold regrowth.
4. Rushing the Cleaning Process: Take your time to ensure thorough cleaning and drying.
Prevention Tips
1. Ventilate Regularly: Always use an exhaust fan or open windows during and after showers.
2. Wipe Down Surfaces: After using the bathroom, wipe down tiles and grout with a squeegee or towel.
3. Use Mold-Resistant Products: Consider mold-resistant grout and bathroom paints.
4. Regular Cleaning Schedule: Establish a routine cleaning schedule to keep mold at bay.
Frequently Asked Questions
1. How often should I clean my bathroom grout?
Aim to clean your bathroom grout every month to prevent mold buildup.
2. Is baking soda safe for all types of grout?
Yes, baking soda is gentle and safe for most types of grout. Always test a small area first.
3. Can I use bleach on moldy grout?
While bleach can kill mold, it does not prevent regrowth and can damage grout over time. It’s better to use baking soda or vinegar.
4. How long does it take for the cleaning solutions to work?
Let the baking soda and vinegar solution sit for about 10-15 minutes to effectively lift the mold.
5. What if the mold keeps coming back?
If mold returns despite cleaning, check for leaks or moisture issues in the bathroom, and consider sealing the grout after cleaning.
6. Can I use a toothbrush to clean grout?
Yes, an old toothbrush is great for scrubbing moldy grout, as it can reach into the crevices effectively.
By following this guide, you’ll be well-equipped to handle moldy bathroom grout, restoring your bathroom to a cleaner, fresher state. Regular maintenance and proper cleaning techniques will keep mold at bay and ensure a healthy bathroom environment.