
Laundry Stain Removal Cleaning Guide Part 1
Introduction
Stains on laundry can be a homeowner’s worst nightmare. Whether it’s a drop of red wine on your favorite shirt or grass stains on your kids’ pants, knowing how to tackle these issues effectively can save both your clothes and your sanity. This guide will equip you with the essential knowledge and techniques for removing various stains from your laundry, so you can keep your wardrobe looking fresh and clean.
What Causes Stains?
Understanding what causes stains is crucial in tackling them effectively. Stains can be classified into several categories based on their origin:
1. Food and Beverage: Spills from sauces, drinks, or snacks often leave behind stubborn marks.
2. Grease and Oil: Cooking oils, lotions, and even certain cosmetics can create oily stains.
3. Dirt and Mud: Outdoor activities can lead to dirt and mud smudges, particularly on kids’ clothing.
4. Ink and Dye: Pens and markers can leave behind ink stains that are tough to remove.
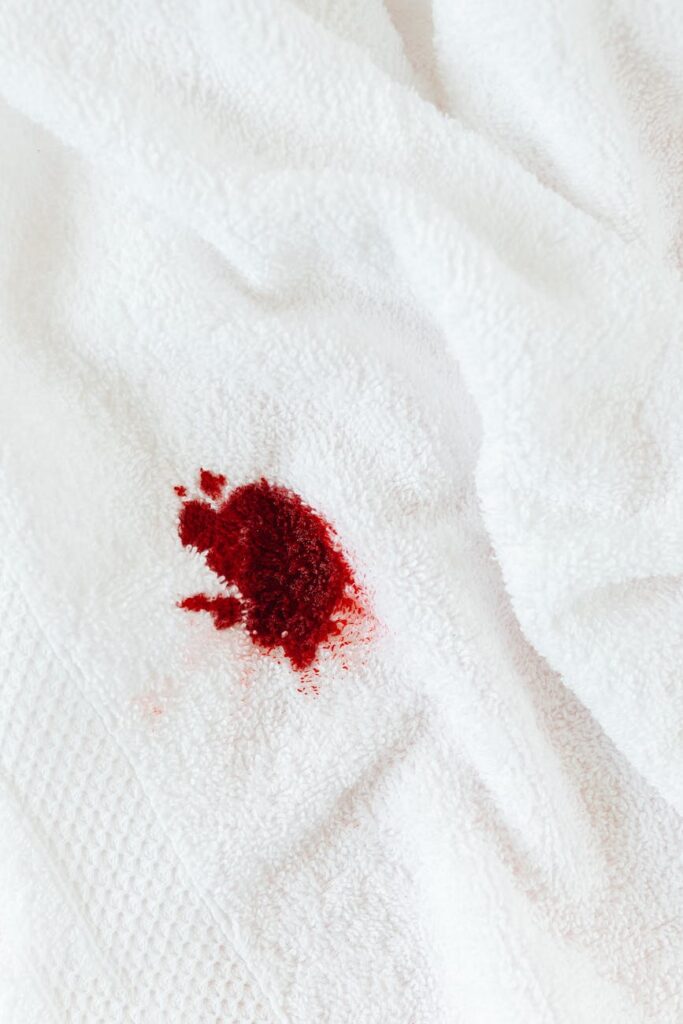
5. Biological Stains: Sweat, blood, and other biological substances can lead to discoloration.
Why This Problem Happens
Staining occurs due to the interaction between the stain’s components and the fabric. Some materials are more porous, allowing stains to penetrate deeper into the fibers. The longer a stain sits, the more difficult it becomes to remove. Additionally, using the wrong cleaning method or product can set the stain, making it virtually impossible to eliminate.
How to Fix Stains (Step-by-Step)
Here’s a general step-by-step guide for tackling stains:
Step 1: Act Quickly
- As soon as you notice a stain, address it. The quicker you act, the better your chances of complete removal.
- Use a clean cloth or paper towel to blot the stain, absorbing as much of the spill as possible. Rubbing can spread the stain and push it deeper into the fabric.
- Knowing what caused the stain will help in choosing the right cleaning method.
- Apply a stain remover or a DIY solution directly to the stain. Let it sit for at least 5-10 minutes.
- After pre-treating, wash the item according to its care label instructions. Use the hottest water safe for the fabric.
- After washing, check to see if the stain is gone. If it remains, repeat the process before putting the item in the dryer, as heat can set the stain.
- Solution: Mix one part dish soap with two parts hydrogen peroxide. Apply to the stain and let sit for 30 minutes before washing.
- Solution: Sprinkle baking soda on the stain to absorb oil, then apply a grease-fighting dish detergent. Let it sit for 15 minutes, then rinse.
- Solution: Let the mud dry completely, then brush off the excess. Pre-treat with a stain remover and wash.
- Solution: Dab the stain with rubbing alcohol on a cotton ball. Blot the area until the ink lifts, then wash.
- Solution: Rinse the stained area with cold water and treat with an enzymatic stain remover, which breaks down organic stains.
Step 2: Blot, Don’t Rub
Step 3: Identify the Stain
Step 4: Pre-Treat the Stain
Step 5: Wash Normally
Step 6: Check Before Drying
Best Cleaning Methods
Different stains require different approaches. Here are some effective methods based on common types of stains:
Food and Beverage Stains
Grease and Oil Stains
Dirt and Mud Stains
Ink Stains
Biological Stains
Common Mistakes to Avoid
1. Letting Stains Sit: The longer a stain sits, the harder it is to remove.
2. Using Hot Water Prematurely: Hot water can set some stains, particularly protein-based stains like blood or sweat.
3. Not Testing Products: Always test a new cleaning product on a hidden area first to avoid discoloration.
4. Overloading the Washer: This can prevent clothes from getting cleaned properly, allowing stains to remain.
5. Skipping the Pre-Treatment: Not pre-treating stains can lead to incomplete removal during washing.
Prevention Tips
1. Act Fast: Address spills immediately to prevent stains from setting.
2. Use a Stain Repellent: Consider applying a fabric protector to new clothes to help repel stains.
3. Separate Your Laundry: Wash whites, colors, and delicates separately to prevent dye transfer.
4. Read Labels: Always check care labels for specific washing instructions.
5. Store Stain Removers Nearby: Keep stain removers in your laundry area for quick access.
Frequently Asked Questions
1. Can I use bleach on all stains?
No, bleach can damage some fabrics and set certain stains. Always check the care label.
2. What should I do if the stain doesn’t come out after the first wash?
Repeat the pre-treatment and washing steps before drying. If necessary, try a different stain removal method.
3. How do I remove red wine stains?
Blot the stain with salt immediately, then treat with a mixture of dish soap and hydrogen peroxide.
4. Are homemade stain removers effective?
Yes, many homemade solutions can be effective, especially when used promptly.
5. Can I wash stained clothes with other laundry?
It’s best to wash stained items separately to avoid transferring the stain to other clothes.
6. What’s the best way to store stain removers?
Keep them in a cool, dry place, away from direct sunlight and moisture for maximum efficacy.
By following these guidelines, you can tackle laundry stains effectively and keep your clothes looking their best. Stay tuned for Part 2, where we will delve into more advanced stain removal techniques!