
Kitchen Sponge Mold Odours Guide Part 1
Introduction
A kitchen sponge is a handy tool for cleaning, but it can also become a breeding ground for unpleasant odours and mold if not cared for properly. This article will explore the causes of these odours, why they occur, how to fix them, and how to prevent them from returning.
What Causes Odours?
Kitchen sponge odours primarily stem from bacteria, mold, and mildew. When wet and used frequently, sponges trap food particles and moisture, creating an ideal environment for these microbes to thrive. As they multiply, they produce waste that emits foul smells, which can transfer to your dishes and utensils.
Key Causes:
- Bacteria: Common types include E. coli and Salmonella, which can produce strong odours.
- Mold and Mildew: These thrive in damp environments and contribute to musty smells.
- Food Residue: Leftover food particles can decompose and release bad smells.
- Stagnant Water: Sponges left in water can become a source of foul odours.
- High Humidity: Kitchens can be damp, especially after cooking.
- Infrequent Cleaning: Many people may use their sponges for weeks without proper maintenance.
- Improper Storage: Leaving sponges in a wet sink or closed container can trap moisture.
- Bleach Solution: Mix one part bleach with nine parts water. Soak the sponge for 5 minutes, then rinse thoroughly.
- Vinegar: Soak the sponge in white vinegar for 5 minutes. Rinse well.
- Microwave: Wet the sponge and place it in the microwave for 1-2 minutes. Ensure it’s damp to prevent fire hazards.
Why This Problem Happens
Sponges are often neglected in daily cleaning routines. Many homeowners might not realize that sponges need regular care to remain effective and hygienic. When sponges are used, rinsed, and tossed aside without proper drying, they become a perfect breeding ground for odor-producing organisms.
Contributing Factors Include:
How to Fix Odours (Step-by-Step)
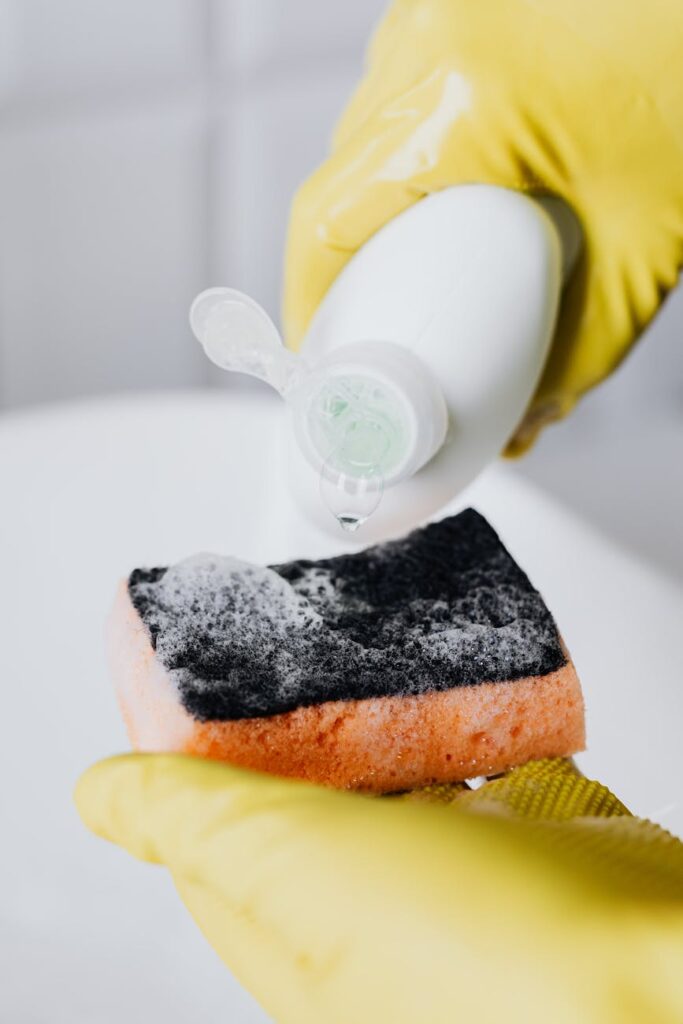
If your kitchen sponge has developed a foul odour, don’t worry! Here’s a simple step-by-step guide to eliminate the smell:
Step 1: Rinse Thoroughly
Remove any food particles by rinsing the sponge under hot water. Make sure to squeeze it several times to release trapped debris.
Step 2: Disinfect
Choose one of the following methods to disinfect your sponge:
Step 3: Dry
After cleaning, wring out the sponge and place it in a well-ventilated area to dry completely. Avoid leaving it in a damp environment.
Step 4: Inspect Regularly
Check your sponge every few days for signs of wear, tear, or lingering odours. Replace it if necessary.
Best Cleaning Methods
To keep your sponges odor-free and hygienic, consider adopting one or more of the following cleaning methods:
1. Dishwasher Method
Place your sponge in the dishwasher during a hot cycle. The high heat and detergent will clean it thoroughly.
2. Bleach Solution
As mentioned earlier, a diluted bleach solution is effective but should be used sparingly to avoid damaging the sponge.
3. Vinegar Soak
Vinegar not only disinfects but also neutralizes odours. It’s a natural alternative to harsh chemicals.
4. Baking Soda Paste
Make a paste with baking soda and water. Apply it to the sponge and let it sit for 10-15 minutes before rinsing.
5. Essential Oils
Adding a few drops of essential oils (like tea tree or lavender) to your cleaning routine can help mask and neutralize odours.
Common Mistakes to Avoid
1. Neglecting Regular Cleaning
Failing to clean your sponge regularly can lead to persistent odours.
2. Using a Dirty Sponge
Using a sponge that has not been cleaned can transfer bacteria to your dishes.
3. Storing Wet Sponges
Always store sponges in a dry, open space rather than in a damp sink or container.
4. Overusing One Sponge
Using the same sponge for multiple tasks (like cleaning counters and dishes) can increase the risk of cross-contamination.
5. Ignoring the Lifespan
Sponges wear out over time. Replace them every 2-4 weeks, or sooner if they show signs of wear.
Prevention Tips
1. Rinse and Wring
After each use, rinse your sponge thoroughly and wring it out to remove excess water.
2. Use Multiple Sponges
Consider using separate sponges for different tasks (e.g., one for dishes and another for surfaces).
3. Store in a Dry Area
Keep your sponge in a well-ventilated area to prevent moisture buildup.
4. Regular Disinfection
Make a habit of disinfecting your sponge at least once a week.
5. Consider Alternatives
Explore alternatives such as dishcloths or silicone scrubbers that may have less odour retention.
Frequently Asked Questions
1. How often should I replace my kitchen sponge?
Replace your kitchen sponge every 2-4 weeks, or sooner if it shows signs of wear or persistent odours.
2. Can I use vinegar to clean my sponge?
Yes, soaking your sponge in white vinegar is an effective and natural method to disinfect and neutralize odours.
3. Is using bleach safe for sponges?
While diluted bleach is effective for disinfecting, use it sparingly as it can break down the sponge material over time.
4. Can I microwave my sponge?
Yes, microwaving a damp sponge for 1-2 minutes can effectively kill bacteria. Ensure it’s wet to avoid fire hazards.
5. What should I do if my sponge still smells after cleaning?
If the smell persists, it’s best to replace the sponge. Some odours can be difficult to eliminate completely.
6. Are there sponges specifically designed to resist odours?
Yes, some brands offer sponges infused with antimicrobial properties that help reduce odour-causing bacteria.
By following this guide, you can tackle kitchen sponge mold odours effectively, ensuring a cleaner and healthier kitchen environment. Stay tuned for Part 2, where we will delve deeper into advanced cleaning techniques and solutions.