
Kitchen Sponge Mold: Kitchen Guide Part 1
Introduction
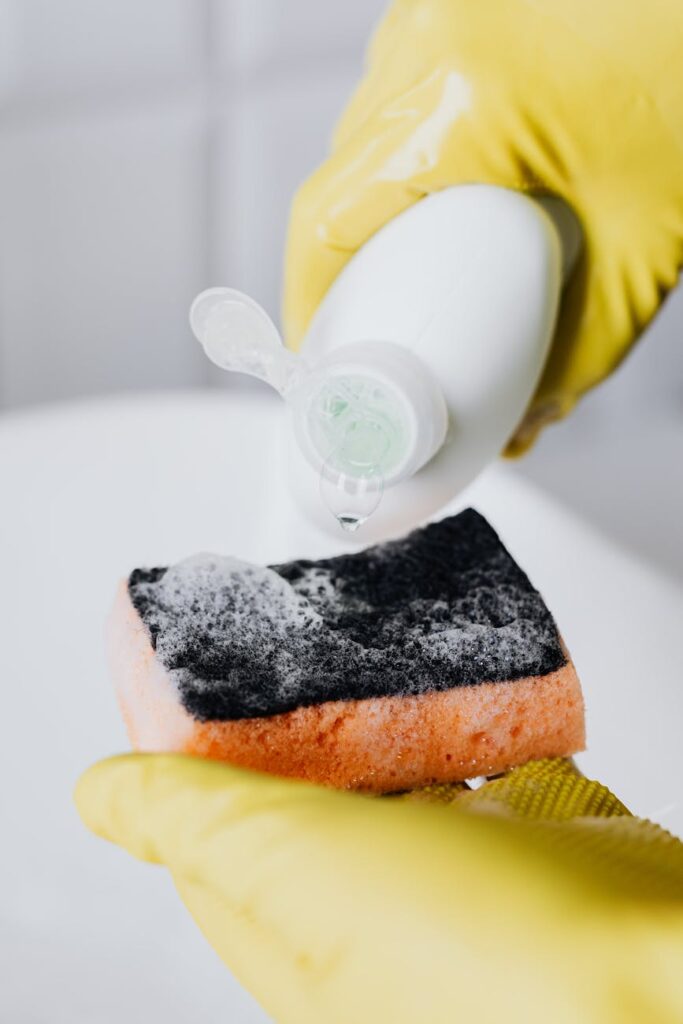
Kitchen sponges are essential tools in every home, aiding in everything from dishwashing to cleaning surfaces. However, they are also breeding grounds for mold and bacteria if not cared for properly. This guide aims to help you understand the causes of kitchen sponge mold, how to effectively clean it, and how to prevent it from returning.
What Causes Kitchen Sponge Mold?
Kitchen sponges are damp and absorbent, creating the perfect environment for mold growth. Here are some of the main factors that contribute to mold development:
1. Moisture: Sponges retain moisture, especially when left in sinks or sealed containers.
2. Food Particles: Bits of food trapped in the sponge provide nutrients for mold and bacteria.
3. Warmth: The kitchen is often warm, especially near cooking areas, which encourages mold growth.
4. Poor Air Circulation: Storing sponges in enclosed spaces limits airflow, making it easier for mold to thrive.
Why This Problem Happens
Understanding why mold appears on your kitchen sponge can help you tackle the issue more effectively. Here are some underlying problems that lead to mold growth:
- Neglected Cleaning: Over time, sponges become dirty and are often overlooked during regular cleaning routines.
- Inconsistent Drying: Leaving sponges damp can lead to mold growth. Sponges need to dry out completely between uses.
- Use of Old Sponges: Using sponges beyond their lifespan can increase the risk of mold. Old sponges are less effective and more prone to harboring bacteria.
- Bleach Solution: Combine one part bleach with ten parts water.
- Vinegar Solution: Use undiluted white vinegar, which is a natural disinfectant.
- Ignoring Sponge Replacement: Replace sponges every 2-4 weeks, especially if they show signs of wear or persistent odors.
- Storing Wet Sponges: Always ensure sponges are completely dry before storing them.
- Using Sponges for Too Long: Sponges can harbor bacteria even if they don’t visibly appear dirty. Regular replacement is key.
- Neglecting to Clean Sponges: Make cleaning sponges a regular part of your cleaning routine to minimize mold growth.
How to Fix Kitchen Sponge Mold (Step-by-Step)
If you discover mold on your sponge, don’t panic! Here’s a straightforward step-by-step guide to cleaning it effectively.
Step 1: Assess the Damage
Before you begin cleaning, check the sponge for visible mold. If it’s heavily infested, it’s best to discard it.
Step 2: Prepare a Cleaning Solution
Mix a cleaning solution to eliminate mold. Here are two effective options:
Step 3: Soak the Sponge
Place the sponge in the solution for at least five minutes. For the bleach solution, ensure the area is well-ventilated.
Step 4: Rinse Thoroughly
After soaking, rinse the sponge under warm water to remove any cleaning solution and loosened mold.
Step 5: Dry Completely
Place the sponge in a well-ventilated area to dry completely. You can also microwave the sponge for one minute to kill any remaining bacteria. Ensure it’s damp, not dry, before microwaving.
Step 6: Inspect and Store
Once dry, inspect the sponge again. If any mold remains, it’s time to discard the sponge. Store it in a dry, open space for better airflow.
Best Cleaning Methods
Here are some of the most effective methods for cleaning kitchen sponges:
1. Microwave Method: As mentioned, microwaving a damp sponge for one minute kills most bacteria and mold, but avoid using this method if the sponge has metal parts.
2. Dishwasher Method: Place your sponge on the top rack of your dishwasher during a hot cycle. This can effectively sanitize it.
3. Bleach or Vinegar Soaking: As outlined in the cleaning steps, both bleach and vinegar are powerful agents against mold.
4. Baking Soda Scrub: Create a paste with baking soda and water. Scrub the sponge to remove stubborn mold and odors.
Common Mistakes to Avoid
To effectively manage kitchen sponge mold, avoid these common pitfalls:
Prevention Tips
Preventing mold on kitchen sponges is easier than you might think. Follow these tips to keep your sponges clean and mold-free:
1. Rinse After Use: Always rinse sponges thoroughly after each use to remove food particles and soap residues.
2. Dry Completely: Allow sponges to dry fully between uses. Consider using a sponge holder that allows for airflow.
3. Use Multiple Sponges: Rotate between multiple sponges for different tasks (e.g., one for dishes, another for surfaces) to reduce wear.
4. Store Properly: Keep sponges in open containers or hang them up to promote airflow.
5. Regular Cleaning: Implement a weekly routine to clean your sponges using the methods outlined above.
Frequently Asked Questions
1. How often should I replace my kitchen sponge?
Replace your kitchen sponge every 2-4 weeks, or sooner if it shows signs of wear or odor.
2. Can I use my sponge if I see mold on it?
It’s advisable to discard the sponge if you see mold. Mold can be harmful, and it’s safer to use a clean sponge.
3. What’s the best way to sanitize a sponge?
Microwaving a damp sponge for one minute or running it through the dishwasher are both effective sanitizing methods.
4. Is it okay to use bleach on my sponge?
Yes, using a diluted bleach solution is an effective way to kill mold and bacteria, but always rinse thoroughly afterward.
5. Can I use the same sponge for dishes and cleaning surfaces?
It’s best to use separate sponges for dishes and surfaces to prevent cross-contamination.
6. Why does my sponge smell bad?
A bad smell indicates the presence of bacteria or mold. Regular cleaning and drying can help eliminate odors.
By understanding the causes, cleaning methods, and prevention strategies for kitchen sponge mold, you can maintain a cleaner and healthier kitchen environment. Stay proactive, and your sponges will serve you well!