
Grout Mold Removal Mould & Damp Guide Part 2
Introduction
Mould and damp in grout can be a persistent issue in any home, particularly in areas exposed to moisture like bathrooms and kitchens. Not only does it look unsightly, but it can also lead to further damage if left untreated. In this guide, we’ll tackle the causes of mould and damp, how to effectively remove it, and tips to prevent it from coming back.
What Causes Mould & Damp?
Mould grows in damp environments, and various factors contribute to this dampness:
1. High Humidity: Areas with high moisture levels create an ideal breeding ground for mould.
2. Poor Ventilation: Lack of airflow can trap moisture, especially in enclosed spaces.
3. Water Leaks: Any leaks from pipes or fixtures can lead to damp grout.
4. Condensation: This occurs when warm air meets cold surfaces, causing water to form.
5. Temperature Fluctuations: Changes in temperature can create condensation, increasing humidity levels.
Understanding these causes helps in both remediation and prevention.
Why This Problem Happens
Mould and damp are often symptoms of underlying issues in your home. If you notice mould in your grout, it can be indicative of:
1. Water Damage: Previous leaks may have gone unnoticed, leading to moisture accumulation.
2. Inadequate Sealing: Grout that hasn’t been sealed properly can absorb moisture over time.
3. Improper Installation: Poorly installed tiles may leave gaps where water can seep in.
Addressing these root causes is crucial for a long-term solution.
How to Fix Mould & Damp (Step-by-Step)
Step 1: Gather Your Materials
Before you begin, ensure you have the following:
- Rubber gloves
- Mask or respirator
- Scrub brush or toothbrush
- Bucket
- Spray bottle
- Cleaning solution (see Best Cleaning Methods section)
- Grout sealer (for after cleaning)
- Mix: Combine equal parts vinegar and baking soda to create a paste.
- Apply: Spread the paste on the grout and let it sit for 10-15 minutes before scrubbing.
- Use: Spray hydrogen peroxide directly onto the mouldy grout.
- Scrub: After letting it sit for about 10 minutes, scrub and rinse.
- Follow Instructions: Choose a product specifically designed for grout and follow the instructions on the label for best results.
- Dilute: Mix one part bleach with three parts water.
- Apply: Use sparingly, as bleach can damage grout over time. Rinse thoroughly after scrubbing.
Step 2: Prepare the Area
1. Ventilation: Open windows and doors to ensure proper airflow.
2. Cover Items: Use plastic sheets to cover surfaces that you don’t want to get wet or damaged.
Step 3: Apply the Cleaning Solution
1. Choose Your Cleaner: Whether it’s a commercial product, vinegar, or baking soda solution, apply it generously to the affected grout using a spray bottle.
2. Let It Sit: Allow the solution to sit for at least 10-15 minutes to penetrate the mould.
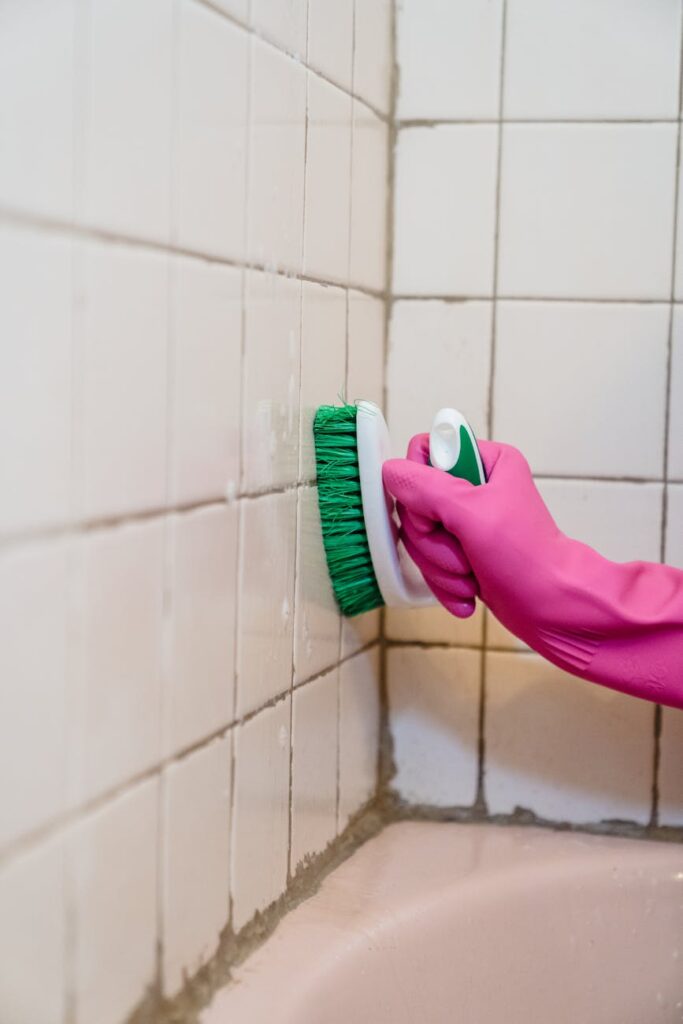
Step 4: Scrub the Grout
1. Use a scrub brush or an old toothbrush to scrub the grout lines thoroughly.
2. Focus on areas with visible mould, applying extra pressure if necessary.
Step 5: Rinse and Dry
1. Rinse the area with clean water, ensuring all cleaning solution is removed.
2. Use a towel or cloth to dry the grout completely. This step is crucial to prevent mould from returning.
Step 6: Seal the Grout
1. Once the grout is completely dry, apply a grout sealer as per the manufacturer’s instructions.
2. This will help protect the grout from future moisture and mould growth.
Best Cleaning Methods
1. Vinegar and Baking Soda
2. Hydrogen Peroxide
3. Commercial Mold Removers
4. Bleach Solution (Use Caution)
Common Mistakes to Avoid
1. Ignoring Underlying Issues: Always check for leaks or ventilation problems before cleaning.
2. Using Harsh Chemicals: Avoid strong chemicals that can damage grout or tiles.
3. Not Sealing Grout: Failing to seal grout after cleaning can result in quick mould return.
4. Skipping Drying: Not drying the area thoroughly can lead to more mould growth.
Prevention Tips
1. Improve Ventilation: Use exhaust fans in bathrooms and kitchens to reduce humidity.
2. Regular Cleaning: Regularly clean grout with a mild cleaner to prevent mould buildup.
3. Seal Grout: Reapply grout sealer every 6-12 months for best protection.
4. Fix Leaks Promptly: Address any plumbing leaks right away to minimize moisture.
5. Use a Dehumidifier: In particularly humid areas, consider using a dehumidifier to control moisture levels.
Frequently Asked Questions
1. How often should I clean my grout to prevent mould?
Aim for a thorough cleaning every 3-6 months, depending on the humidity levels in your home.
2. Can I use bleach on all types of grout?
No, bleach can damage some types of grout, especially colored grout. Always check the manufacturer’s guidelines.
3. What is the best way to seal grout after cleaning?
Use a high-quality grout sealer and apply it according to the manufacturer’s instructions, ensuring the grout is completely dry.
4. Is it possible to remove mould from old grout?
Yes, but it may require more effort and multiple applications of cleaning solutions, especially for deeply embedded mould.
5. How can I tell if my grout is sealed properly?
A simple water test can determine if your grout is sealed. Sprinkle water on the grout; if it beads up, it’s sealed. If it soaks in, it may need resealing.
6. What should I do if the mould keeps returning?
If mould keeps returning, check for hidden leaks, improve ventilation, and consider consulting a professional for persistent issues.
By following this guide, you can effectively tackle grout mould and damp problems in your home, ensuring a clean and healthy environment.