
Grout Mold Removal Laundry Guide Part 2
Introduction
Grout mold in laundry rooms can be an unsightly and unpleasant issue. It thrives in damp environments, making your laundry area a prime target. This guide is designed to help you identify the causes of grout mold, understand why it occurs, and provide actionable steps to remove it effectively. Whether you’re dealing with a small patch or a more extensive infestation, this guide will help you reclaim your space.
What Causes Laundry Mold?
Mold thrives in moist, dark environments. In laundry areas, several factors contribute to mold growth in grout:
1. Humidity: High humidity levels can lead to excess moisture, creating ideal conditions for mold.
2. Poor Ventilation: Inadequate airflow can trap moisture, allowing mold to flourish.
3. Water Leaks: Leaky pipes or appliances can introduce water to the grout, fostering mold growth.
4. Dirty Laundry: Leaving wet clothes in the washer or piles of laundry can promote mold development.
Why This Problem Happens
Understanding why mold forms in your laundry area helps you address the underlying issues effectively. Here are the main reasons:
- Damp Environments: Laundry rooms often have wet floors and walls, especially after washing clothes. This moisture can easily seep into grout.
- Lack of Air Circulation: A confined space without proper airflow allows humidity to build up.
- Infrequent Cleaning: Neglecting to clean grout can lead to mold buildup, as dirt and soap scum provide nutrients for mold spores.
- Rubber gloves
- Face mask (to avoid inhaling spores)
- Scrub brush or toothbrush
- Bucket
- Cleaning solution (options include vinegar, hydrogen peroxide, or a commercial mold remover)
- Spray bottle
- Water
- Remove any items from the laundry area that could hinder your cleaning.
- Ensure proper ventilation by opening windows and turning on fans.
- For vinegar: Fill a spray bottle with undiluted white vinegar and spray it generously on the moldy grout.
- For hydrogen peroxide: Mix equal parts hydrogen peroxide and water in a spray bottle and apply it to the affected areas.
- For commercial mold remover: Follow the manufacturer’s instructions for application.
- Allow the solution to sit for at least 10-15 minutes. This gives it time to penetrate and kill mold spores.
- Using a scrub brush or an old toothbrush, scrub the grout lines vigorously. Pay special attention to heavily stained areas.
- Rinse the area with clean water to remove any residue from the cleaning solution. This step is crucial to prevent any lingering chemical reactions.
- Use a towel or cloth to dry the area completely. If possible, use a fan to circulate air and expedite drying.
- Pros: Natural, non-toxic, and effective against many types of mold.
- Cons: May require multiple applications for stubborn mold.
- Pros: Antimicrobial properties that effectively kill mold spores.
- Cons: Can bleach some colored grout if not used carefully.
- Method: Mix with water to form a paste, apply to the moldy areas, scrub, and rinse.
- Pros: Mild abrasive that cleans without scratching surfaces.
- Cons: Less effective on tough mold stains compared to vinegar or peroxide.
- Pros: Specifically designed to target mold and mildew.
- Cons: May contain harsh chemicals; read labels carefully.
How to Fix Laundry Mold (Step-by-Step)
If you’ve discovered mold in your laundry grout, follow these steps for effective removal:
Step 1: Gather Your Supplies
Step 2: Prepare the Area
Step 3: Apply Cleaning Solution
Step 4: Let It Sit
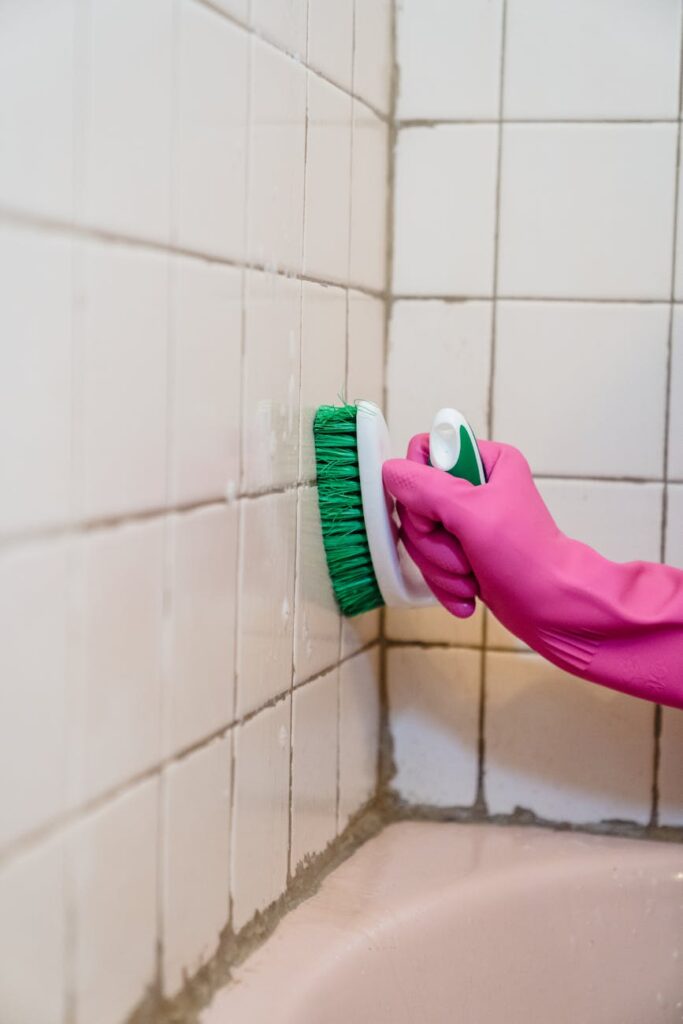
Step 5: Scrub the Grout
Step 6: Rinse Thoroughly
Step 7: Dry the Area
Best Cleaning Methods
While there are numerous cleaning methods available, the following are the most effective for removing grout mold:
Vinegar
Hydrogen Peroxide
Baking Soda
Commercial Mold Removers
Common Mistakes to Avoid
While tackling grout mold, keep the following pitfalls in mind:
1. Ignoring Ventilation: Failing to ventilate the area can lead to further moisture buildup, negating your cleaning efforts.
2. Using the Wrong Cleaning Agent: Not all cleaning agents are suitable for grout. Avoid bleach, as it can weaken grout and may not effectively kill mold.
3. Not Scrubbing Enough: Mold often penetrates deep into the grout; a light wipe won’t suffice.
4. Neglecting Regular Maintenance: Once you clean the mold, don’t forget to establish a cleaning routine to prevent reoccurrence.
Prevention Tips
Preventing mold in your laundry grout is key to long-term maintenance. Here are some effective strategies:
1. Improve Airflow: Install a fan or dehumidifier in your laundry area to reduce humidity levels.
2. Regular Cleaning: Clean grout regularly with vinegar or baking soda to keep mold at bay.
3. Fix Leaks Promptly: Address any plumbing issues immediately to prevent moisture from accumulating.
4. Keep the Area Dry: Wipe down surfaces after washing and avoid leaving wet clothes in hampers or the washer.
5. Seal Grout: Consider sealing your grout with a mold-resistant sealant to create a barrier against moisture.
Frequently Asked Questions
1. How often should I clean my grout to prevent mold?
Aim to clean your grout every 1-2 months, depending on humidity levels in your home.
2. Can I use bleach to remove grout mold?
Bleach is not recommended as it can weaken grout and may not effectively kill mold spores.
3. What’s the best way to dry my laundry room after cleaning?
Use fans or dehumidifiers to promote airflow and expedite drying. Open windows if weather permits.
4. Can I use essential oils to prevent mold?
Some essential oils, like tea tree oil, have antifungal properties. Mix a few drops with water and spray in the laundry area.
5. How do I know if the mold has returned?
Regularly check grout lines for discoloration or a musty smell, which are signs that mold may be present.
6. Is it safe to clean mold if I’m pregnant or have allergies?
If you have health concerns, consult a professional cleaning service to avoid potential health risks from mold exposure.
By following these steps and tips, you can effectively tackle grout mold in your laundry area, ensuring a cleaner, healthier environment for your home. Regular maintenance and prompt action will help you keep mold at bay for good!