
Grease Trap Stains Appliances Guide Part 2
Introduction
Grease trap stains can be a persistent problem in your kitchen, particularly affecting your appliances. These stains not only look unsightly but can also harbor bacteria and lead to unpleasant odors. This guide will provide you with practical solutions to tackle grease trap stains on your appliances, helping you maintain a clean and hygienic kitchen environment.
What Causes Appliances?
Appliances accumulate grease stains primarily due to cooking activities. When you fry, sauté, or grill, tiny grease particles can escape into the air and settle on surfaces. Over time, these particles build up, creating stubborn stains. Common appliances that are affected include:
- Refrigerators: Grease can splatter when cooking nearby.
- Ovens: Spills and splatters occur during baking and roasting.
- Microwaves: Food splatters can lead to greasy interiors.
- Dishwashers: Residual grease from dishes can accumulate.
- Dish soap
- White vinegar
- Baking soda
- Spray bottle
- Microfiber cloths
- Non-abrasive scrubber
- Soft-bristle brush
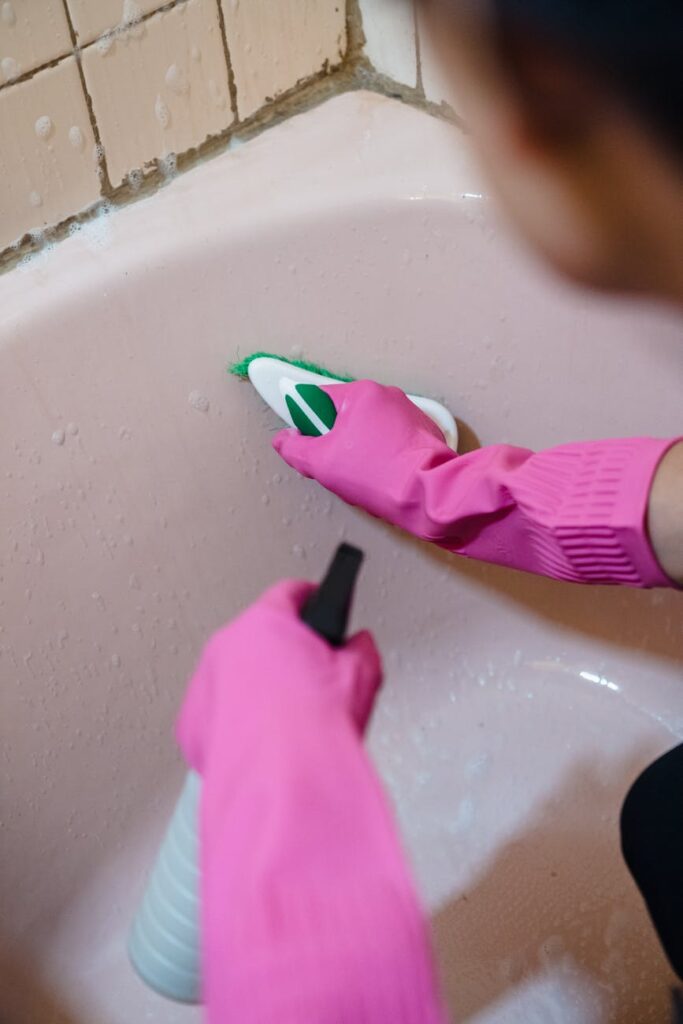
- Spray the cleaning solution generously onto the stained areas of the appliance.
- Let it sit for 5-10 minutes to penetrate the grease.
- Use a non-abrasive scrubber or a soft-bristle brush to scrub the stained areas. Move in circular motions for better effectiveness.
- For difficult spots, apply a paste of baking soda and water directly to the stain and let it sit for an additional 10 minutes before scrubbing.
- Wipe the surface with a clean microfiber cloth to remove any residue.
- Rinse the cloth in clean water and wipe again to ensure all cleaning solution is removed.
- Use a dry microfiber cloth to thoroughly dry the appliance, preventing water spots and further grime build-up.
Understanding where these stains originate can help you be proactive in your cleaning efforts.
Why This Problem Happens
Grease trap stains develop for several reasons:
1. Lack of Regular Cleaning: If you don’t clean your appliances regularly, grease can harden and become more challenging to remove.
2. High Cooking Fat Content: Cooking with high-fat ingredients can lead to more grease in the air, increasing the likelihood of stains.
3. Poor Ventilation: Without proper airflow, grease particles linger in the kitchen, settling on surfaces and appliances.
4. Inadequate Cleaning Products: Using the wrong cleaning agents can fail to break down grease effectively, leading to residue buildup.
Recognizing these factors can help you address the issue more efficiently.
How to Fix Appliances (Step-by-Step)
Step 1: Gather Your Supplies
Before you start, gather the necessary cleaning supplies:
Step 2: Prepare the Cleaning Solution
1. For Light Stains: Mix warm water with a few drops of dish soap in a spray bottle.
2. For Stubborn Grease: Combine equal parts of white vinegar and water in a spray bottle. For added power, sprinkle baking soda on the surface before applying the vinegar solution.
Step 3: Apply the Solution
Step 4: Scrub the Stains
Step 5: Wipe Down
Step 6: Dry the Surface
Best Cleaning Methods
Method 1: Baking Soda and Vinegar Paste
For tough stains, create a paste using baking soda and a small amount of water. Apply it directly to the stain, let it sit for 15-20 minutes, and scrub gently before wiping clean.
Method 2: Citrus Cleaner
Citrus-based cleaners are effective in cutting through grease. Spray a citrus cleaner on the affected area, let it sit, then wipe clean. The natural oils help break down grease while leaving a fresh scent.
Method 3: Commercial Degreasers
For severe grease buildup, consider using a commercial degreaser. Follow the manufacturer’s instructions carefully, and always wear gloves for protection.
Common Mistakes to Avoid
1. Using Abrasive Cleaners: Avoid steel wool or harsh scrubbing pads, as they can scratch surfaces.
2. Not Rinsing Thoroughly: Leaving cleaning agents on the surface can lead to sticky residues.
3. Ignoring Ventilation: Ensure your kitchen is well-ventilated while cooking to minimize grease buildup.
4. Using Hot Water: Hot water can sometimes cause grease to set rather than dissolve.
Being cautious about these common mistakes can save you time and effort in cleaning.
Prevention Tips
1. Regular Cleaning: Establish a routine for cleaning appliances weekly to prevent grease buildup.
2. Use Splatter Guards: When frying or grilling, utilize splatter guards to minimize grease dispersion.
3. Ventilation: Use exhaust fans while cooking to reduce airborne grease.
4. Wipe Spills Immediately: Clean any spills or splatters as soon as they occur to prevent them from hardening.
By taking these preventative measures, you can significantly reduce the occurrence of grease trap stains.
Frequently Asked Questions
1. How often should I clean my appliances to prevent grease stains?
Aim to clean your appliances at least once a week, especially if you cook frequently.
2. Can I use bleach to clean grease stains?
It’s best to avoid bleach, as it can damage the finish on many appliances. Stick to milder cleaning solutions.
3. What if the grease stains are still visible after cleaning?
For persistent stains, you may need to repeat the cleaning process or use a stronger commercial degreaser.
4. Is it safe to use vinegar on all appliances?
While vinegar is generally safe, avoid using it on natural stone surfaces and check manufacturer recommendations for specific appliances.
5. How can I remove grease from inside my microwave?
Wipe down the interior with a mixture of water and vinegar. For tough stains, heat a bowl of water and vinegar in the microwave for a few minutes to steam clean the interior.
6. Can I prevent grease stains from occurring at all?
While it’s challenging to prevent all grease stains, following proper cooking techniques, utilizing splatter guards, and maintaining a regular cleaning schedule can minimize their occurrence.
By following the steps and tips outlined in this guide, you can effectively manage and prevent grease trap stains on your appliances, ensuring a cleaner and more pleasant kitchen environment.