
Grease Trap Cleaning Mould & Damp Guide Part 1
Introduction
Mould and dampness in grease traps can lead to a host of problems, from unpleasant odours to serious structural damage. Understanding how to tackle these issues effectively is crucial for maintaining a clean and functional kitchen environment. This guide will provide practical steps to identify, fix, and prevent mould and damp in your grease trap while ensuring it stays clean and efficient.
What Causes Mould & Damp?
Mould and damp in grease traps can be attributed to several factors:
1. Moisture Accumulation: Grease traps are designed to collect fats, oils, and grease (FOG) along with wastewater. If this water isn’t drained properly, it can create a breeding ground for mould.
2. Organic Matter: Food particles and organic debris trapped in the grease can decompose, providing nutrients for mould growth.
3. Poor Ventilation: Insufficient airflow around the grease trap can lead to increased humidity, compounding moisture issues.
4. Temperature Fluctuations: Warm temperatures can accelerate mould growth, especially if combined with damp conditions.
5. Infrequent Cleaning: Neglecting regular cleaning can lead to a build-up of grease and moisture, creating an ideal environment for mould.
Why This Problem Happens
Understanding why mould and damp occur is essential for effective remediation:
- Ineffective Grease Trap Design: Some grease traps may not be designed to properly separate FOG from wastewater, leading to excess moisture.
- Clogged Drains: Blockages in the plumbing can prevent water from flowing out, causing back-ups and damp conditions.
- Neglect: Regular maintenance is often overlooked. Without consistent cleaning, mould can develop quickly.
- Environmental Factors: High humidity levels in kitchens, especially in warmer climates, can exacerbate the problem.
How to Fix Mould & Damp (Step-by-Step)
Step 1: Safety First
Before starting, ensure you have the appropriate protective gear. Wear gloves, goggles, and a mask to avoid inhaling spores or coming in contact with mould.
Step 2: Assess the Situation
Check the grease trap for visible signs of mould and damp. Look for discolouration, musty smells, or standing water.
Step 3: Remove Excess Grease
Use a grease scraper to remove any thick layers of grease from the trap. Collect this waste in a suitable container for disposal.
Step 4: Empty the Trap
If the trap is full, use a pump or a siphon to remove all the water and sludge. Ensure that you are following local regulations for disposal.
Step 5: Clean with a Mould Remover
Apply a commercial mould remover or a mixture of vinegar and baking soda to the affected areas. Allow it to sit for 10-15 minutes to loosen the mould.
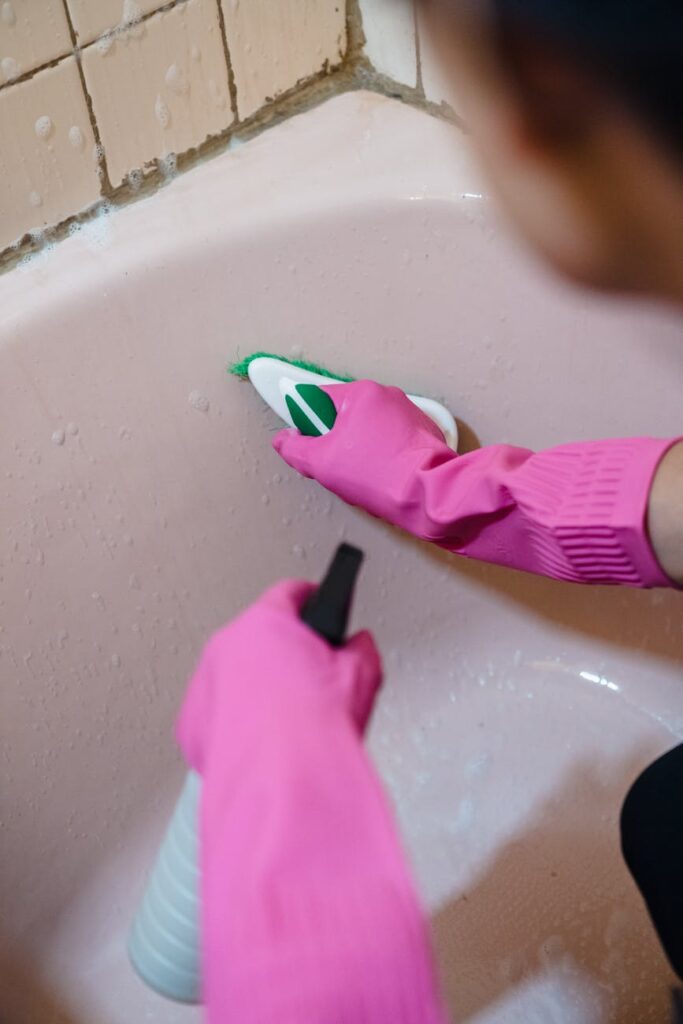
Step 6: Scrub the Surfaces
Using a stiff brush or scrub sponge, scrub the surfaces of the grease trap to remove all traces of mould. Focus on corners and crevices where mould is likely to thrive.
Step 7: Rinse Thoroughly
Rinse the trap with warm water to remove any residue from the cleaning agents. Ensure that all soap or chemicals are washed away.
Step 8: Dry the Area
Use a clean towel or rag to dry the grease trap as much as possible. Reducing moisture is key to preventing mould from returning.
Step 9: Inspect and Maintain
Regularly check your grease trap and surrounding areas for signs of mould. Schedule routine cleanings based on usage.
Best Cleaning Methods
1. Vinegar and Baking Soda
A natural solution that can effectively tackle mould. Mix equal parts vinegar and water, then add baking soda for a fizzing reaction that helps lift mould.
2. Commercial Mould Cleaners
There are many effective mould removers available. Look for products specifically designed for kitchen use and follow the manufacturer’s instructions.
3. Steam Cleaning
For deep cleaning, steam cleaning can eliminate mould without the use of chemicals. This method is particularly effective in hard-to-reach areas.
4. Hot Water and Detergent
A simple solution of hot water and dish detergent can be effective for regular maintenance. It helps break down grease while keeping mould at bay.
Common Mistakes to Avoid
1. Ignoring Signs of Mould: Early detection is key. Don’t wait for an outbreak to address the issue.
2. Using Inappropriate Cleaners: Avoid harsh chemicals that can damage your grease trap or plumbing.
3. Neglecting Regular Maintenance: Schedule cleanings regularly to prevent build-up and mould growth.
4. Not Fixing Leaks: Address plumbing issues immediately to prevent damp conditions.
5. Overlooking Ventilation: Ensure that the area around your grease trap is well-ventilated to reduce humidity.
Prevention Tips
1. Regular Cleaning: Clean your grease trap at least monthly, or more frequently if used heavily.
2. Proper Drain Maintenance: Ensure that all drains connected to the grease trap are free from blockages.
3. Use Grease Busters: Consider adding biological grease digesters to your trap to break down FOG and organic matter.
4. Improve Airflow: Install fans or vents to increase air circulation around your grease trap.
5. Monitor Humidity Levels: Use a hygrometer to keep track of moisture levels in the kitchen and use dehumidifiers as needed.
6. Educate Household Members: Ensure everyone in your household understands the importance of proper disposal of food waste and grease.
Frequently Asked Questions
1. How often should I clean my grease trap?
It depends on usage, but a monthly cleaning is advisable for most households.
2. Can I use bleach to clean mould?
While bleach can kill mould, it may not remove it entirely and can be harmful to plumbing. Opt for natural cleaners instead.
3. Is mould in my grease trap dangerous?
While it may not pose immediate health risks, mould can lead to unpleasant odours and structural damage over time.
4. How can I tell if my grease trap is working properly?
Look for signs of clogs, odours, or standing water. Regular inspections can help you gauge its effectiveness.
5. What should I do if my grease trap is overflowing?
Immediately stop using any connected drains and contact a professional to address the issue.
6. Can I prevent mould with essential oils?
Certain essential oils, like tea tree or lavender, have mould-fighting properties. However, they should not replace regular cleaning.
By following this guide, you can effectively tackle mould and damp in your grease trap, ensuring a clean and healthy kitchen environment. Stay tuned for Part 2, where we will delve deeper into advanced cleaning techniques and maintenance strategies.