
Bathroom Mildew Removal: Mould & Damp Guide Part 2
Introduction
Mould and dampness in your bathroom can be more than just an eyesore; they can lead to significant issues if left untreated. This guide will provide you with practical steps to identify, remove, and prevent mould and damp in your bathroom. We aim to equip you with actionable solutions to reclaim your space.
What Causes Mould & Damp?
Mould thrives in damp environments, making bathrooms a prime location for its growth. The primary causes include:
- High Humidity: Bathrooms accumulate moisture from showers and baths, creating an ideal environment for mould.
- Poor Ventilation: Inadequate airflow can trap humidity, allowing mould spores to settle and grow.
- Water Leaks: Pipe leaks or water pooling can lead to damp spots, fueling mould growth.
- Condensation: Cold surfaces (like tiles) can cause moisture to condense, contributing to a damp atmosphere.
- Rubber gloves
- Face mask
- Scrub brush or sponge
- Bucket
- Spray bottle
- Cleaning solution (vinegar, bleach, or commercial mould remover)
- Old toothbrush (for grout)
- Cloths or paper towels
Why This Problem Happens
Understanding why mould and damp occur is crucial for effective removal and prevention. Bathrooms are often closed off after use, which restricts air circulation. As warm, moist air from showers rises and cools, it turns into water droplets on surfaces. If not adequately addressed, this moisture can lead to persistent dampness and mould growth.
How to Fix Mould & Damp (Step-by-Step)
Step 1: Gather Your Supplies
You’ll need:
Step 2: Prepare the Area
1. Ventilate the Bathroom: Open windows and turn on exhaust fans to reduce humidity.
2. Remove Items: Take out toiletries, towels, and any items from shelves to expose the affected areas.
Step 3: Identify the Affected Areas
Look for visible signs of mould, such as black or green spots on walls, ceilings, tiles, and grout. Check corners and areas around the bathtub, sink, and toilet.
Step 4: Apply Cleaning Solution
1. For Mild Cases: Spray white vinegar directly onto the affected areas and let it sit for at least one hour.
2. For Stubborn Mould: Use a bleach solution (1 cup of bleach in 1 gallon of water) or a commercial mould remover. Apply it generously and let it sit for 10-15 minutes.
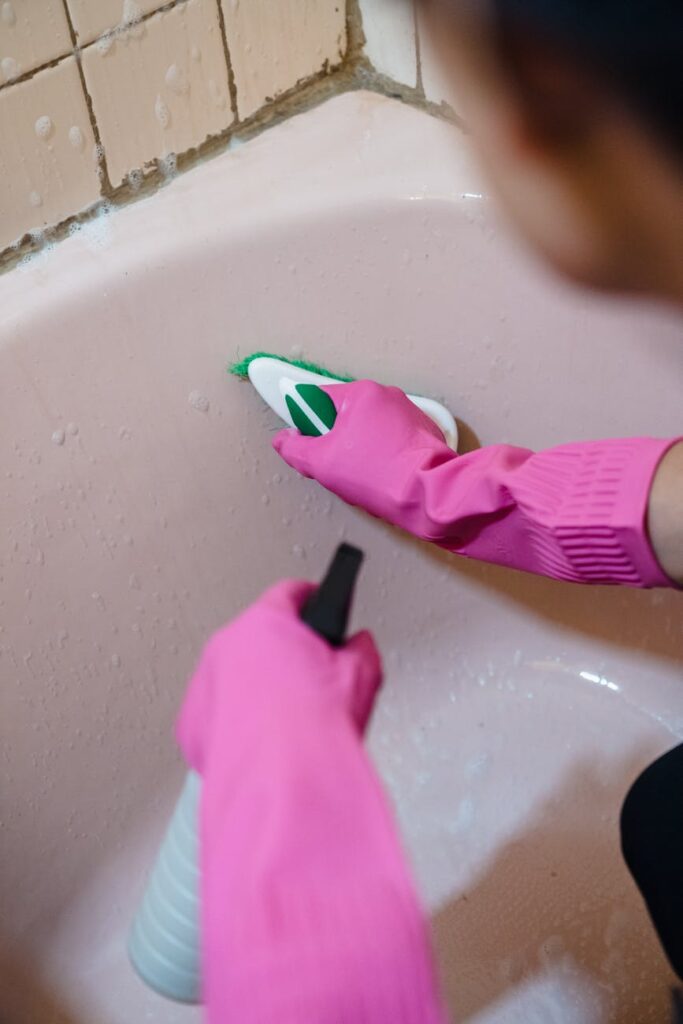
Step 5: Scrub the Affected Surfaces
Using a scrub brush or sponge, scrub the mouldy areas thoroughly. For grout lines, an old toothbrush works well to get into crevices.
Step 6: Rinse and Dry
Rinse the surfaces with water and dry them using a cloth or towels. Make sure to dry the area completely to prevent future mould growth.
Step 7: Dispose of Waste Properly
Throw away any materials used to clean, like sponges or cloths, if they have visible mould on them.
Best Cleaning Methods
1. Vinegar
Vinegar is a natural, non-toxic option for removing mould. Its acidity kills 82% of mould species.
2. Baking Soda
Baking soda is effective for removing mould and is safe for surfaces. Mix it with water to create a paste, apply, and scrub.
3. Bleach
Bleach is powerful for disinfecting and removing tough mould. However, use it in well-ventilated areas and never mix it with ammonia.
4. Commercial Mould Removers
These products are formulated specifically for mould and can be more effective for severe infestations. Always follow the manufacturer’s instructions.
Common Mistakes to Avoid
1. Ignoring Early Signs: Don’t wait for mould to spread before taking action. Early intervention is key.
2. Using Damp Cloths: Ensure your cleaning cloths are dry when wiping down surfaces. Using damp cloths can spread mould spores.
3. Neglecting Ventilation: After cleaning, keep windows open or fans running to ensure the bathroom dries completely.
4. Overusing Bleach: While effective, excessive use can damage surfaces and create toxic fumes.
5. Not Addressing Underlying Issues: Always check for leaks or structural issues contributing to dampness.
Prevention Tips
1. Ventilate Regularly: Open windows or use exhaust fans during and after showers to reduce humidity.
2. Wipe Down Surfaces: After use, wipe down tiles and surfaces with a squeegee or cloth to remove moisture.
3. Use Anti-Mould Paint: Consider using mould-resistant paint in your bathroom to prevent growth.
4. Fix Leaks Promptly: Repair any leaks in pipes or fixtures immediately to avoid dampness.
5. Monitor Humidity Levels: Use a hygrometer to keep indoor humidity below 60%.
6. Use Dehumidifiers: In particularly humid conditions, a dehumidifier can help keep moisture levels in check.
Frequently Asked Questions (FAQs)
1. How do I know if I have a mould problem in my bathroom?
Look for visible signs of mould, such as discoloration on walls, ceilings, and grout. A musty smell can also indicate mould presence.
2. Can I remove mould with just vinegar?
Yes, vinegar is effective for mild mould infestations. For severe cases, consider using bleach or a commercial mould remover.
3. Is bleach safe to use in the bathroom?
While effective, ensure good ventilation when using bleach. Never mix bleach with ammonia, as this creates toxic fumes.
4. How often should I clean my bathroom to prevent mould?
Aim to clean your bathroom at least once a week, with a focus on high-moisture areas.
5. What should I do if mould keeps coming back?
If mould returns frequently, investigate potential leaks and inadequate ventilation. Consider consulting a professional if the problem persists.
6. Can I prevent mould with essential oils?
Some essential oils, like tea tree oil, have antifungal properties and can be used as a natural mould deterrent when diluted properly.
By following these guidelines, you can effectively tackle mould and dampness in your bathroom, ensuring a cleaner and healthier environment for you and your family. Taking proactive steps will not only resolve existing issues but will also help you prevent future problems.